Setting Up VSCode for Linux
This page focuses on how to initially setup VSCode, specifically from the perspective of developing a module/plugin for NWChemEx on a Linux machine.
Adding Extensions
By default VSCode is pretty bare bones. Additional features are added/enabled by installing extensions. When you load up source code VSCode will inspect it and automatically recommend you install the corresponding extenstion (if it’s not installed already). For developing NWX we recommend you minimally install:
#. ms-vscode.cpptools
#. ms-vscode.cmake-tools
#. ms-python.python
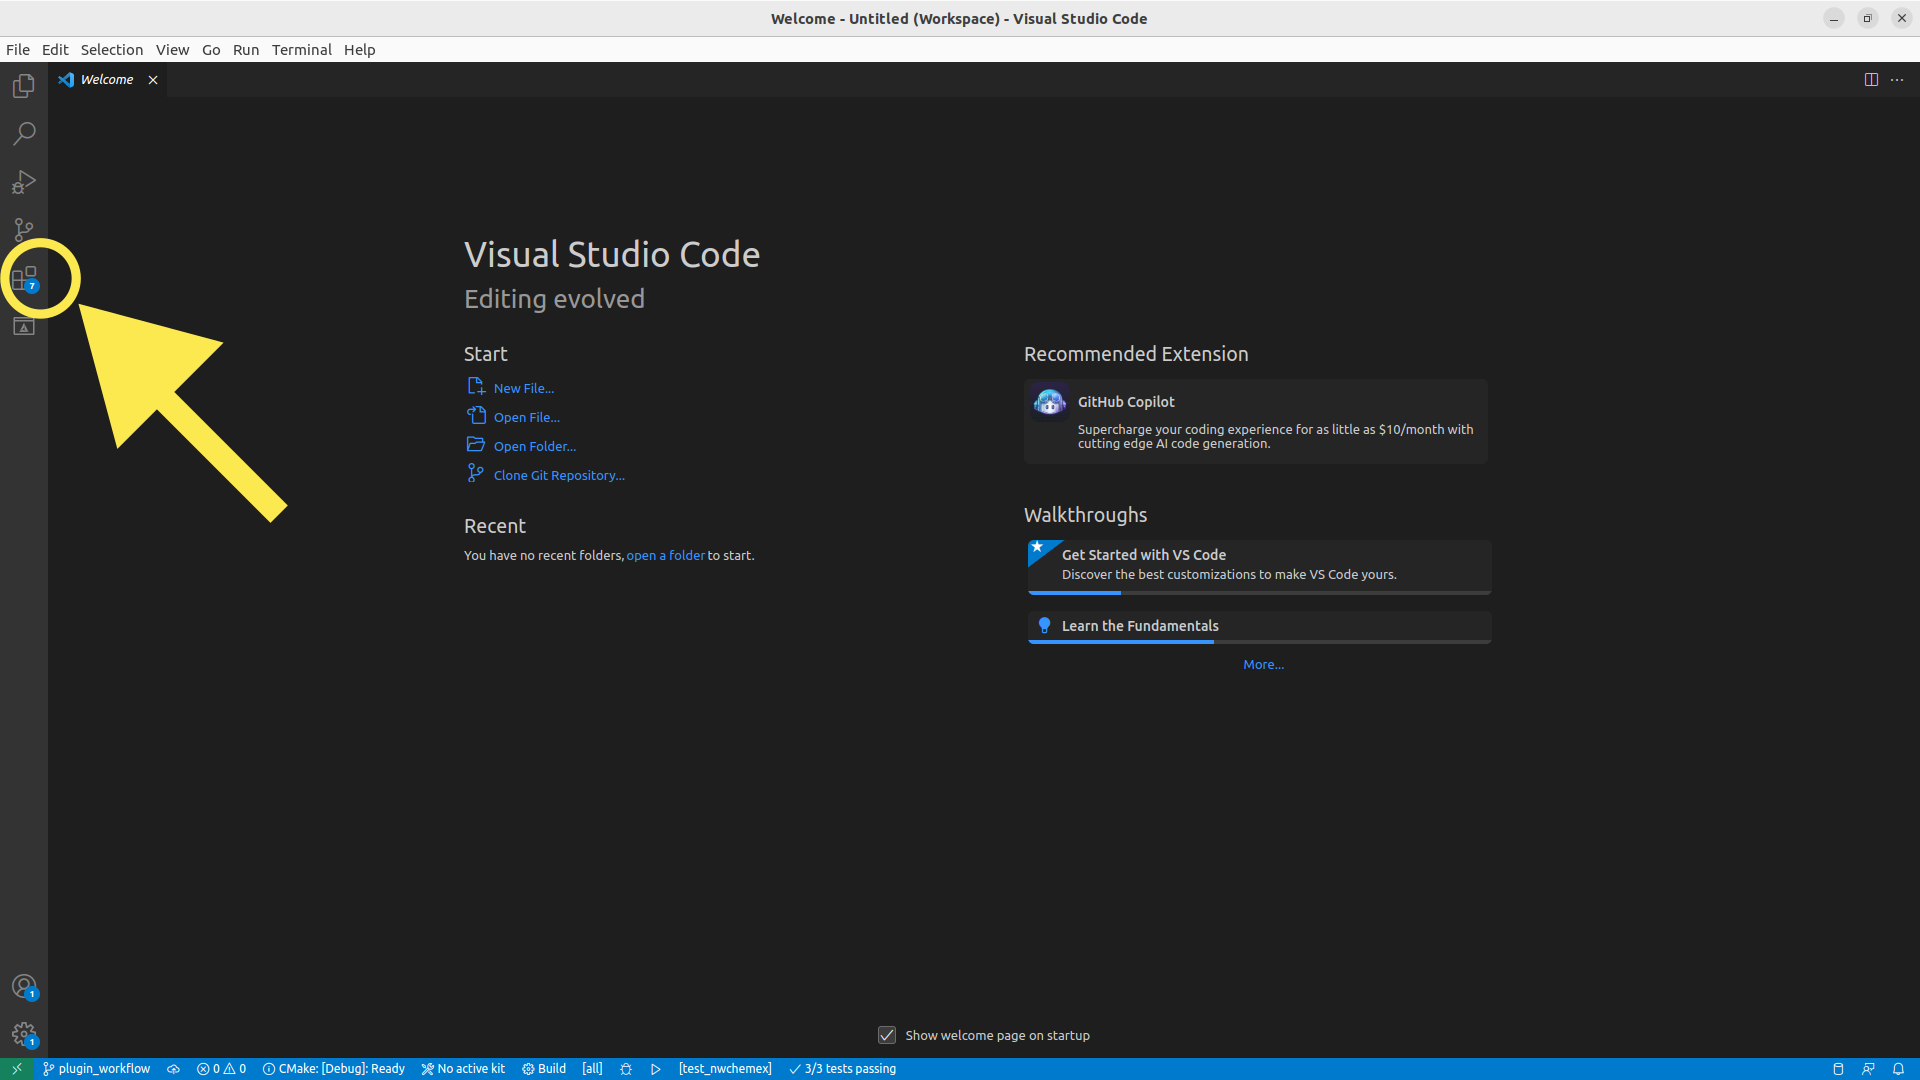
To install an extension click on the extensions view (see
fig_click_extensions) and search for the identifiers given in the
above list.
Creating a Workspace
When you first start up VSCode you will have an empty workspace. We need to add content to that workspace.
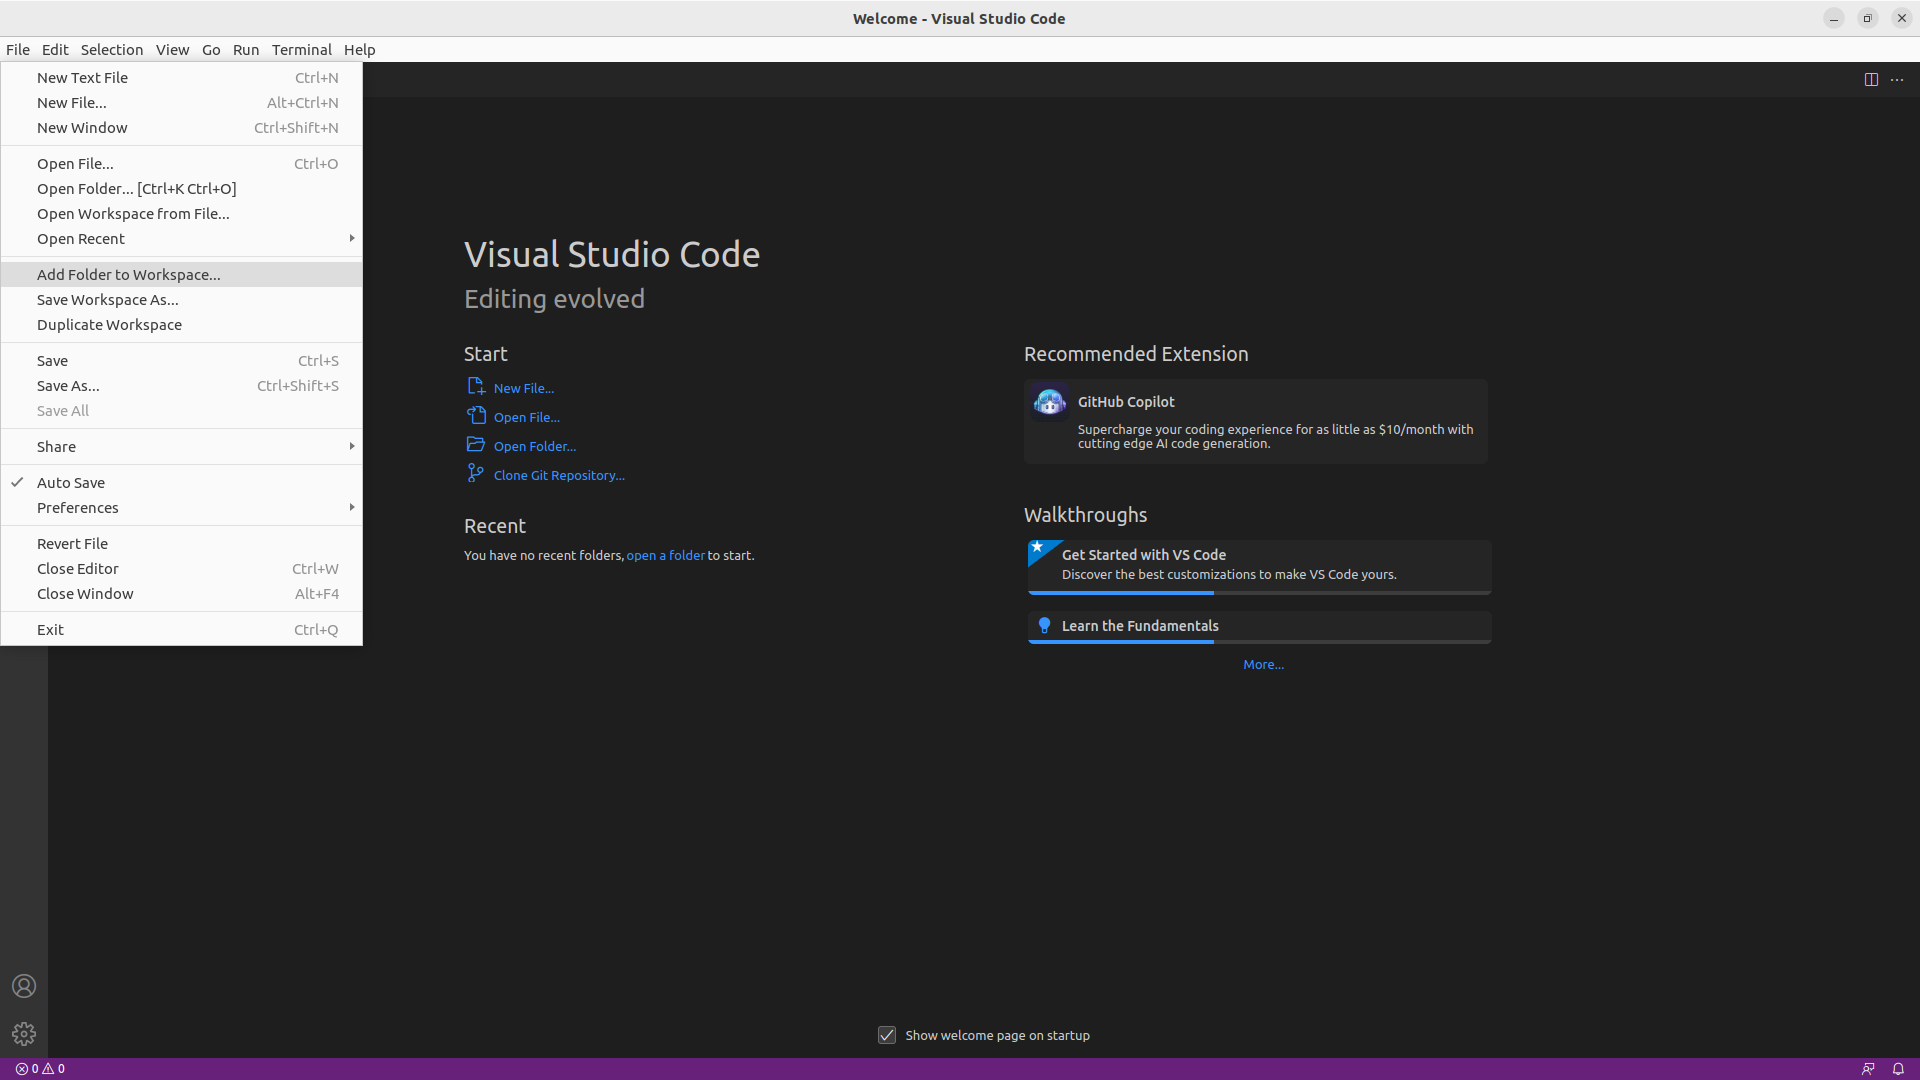
To do this navigate to files->add folder to workspace as shown in
fig_add_folder_to_workspace. This will bring up a file explorer,
which you should then use to navigate to the root directory of the repository
you want to add.
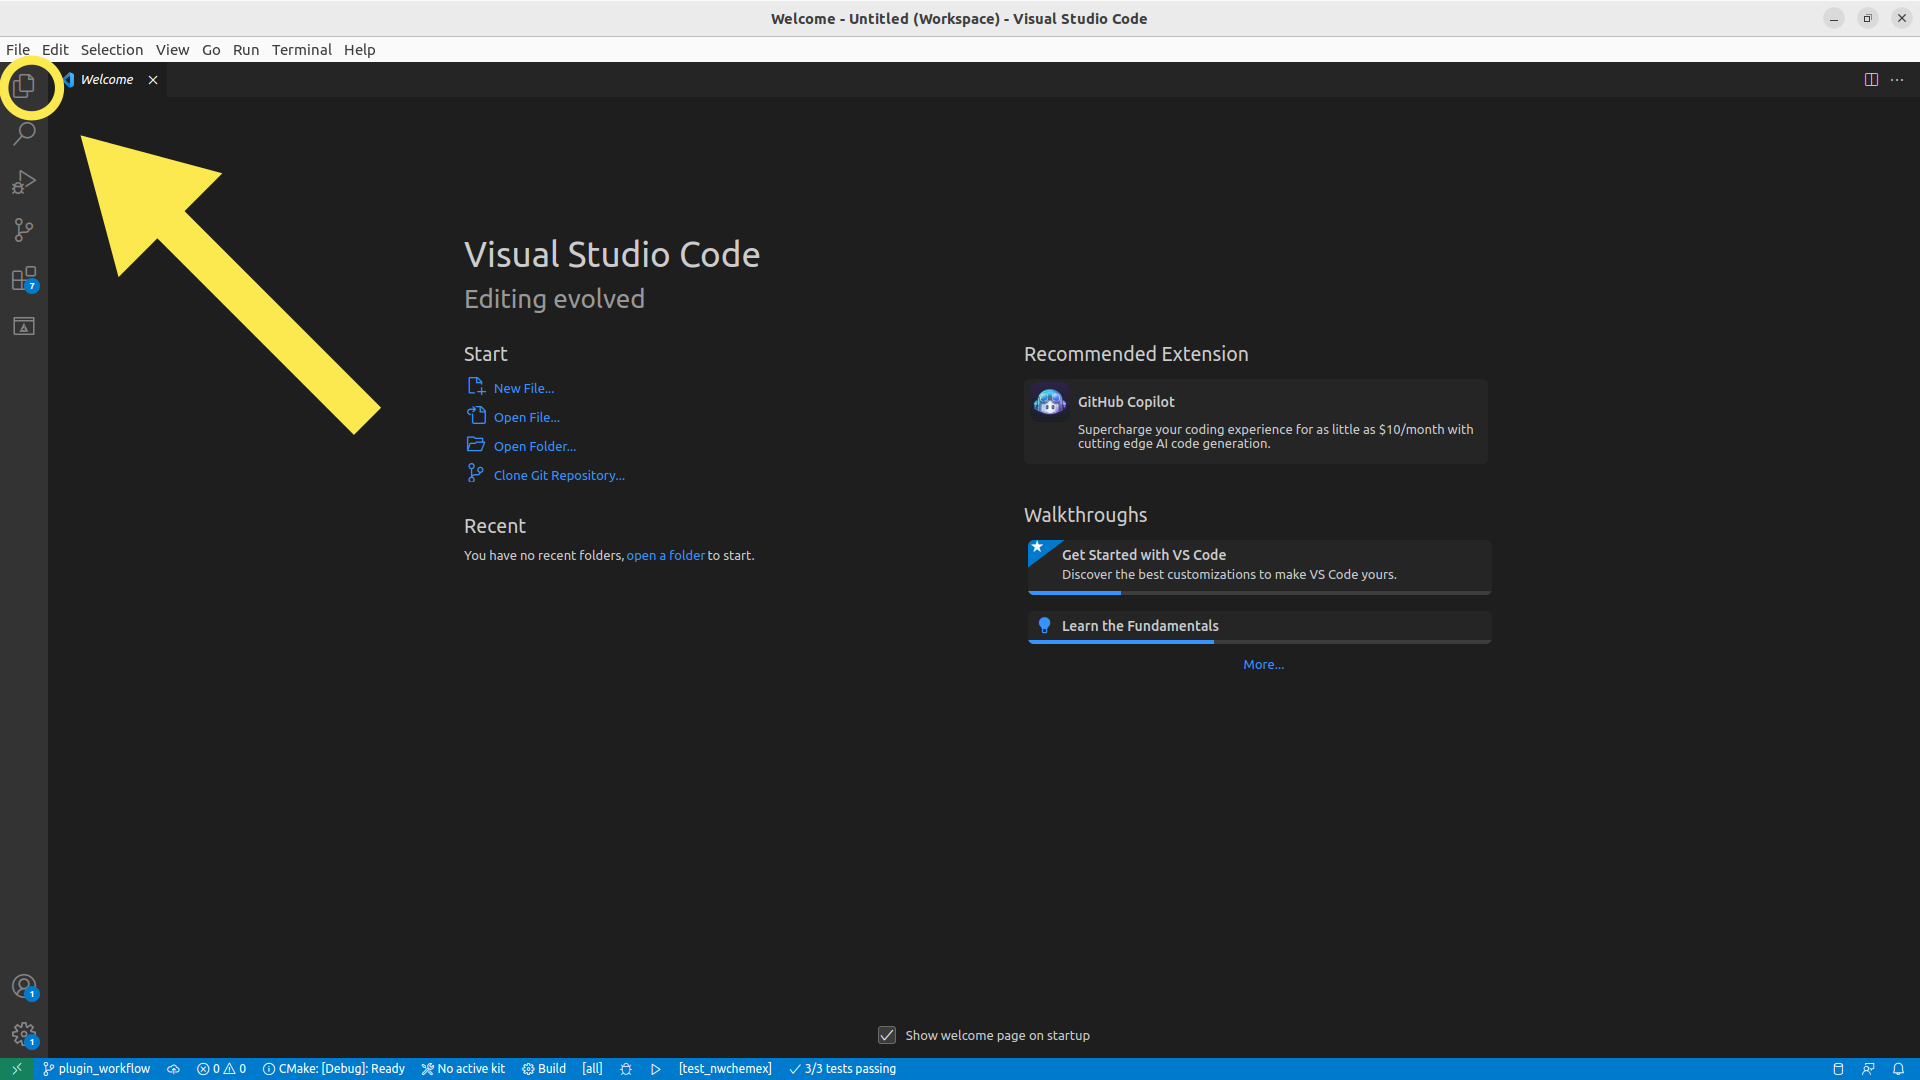
To see the repositories you’ve added so far click on the explorer icon shown
in fig_click_explorer.
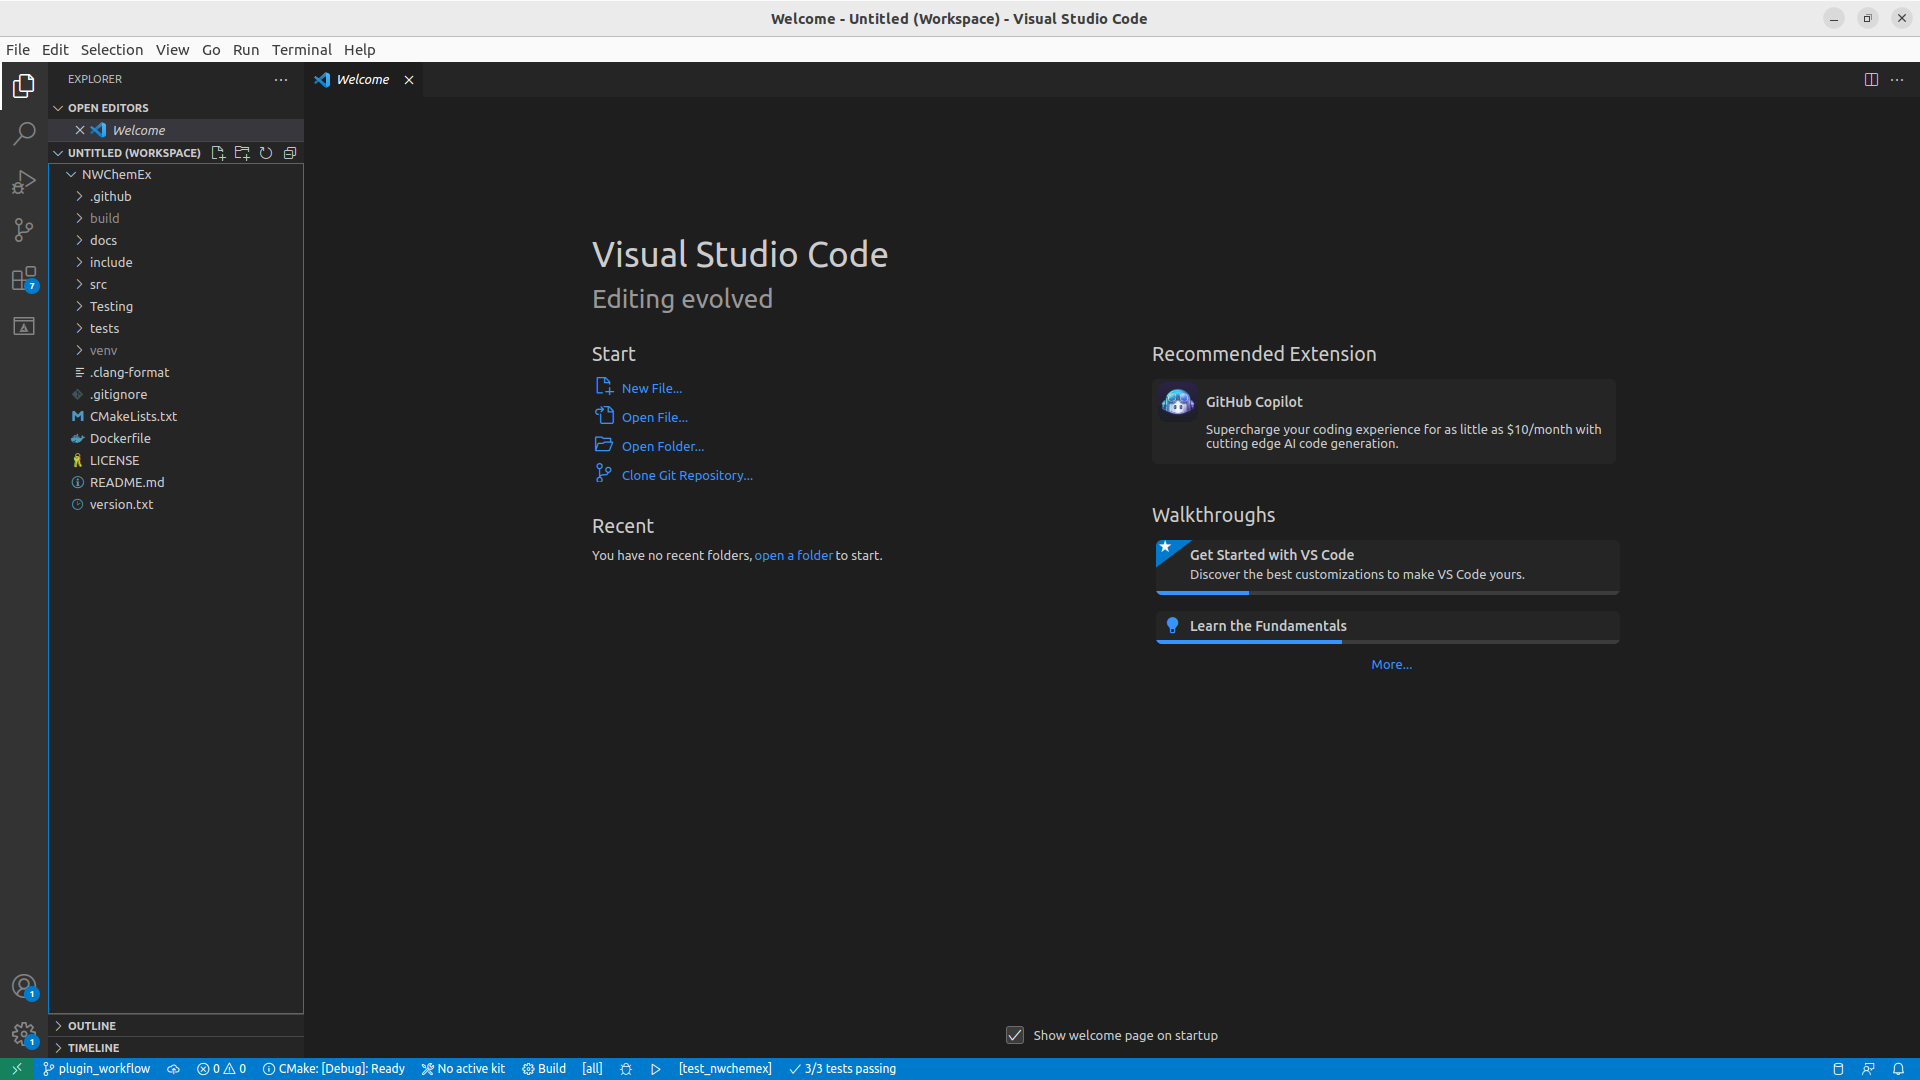
This will open the explorer pane and VSCode will look something like shown
in fig_explorer_open. For developing an NWChemEx module/plugin you
will minimally want to have the repositories for NWChemEx and your plugin in
your workspace. Repeat adding folders for each other repository you want to
have in your workspace.
Note: AFAIK adding each repo individually in this manner is the only way for the CMake extension to properly register the root CMakeLists.txt for each repo.