Setting Up VSCode on MacOS
These instructions were created on 9/16/2025 for macOS Sonoma (Version 14.6.1) targeting VSCode Version 1.93.1.
Obtaining VSCode
The easiest way to obtain VSCode is from their
website. Select the version you
want, download it, open the downloaded file, and copy the application to the
Applications directory.
Setup From Fresh Install
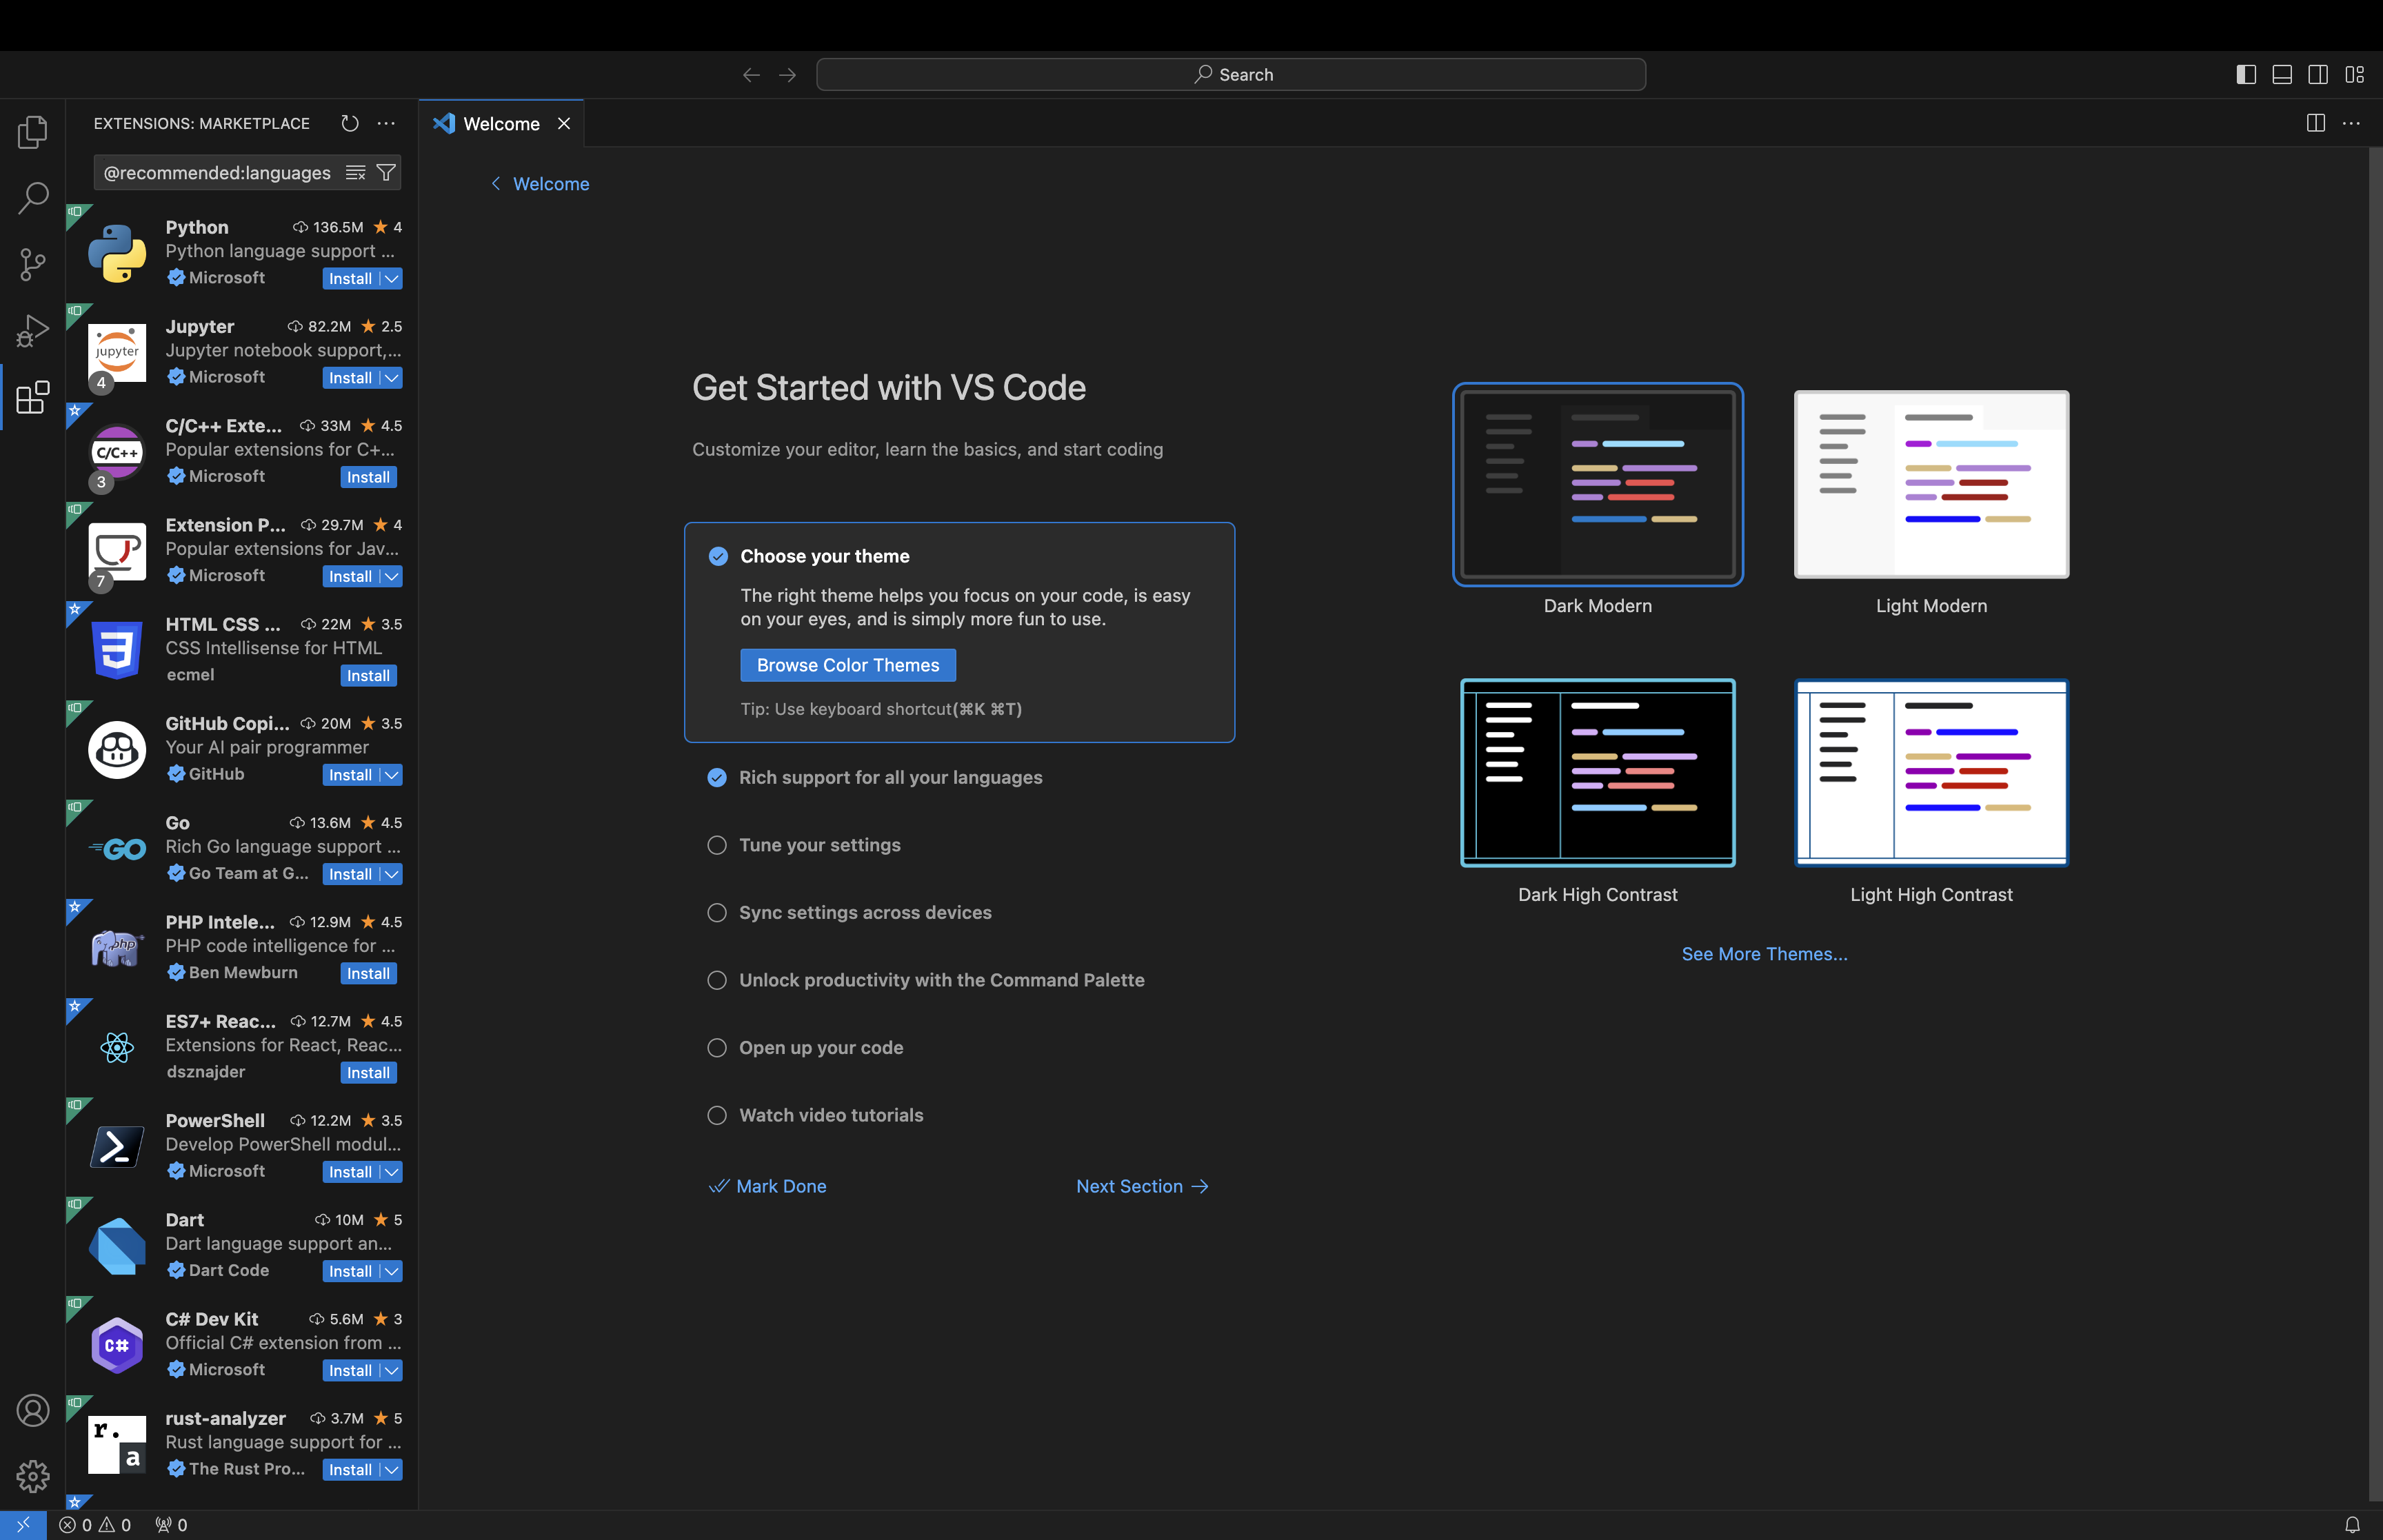
When you start up VSCode you’ll be greeted with the “Get Started with VS Code” screen.
- Pick your preferred theme.
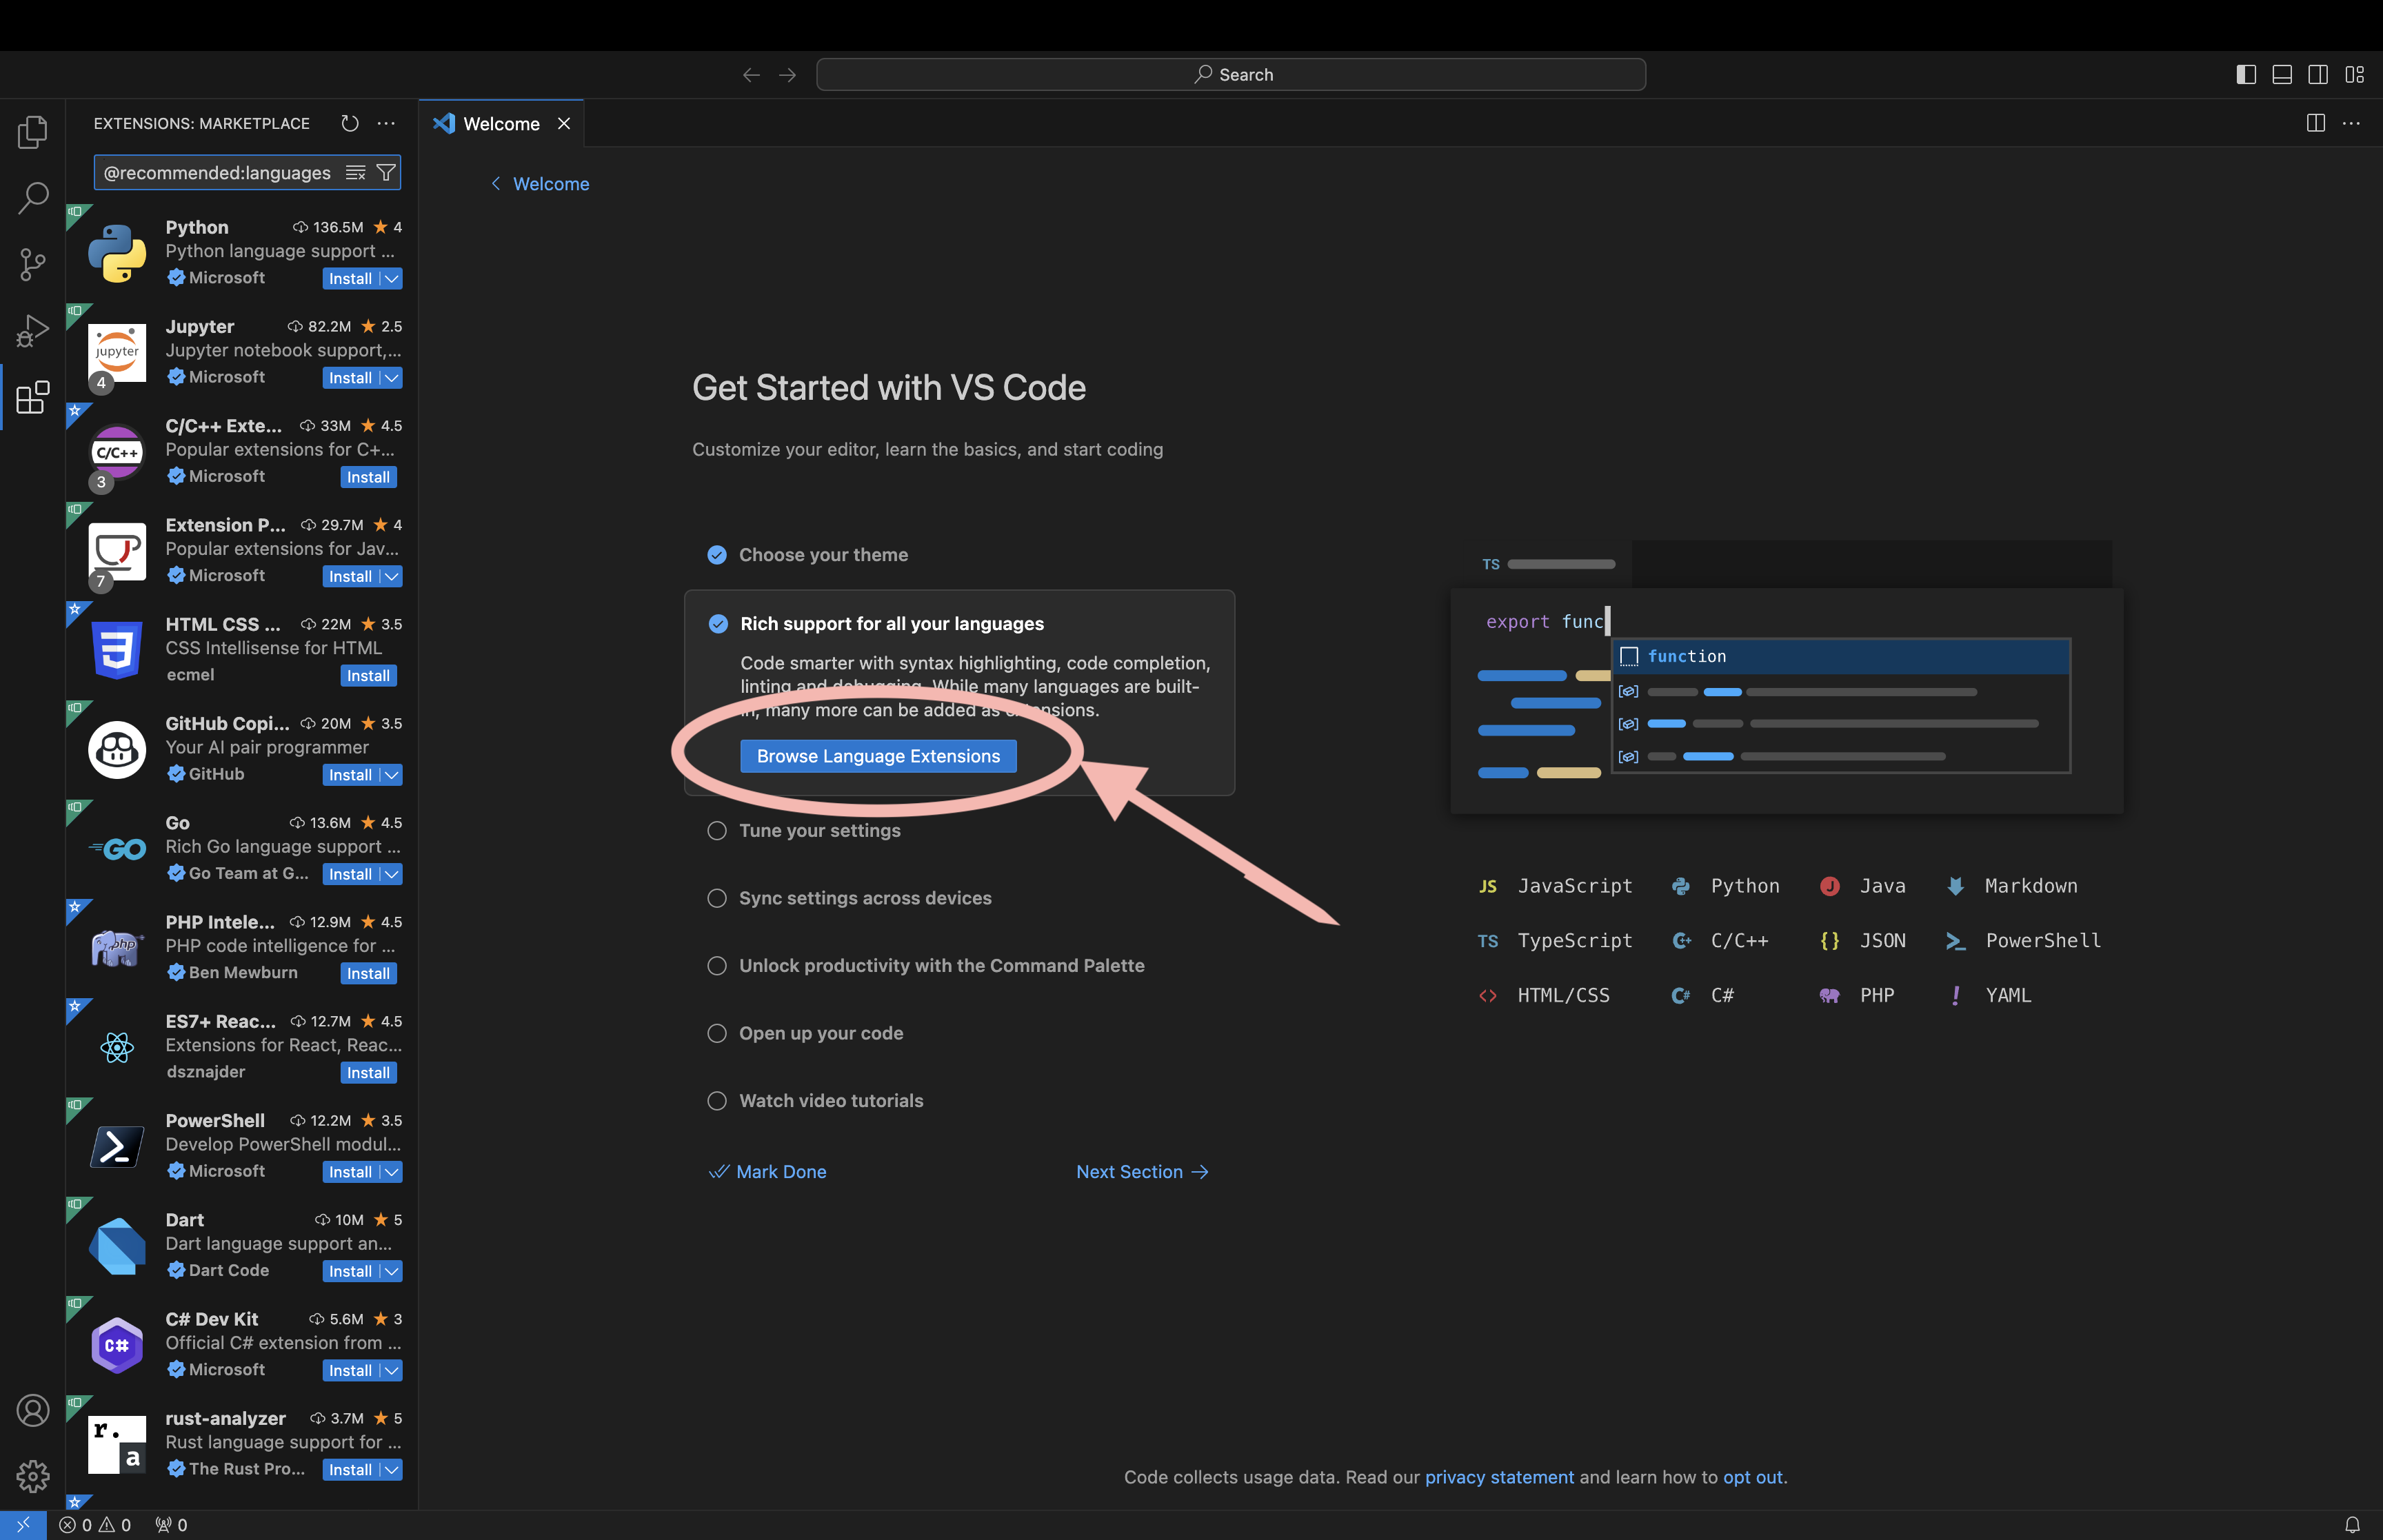
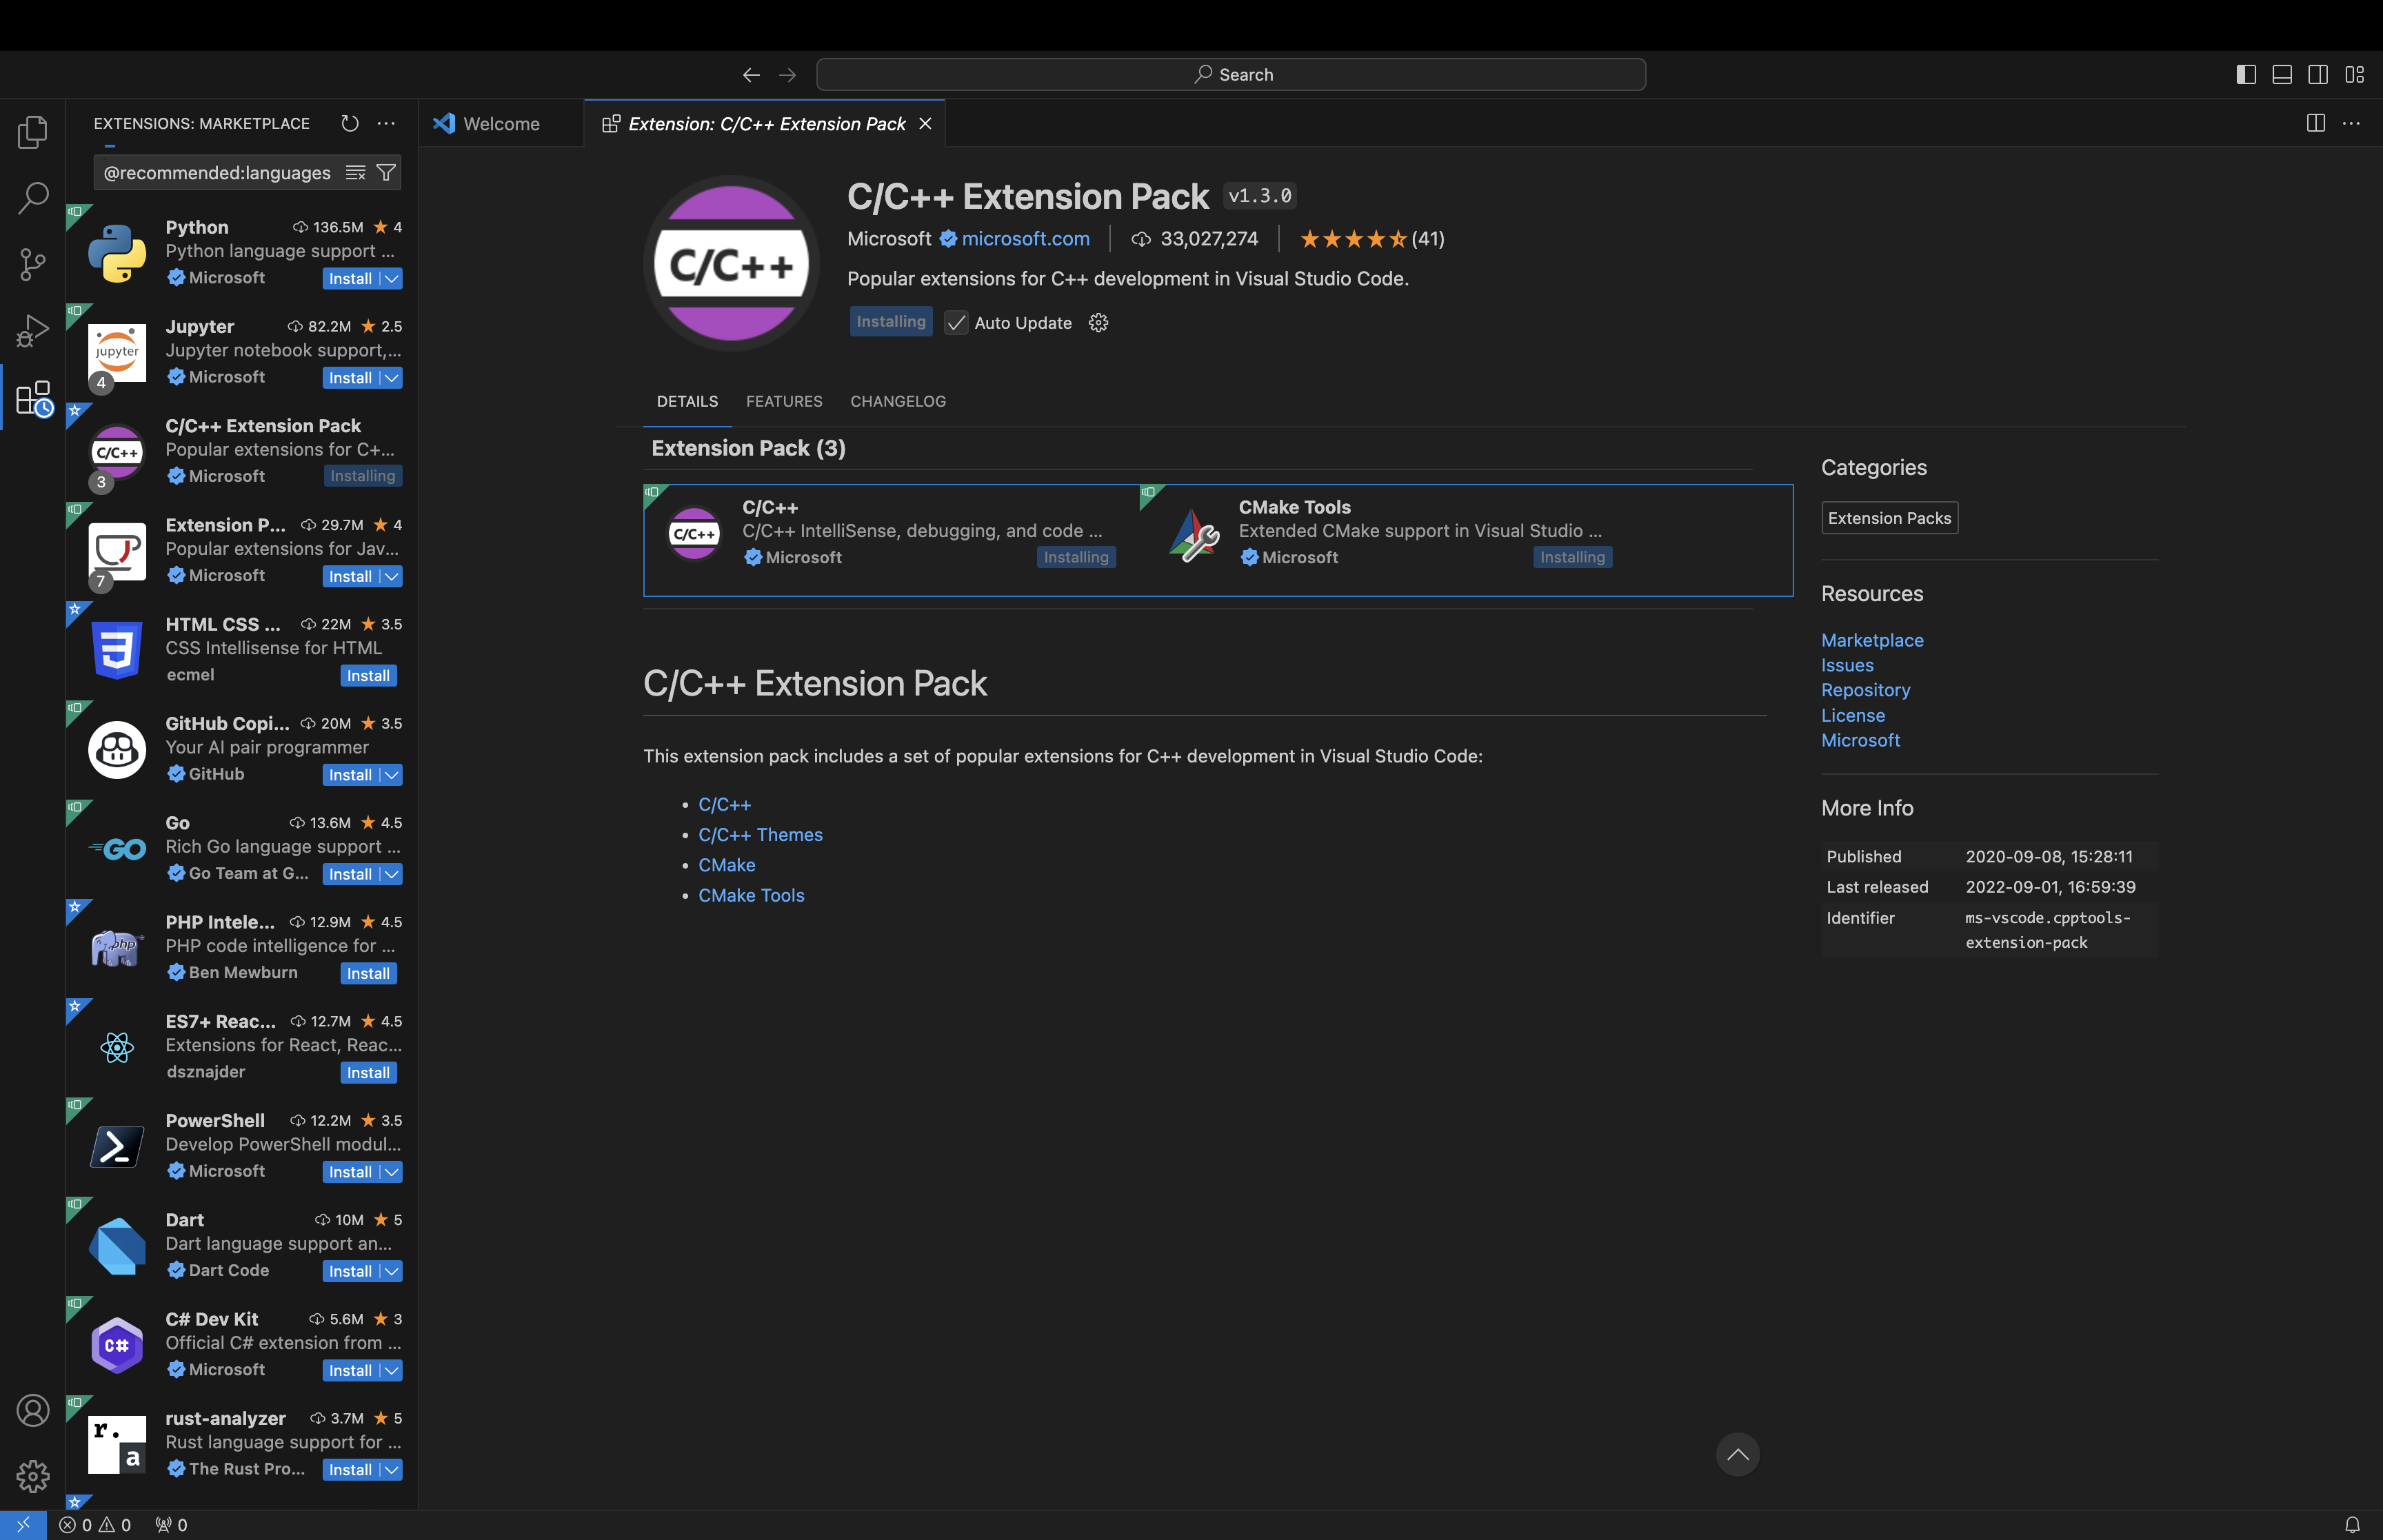
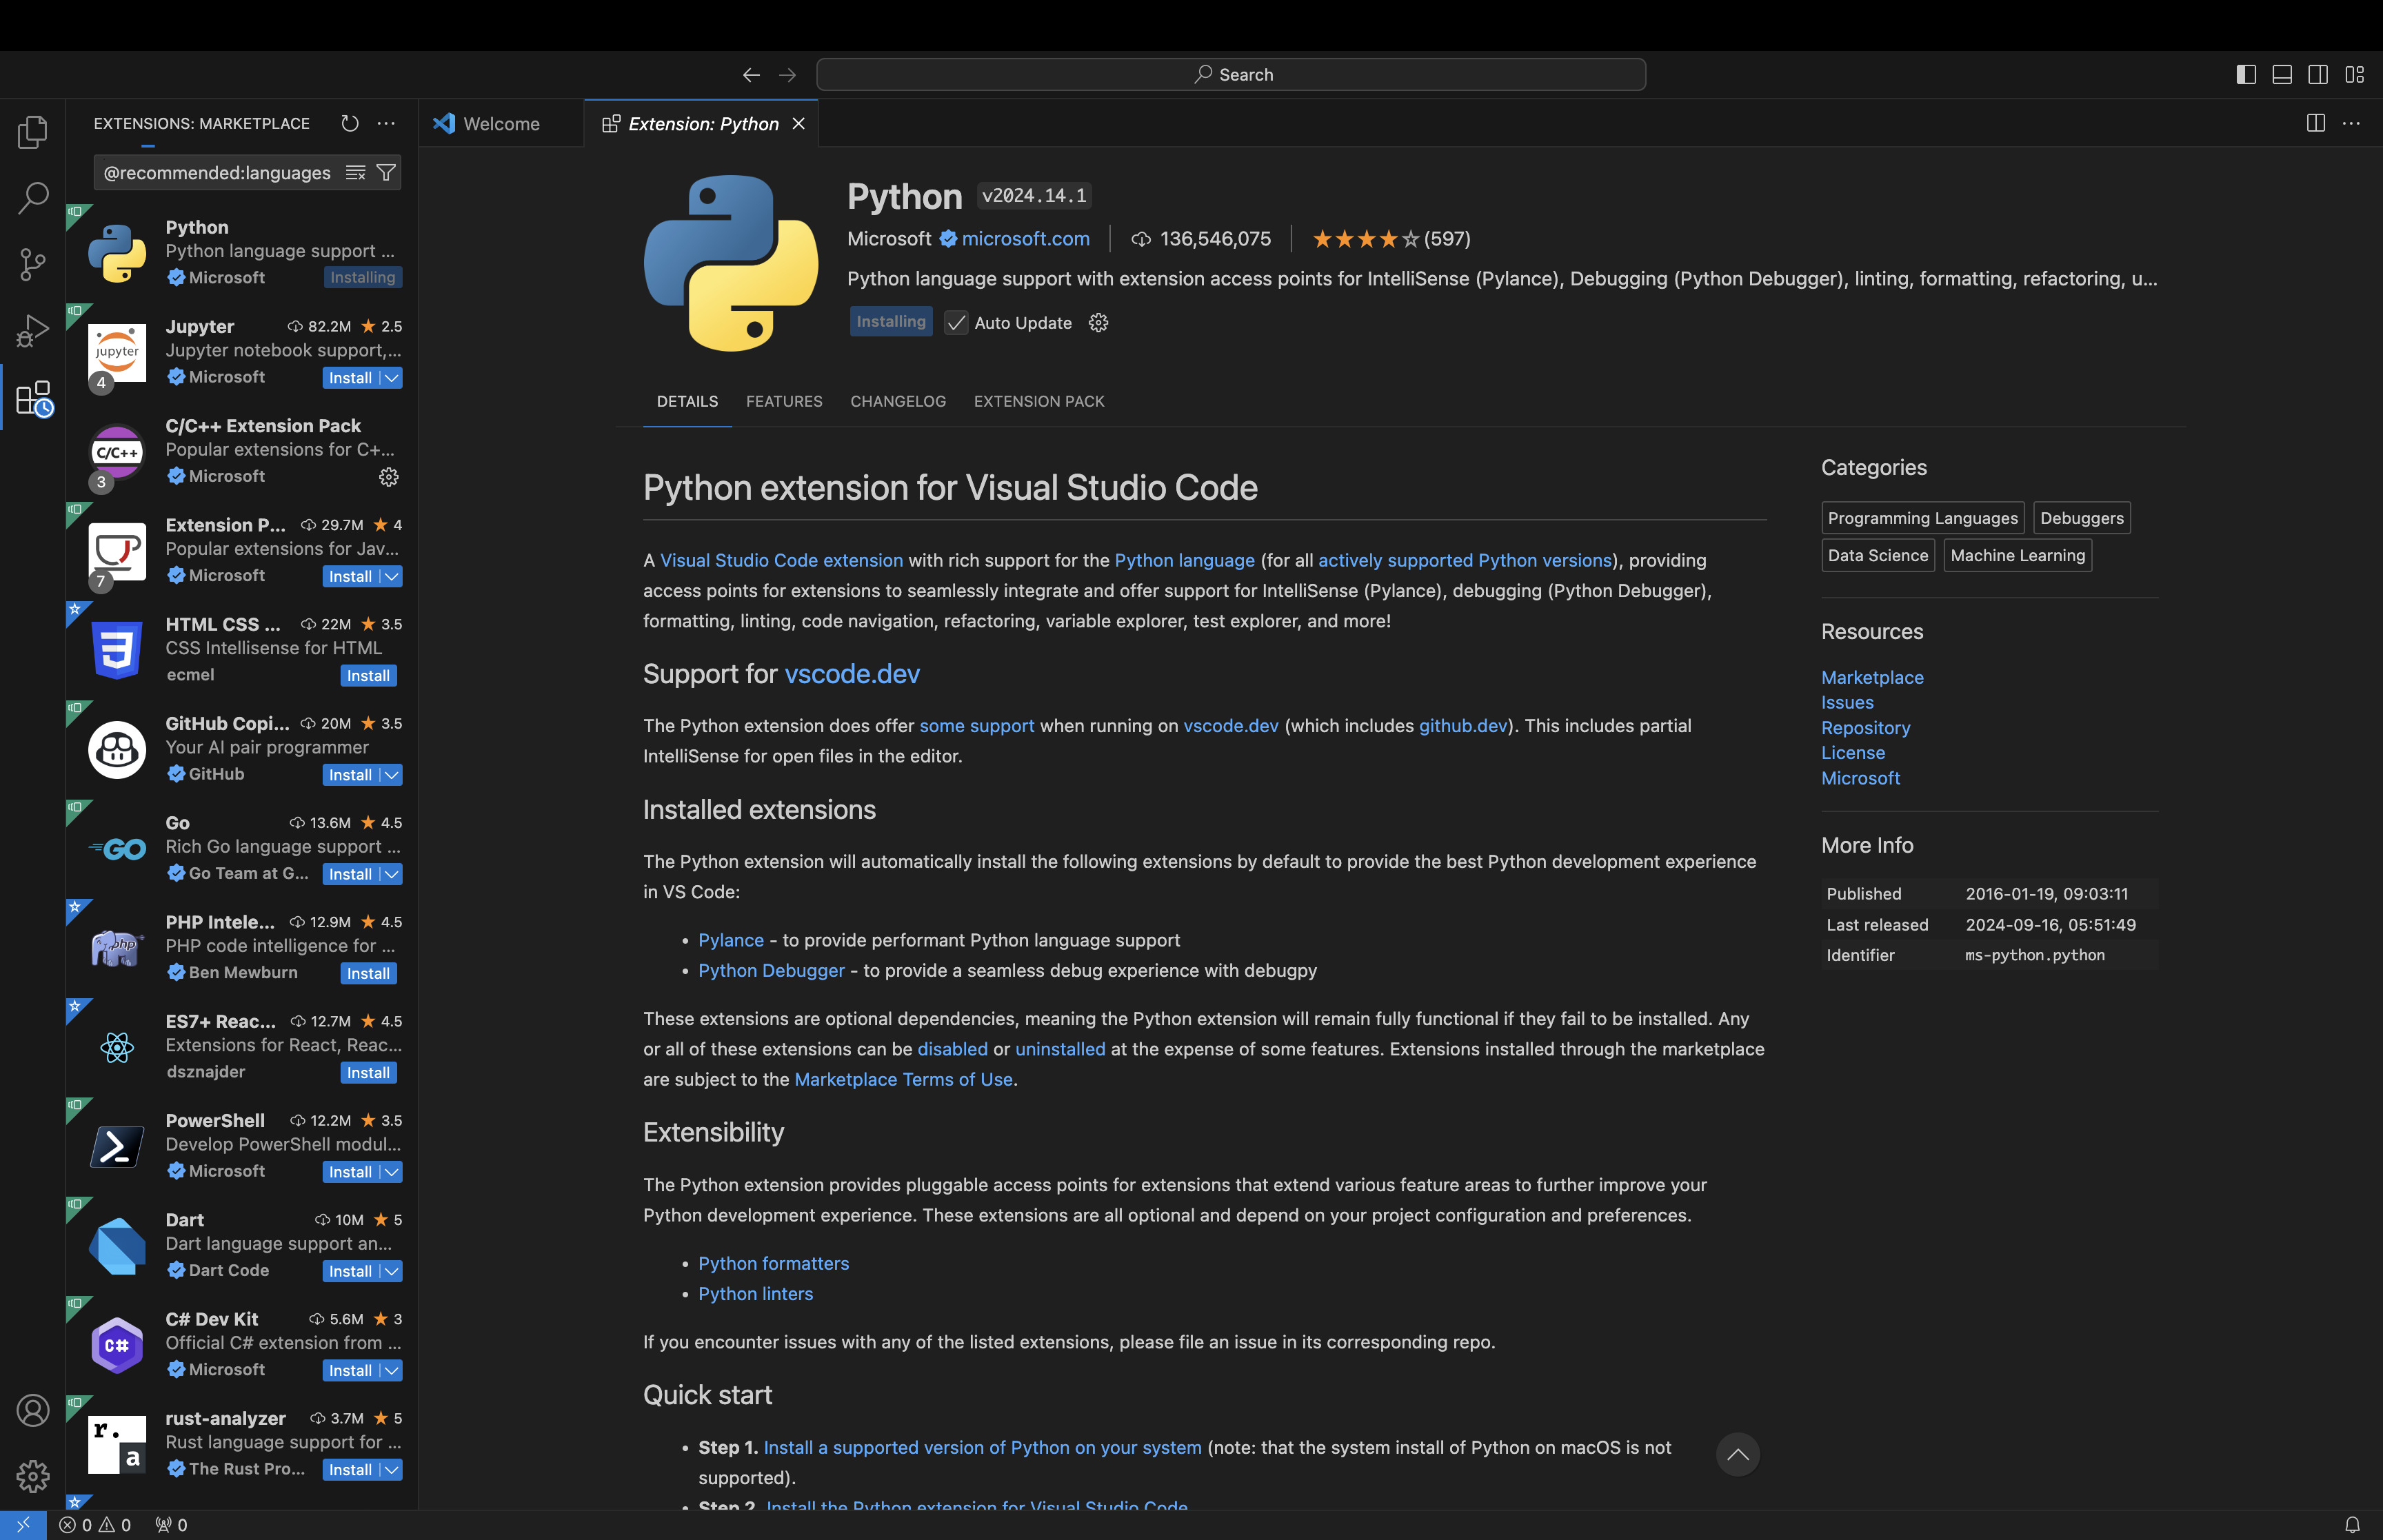
- Pick your languages. We want the C/C++, and Python language extensions.
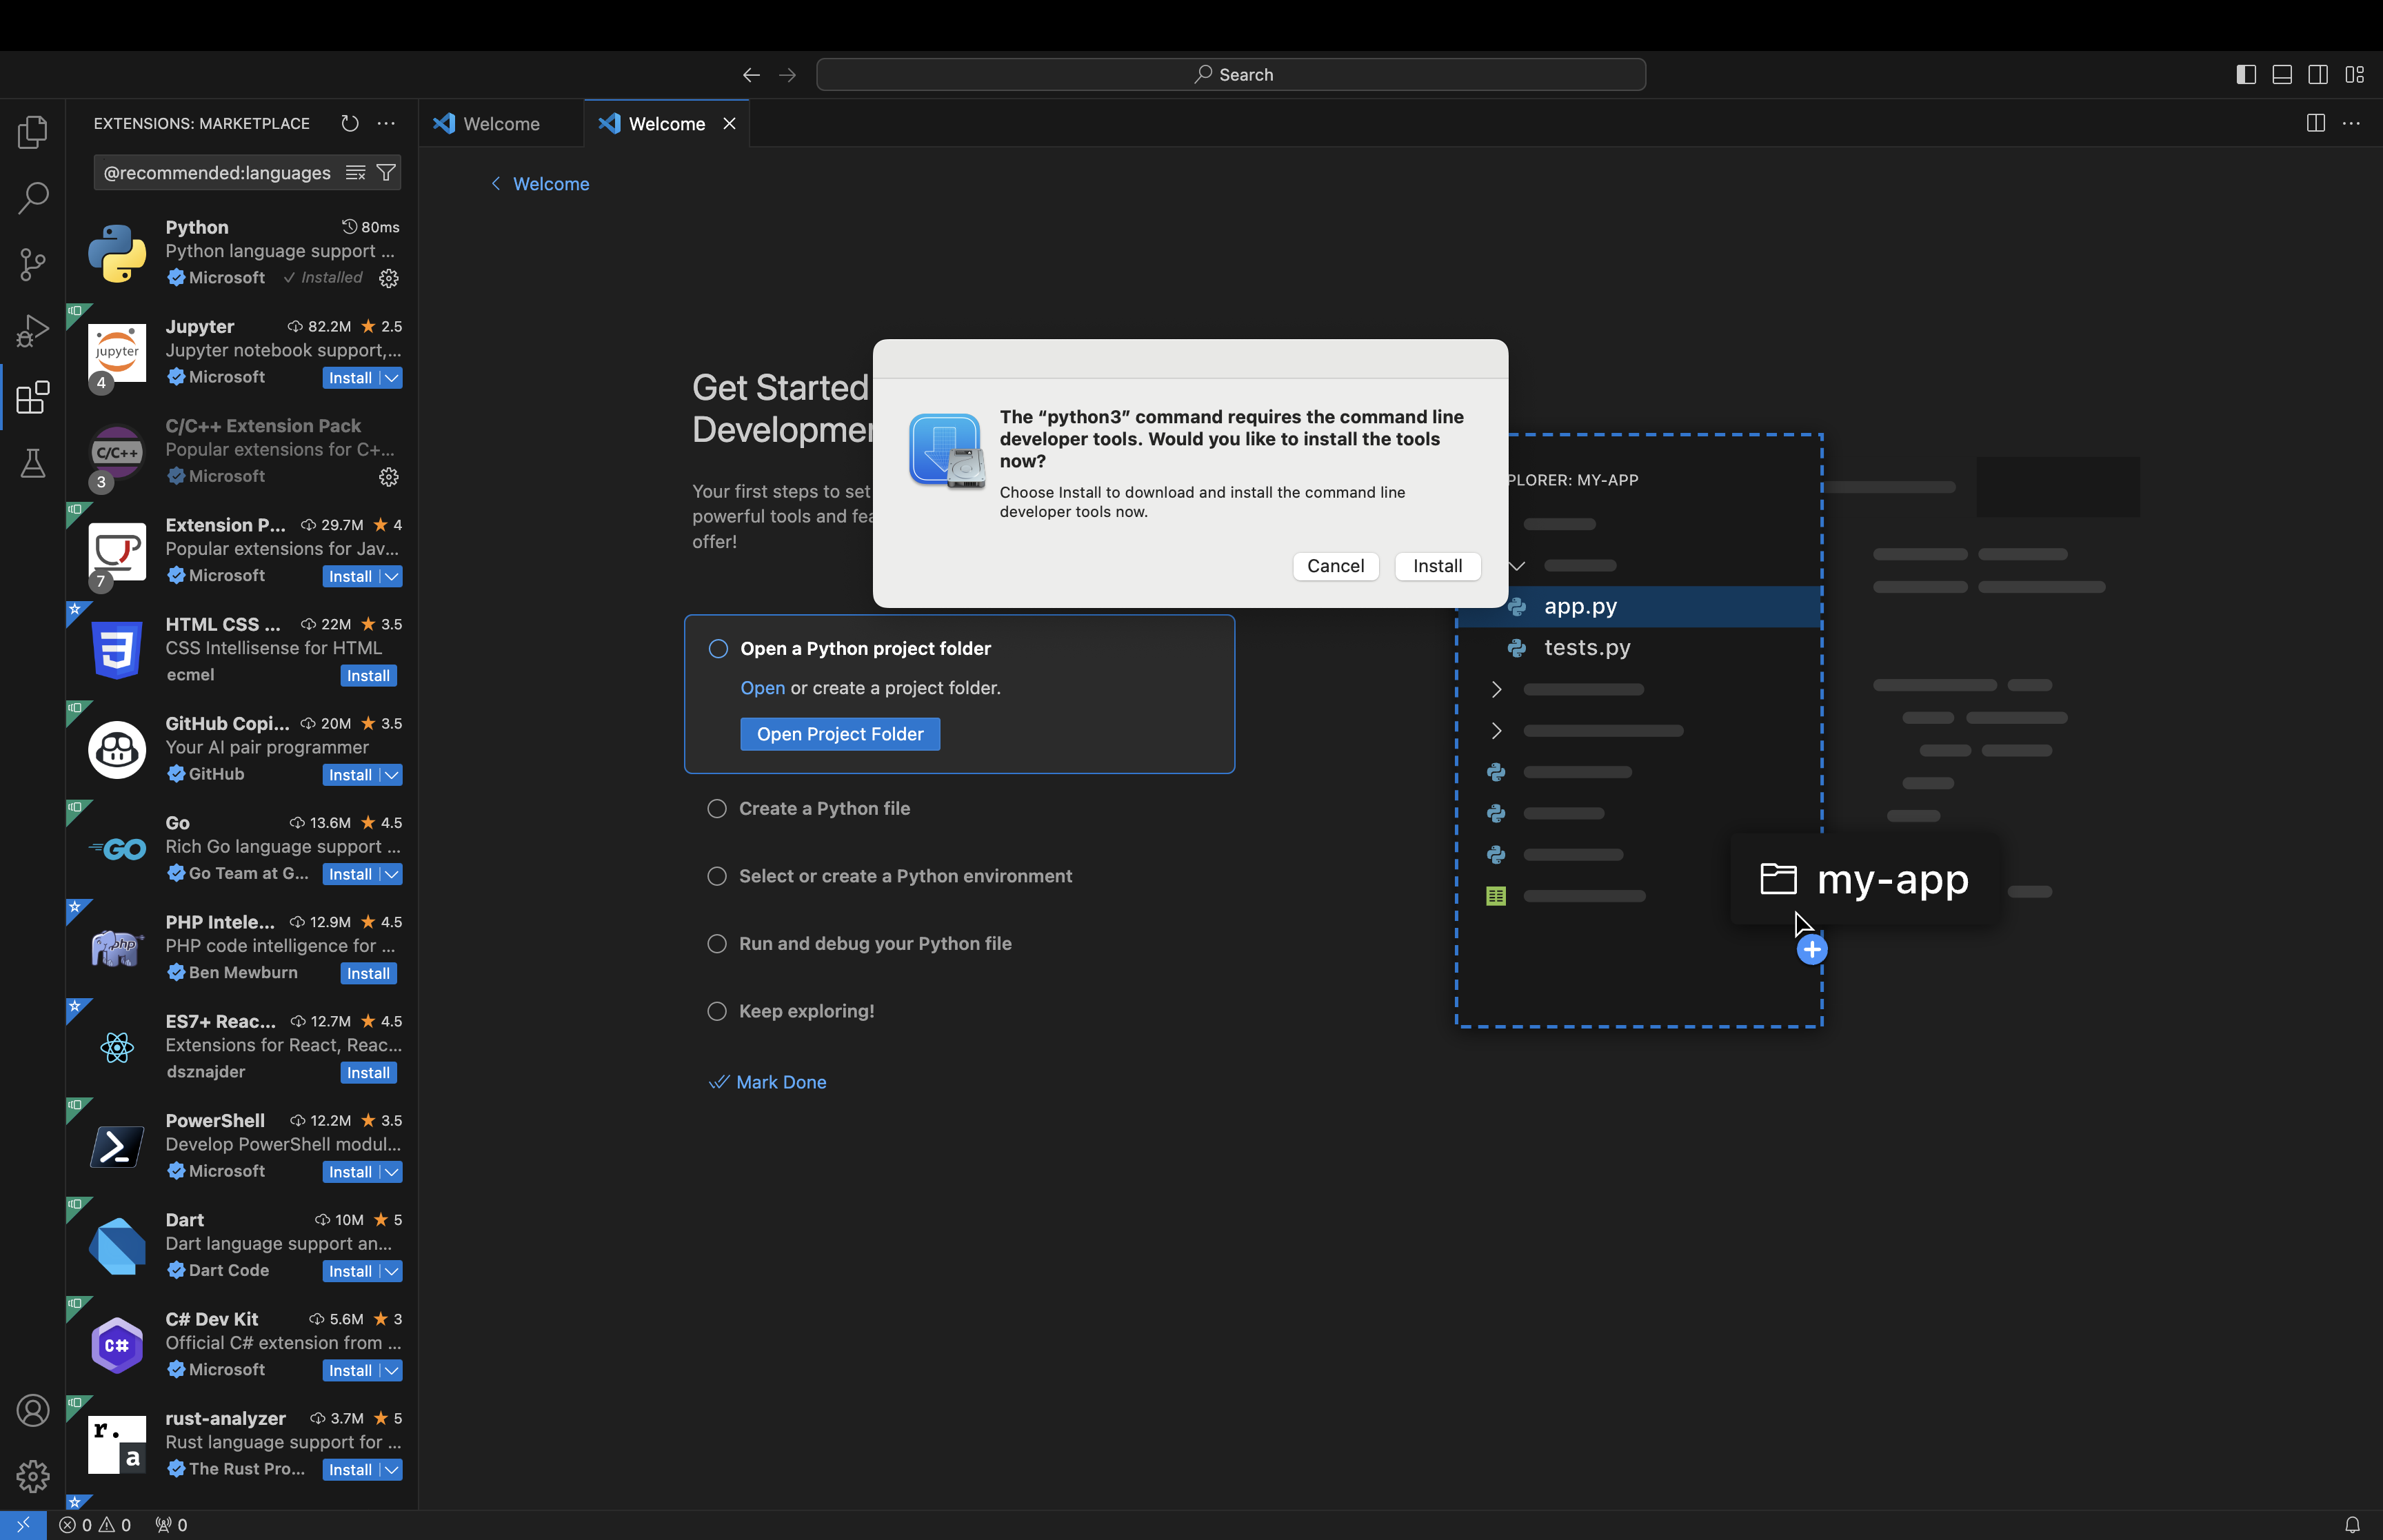
- If you have not previously installed “command line developer tools” follow the prompts.
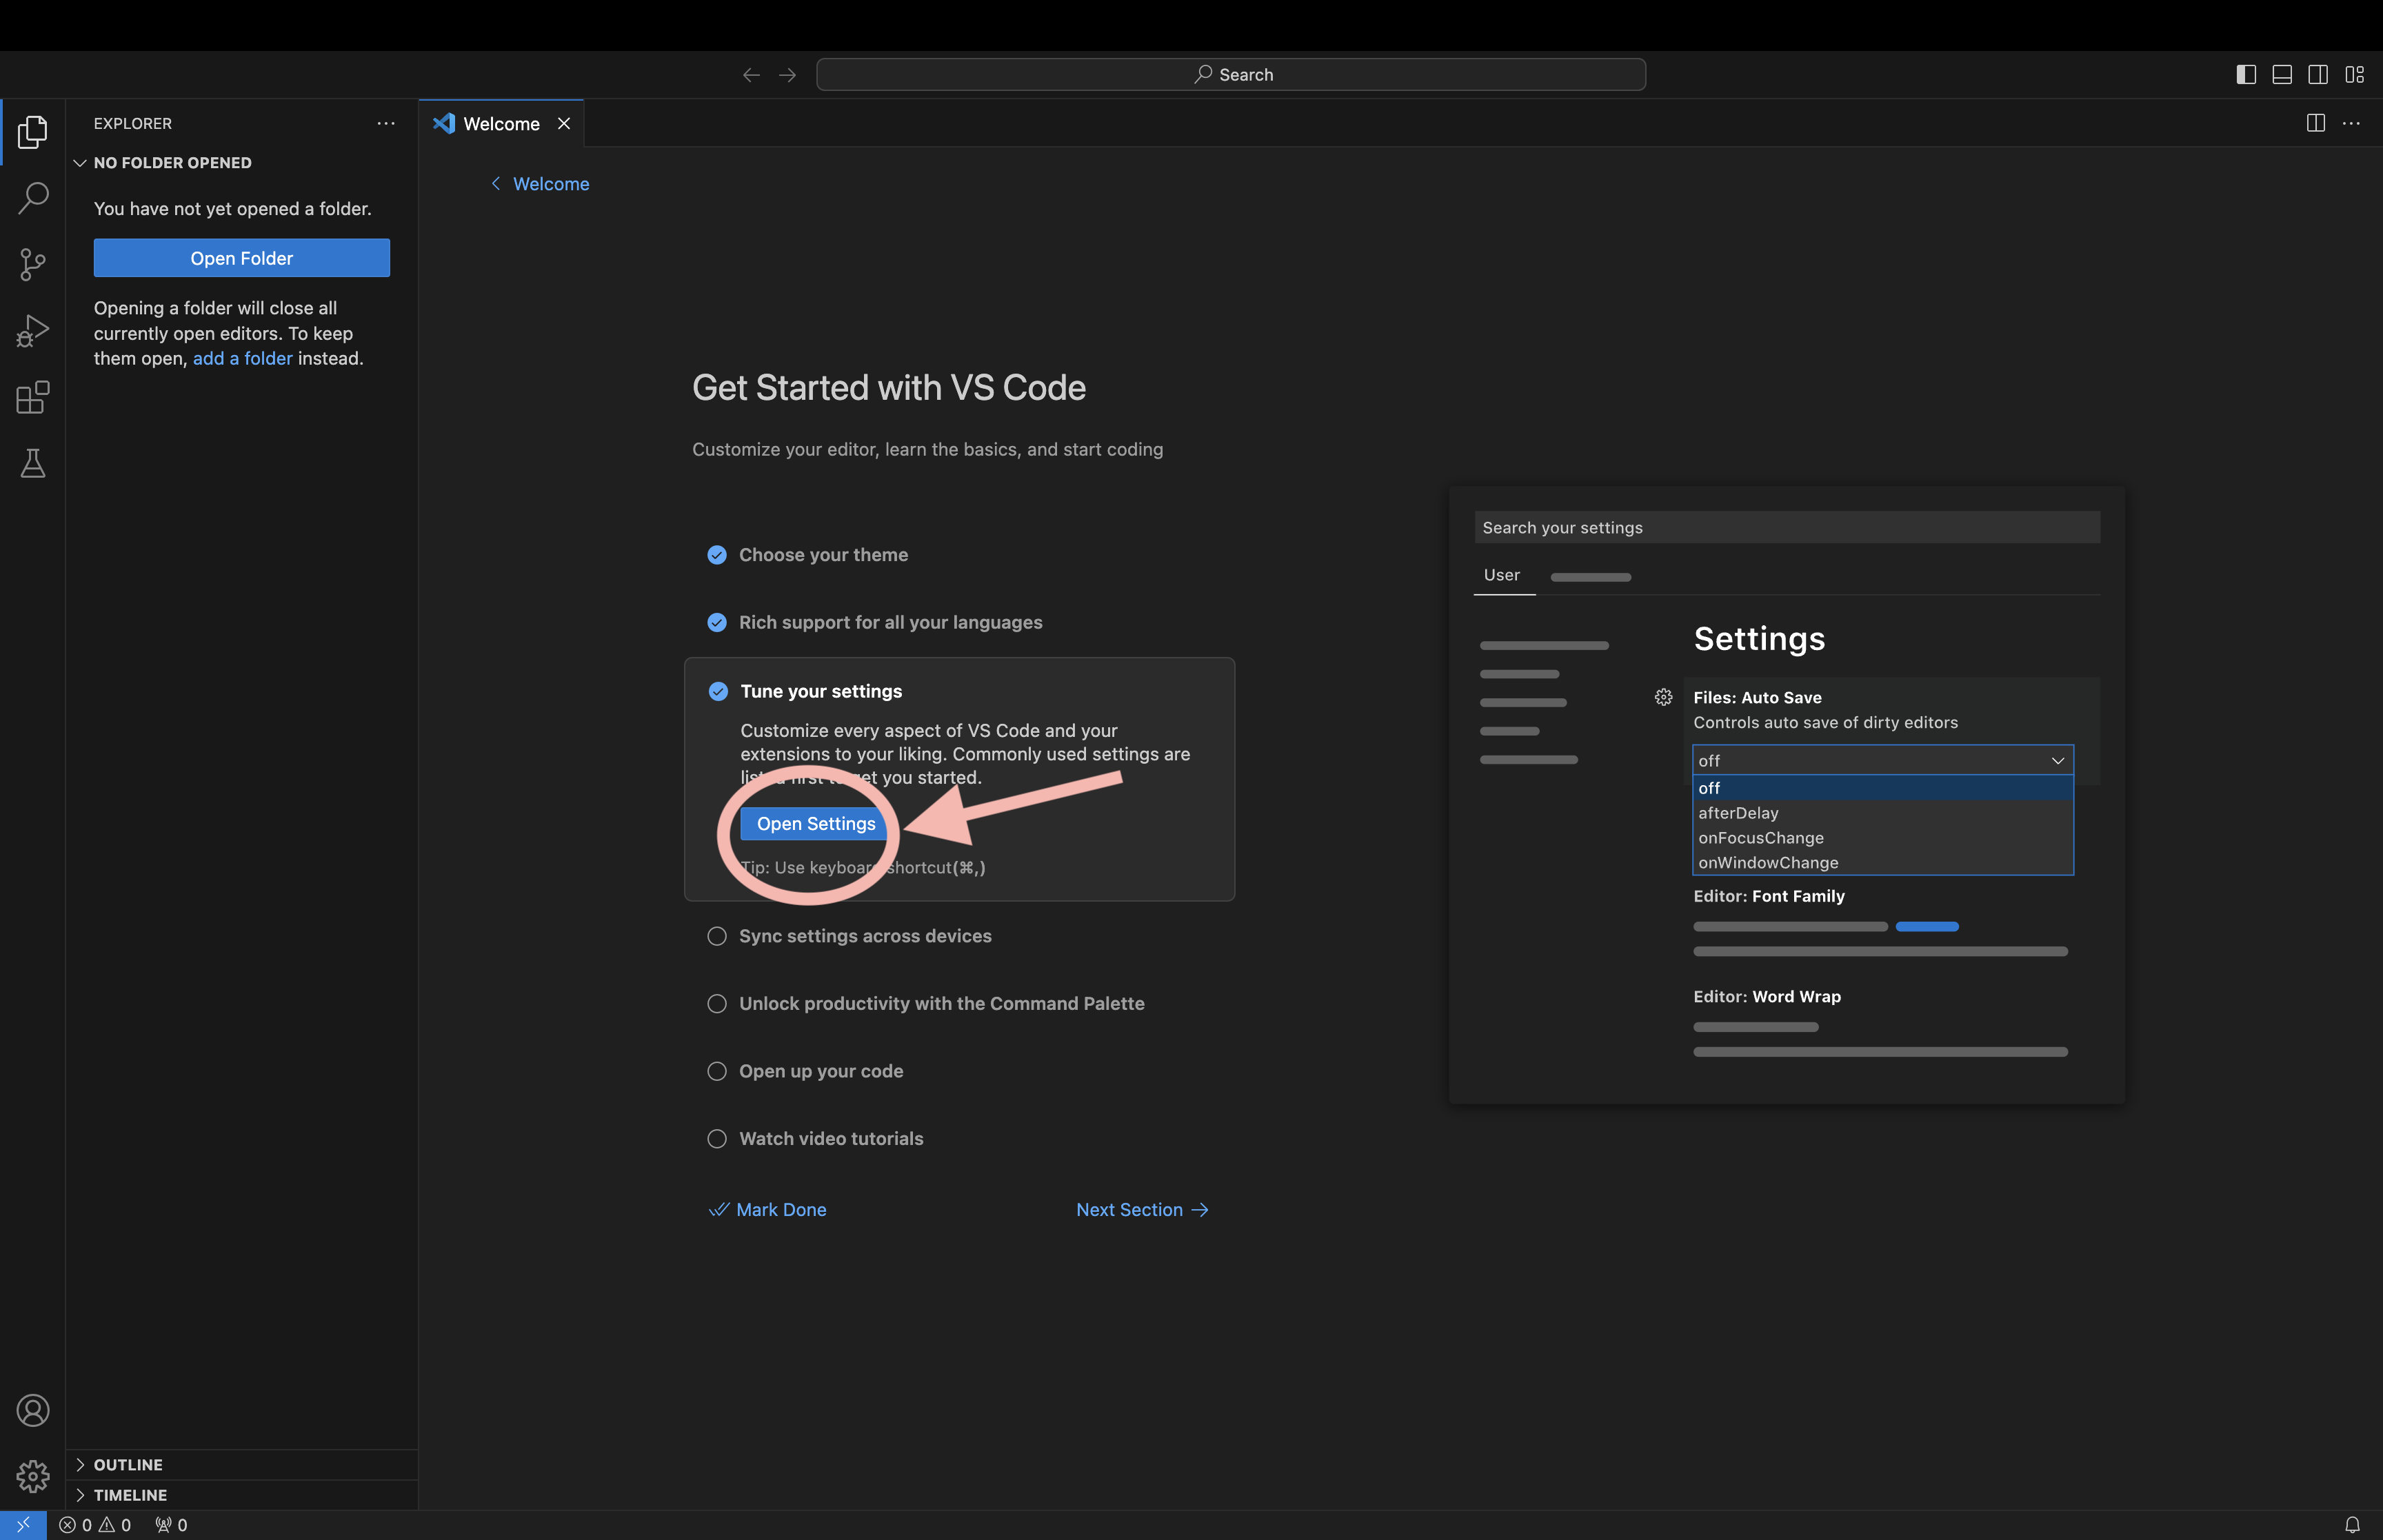
- Tune your settings. Click “Open Settings”.
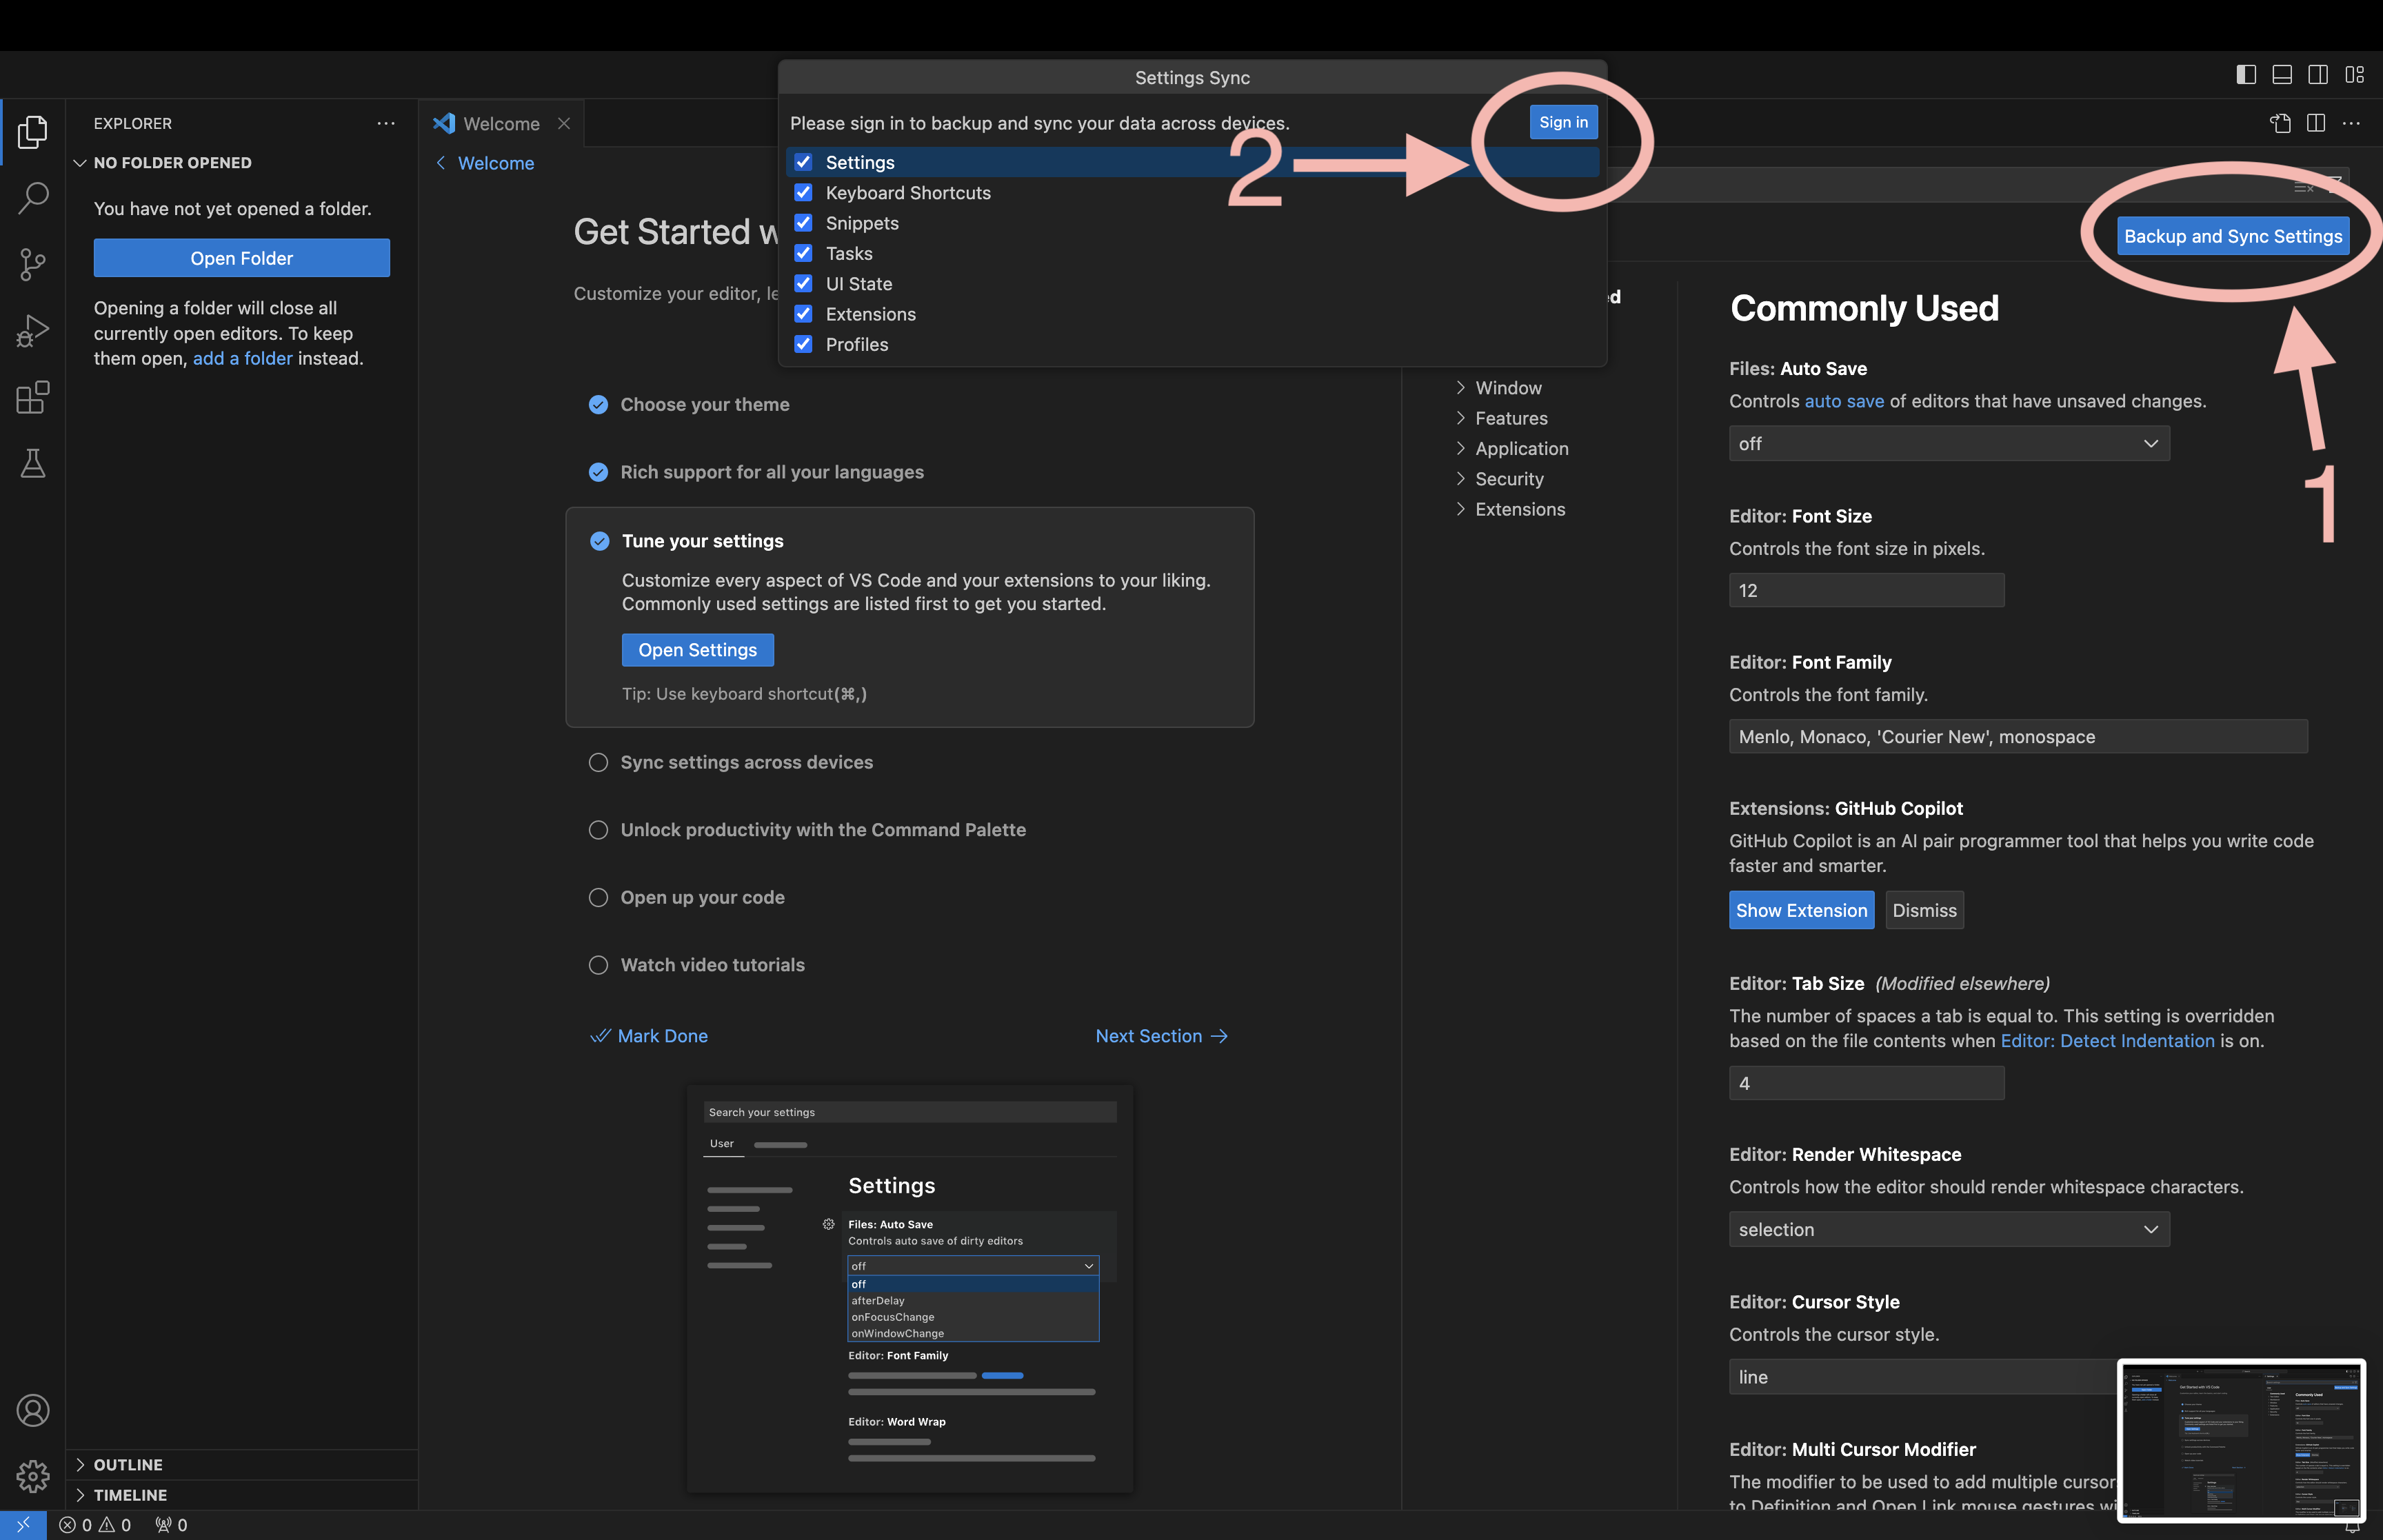
- Recommended to enable backup and sync settings. If you want do this then sign in before changing any options.
- Settings to consider (you can search for them to quickly find them):
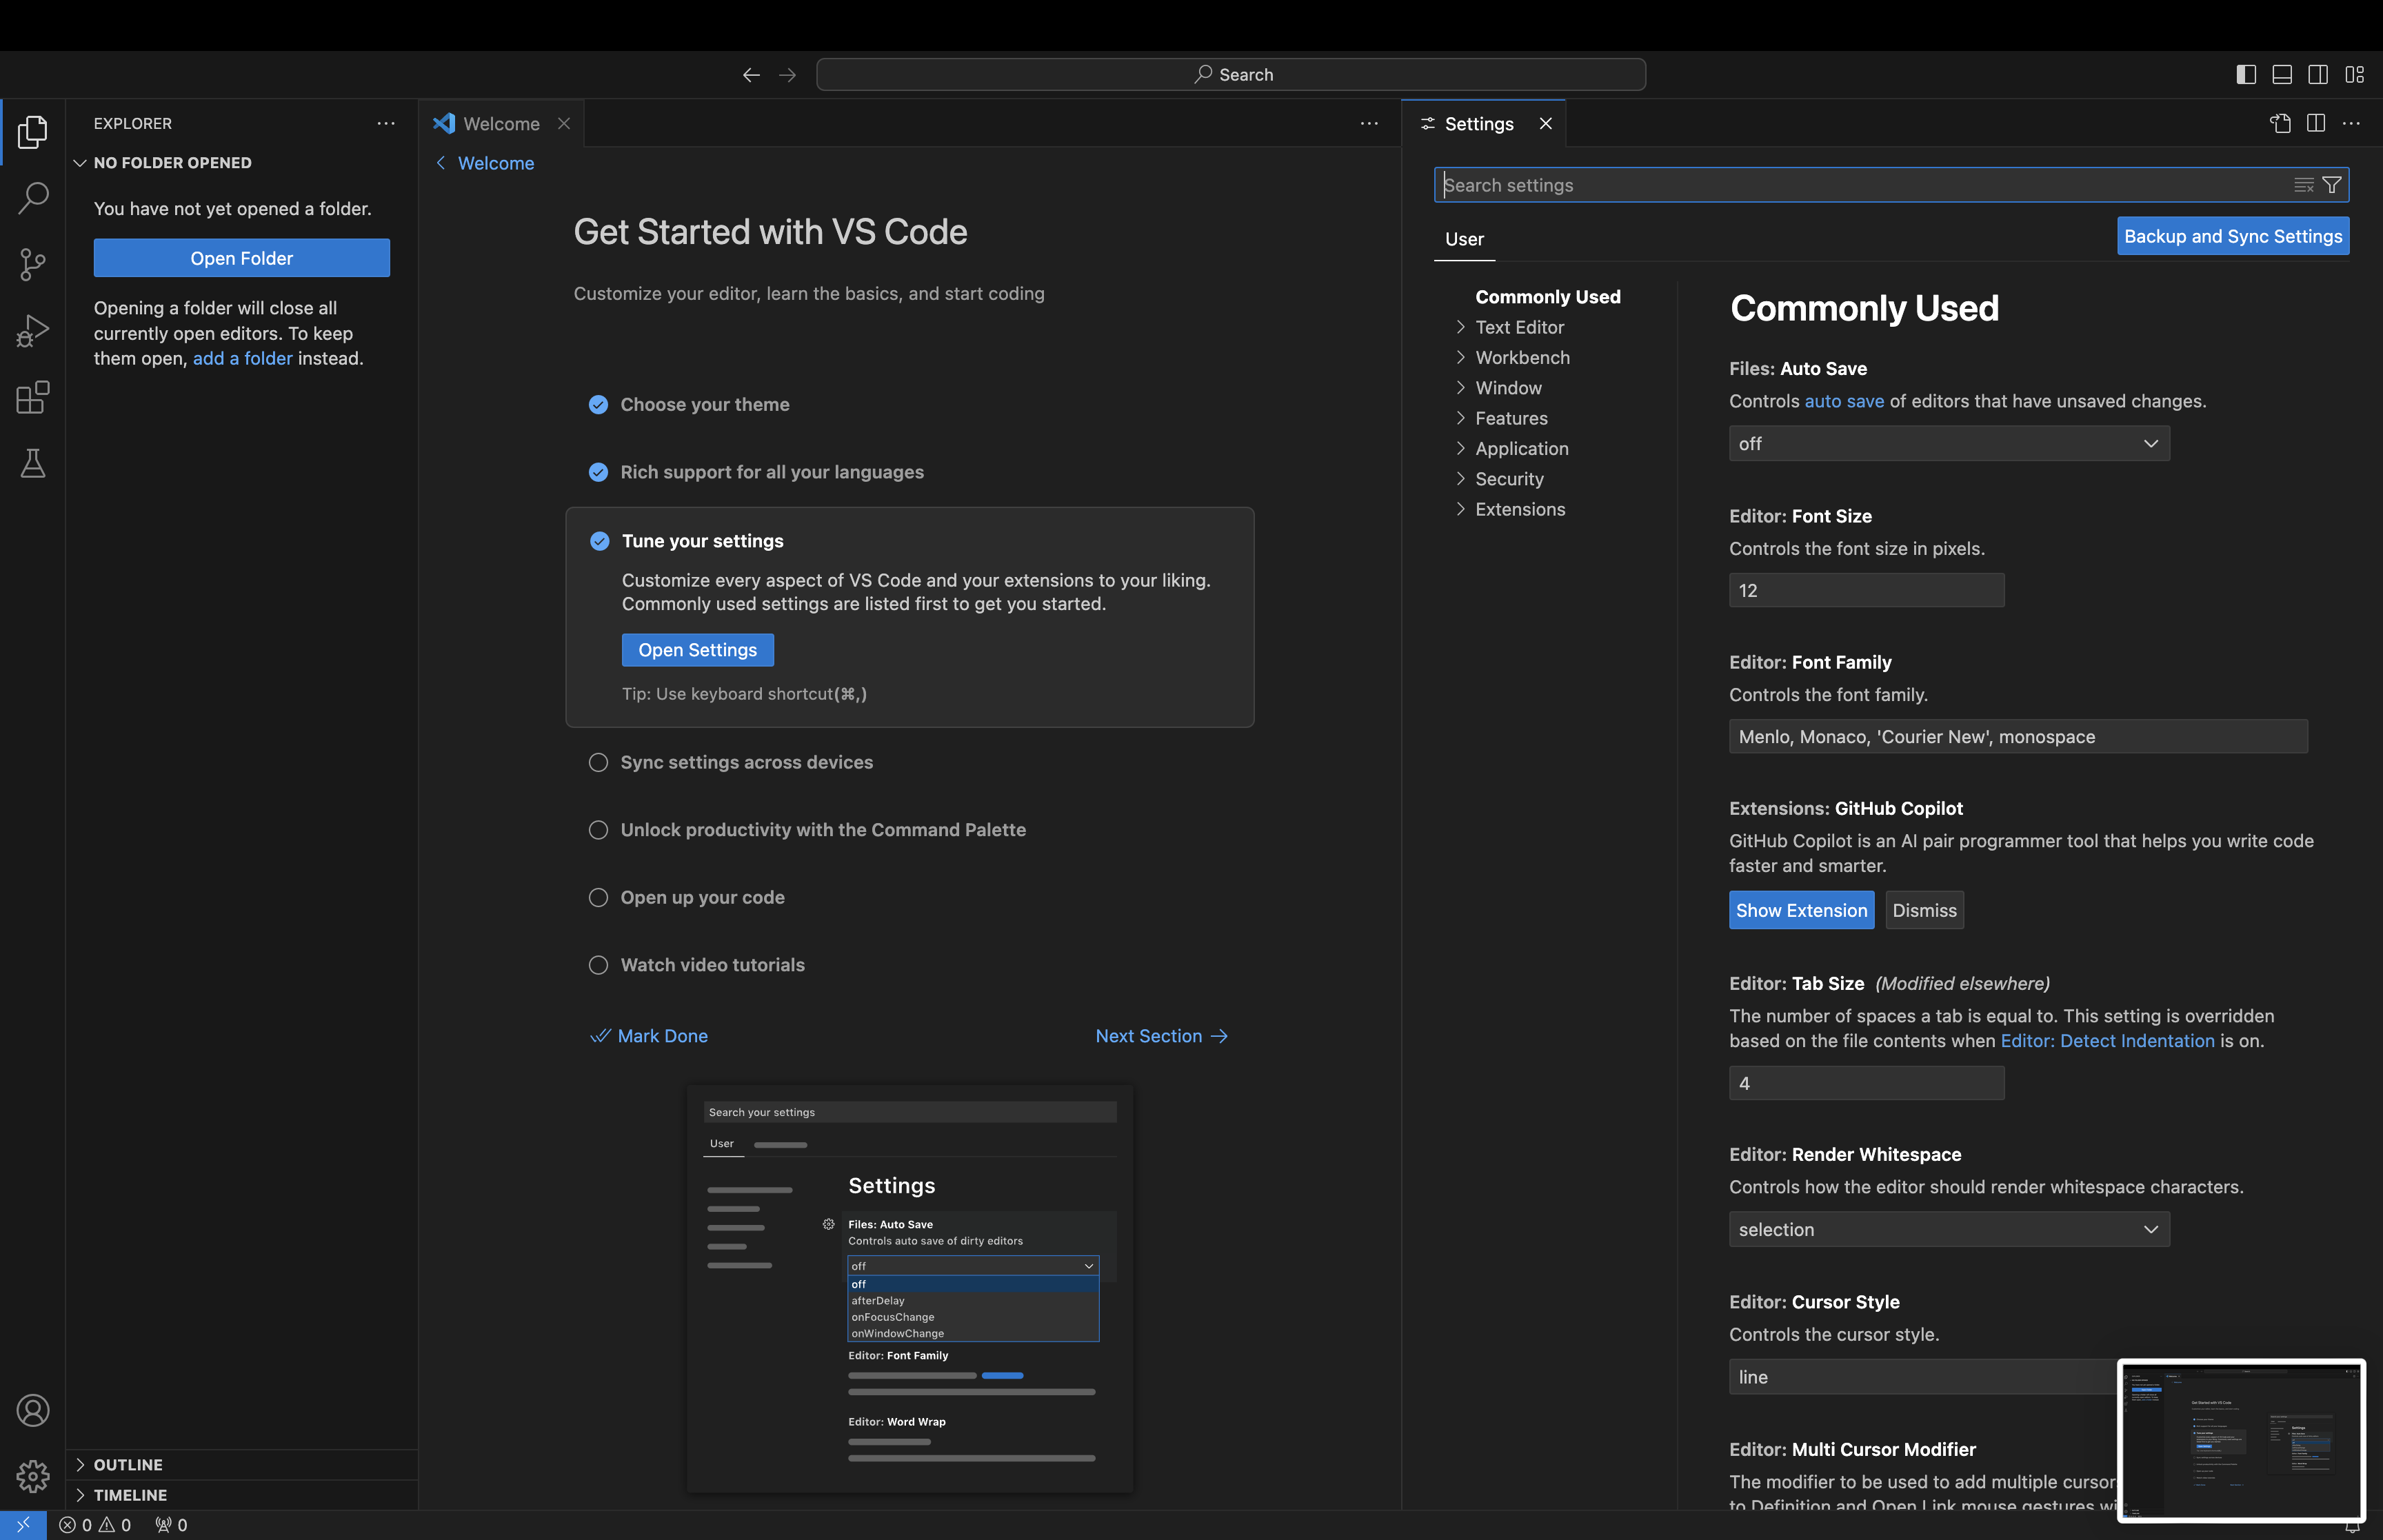
  - Files: Auto Save
  - Editor: Rulers (we're sticklers for 80 character lines)
  - CMake: Options: Status Bar Visibility (set to visible)
Note: With setting synching on make sure you don’t set any user setting to a workspace specific path or it will be set across all your accounts.
- At this point you’re free to follow the remaining “Get Started” steps, but VSCode is mainly interested in showing you how to start a new project and we want to use an existing one.
Creating an NWChemEx Development Environment
Now that you have VSCode initialized we will create a development environment,
or as VSCode calls it, a “workspace”. Workspaces reside in directories so go
ahead and create the directory for the workspace now. We recommend something
like /Users/your_username/nwchemex (you can create the directory in Finder
or via terminal). The remainder of this tutorial refers to this directory as
the “workspace directory”.
Adding Repositories
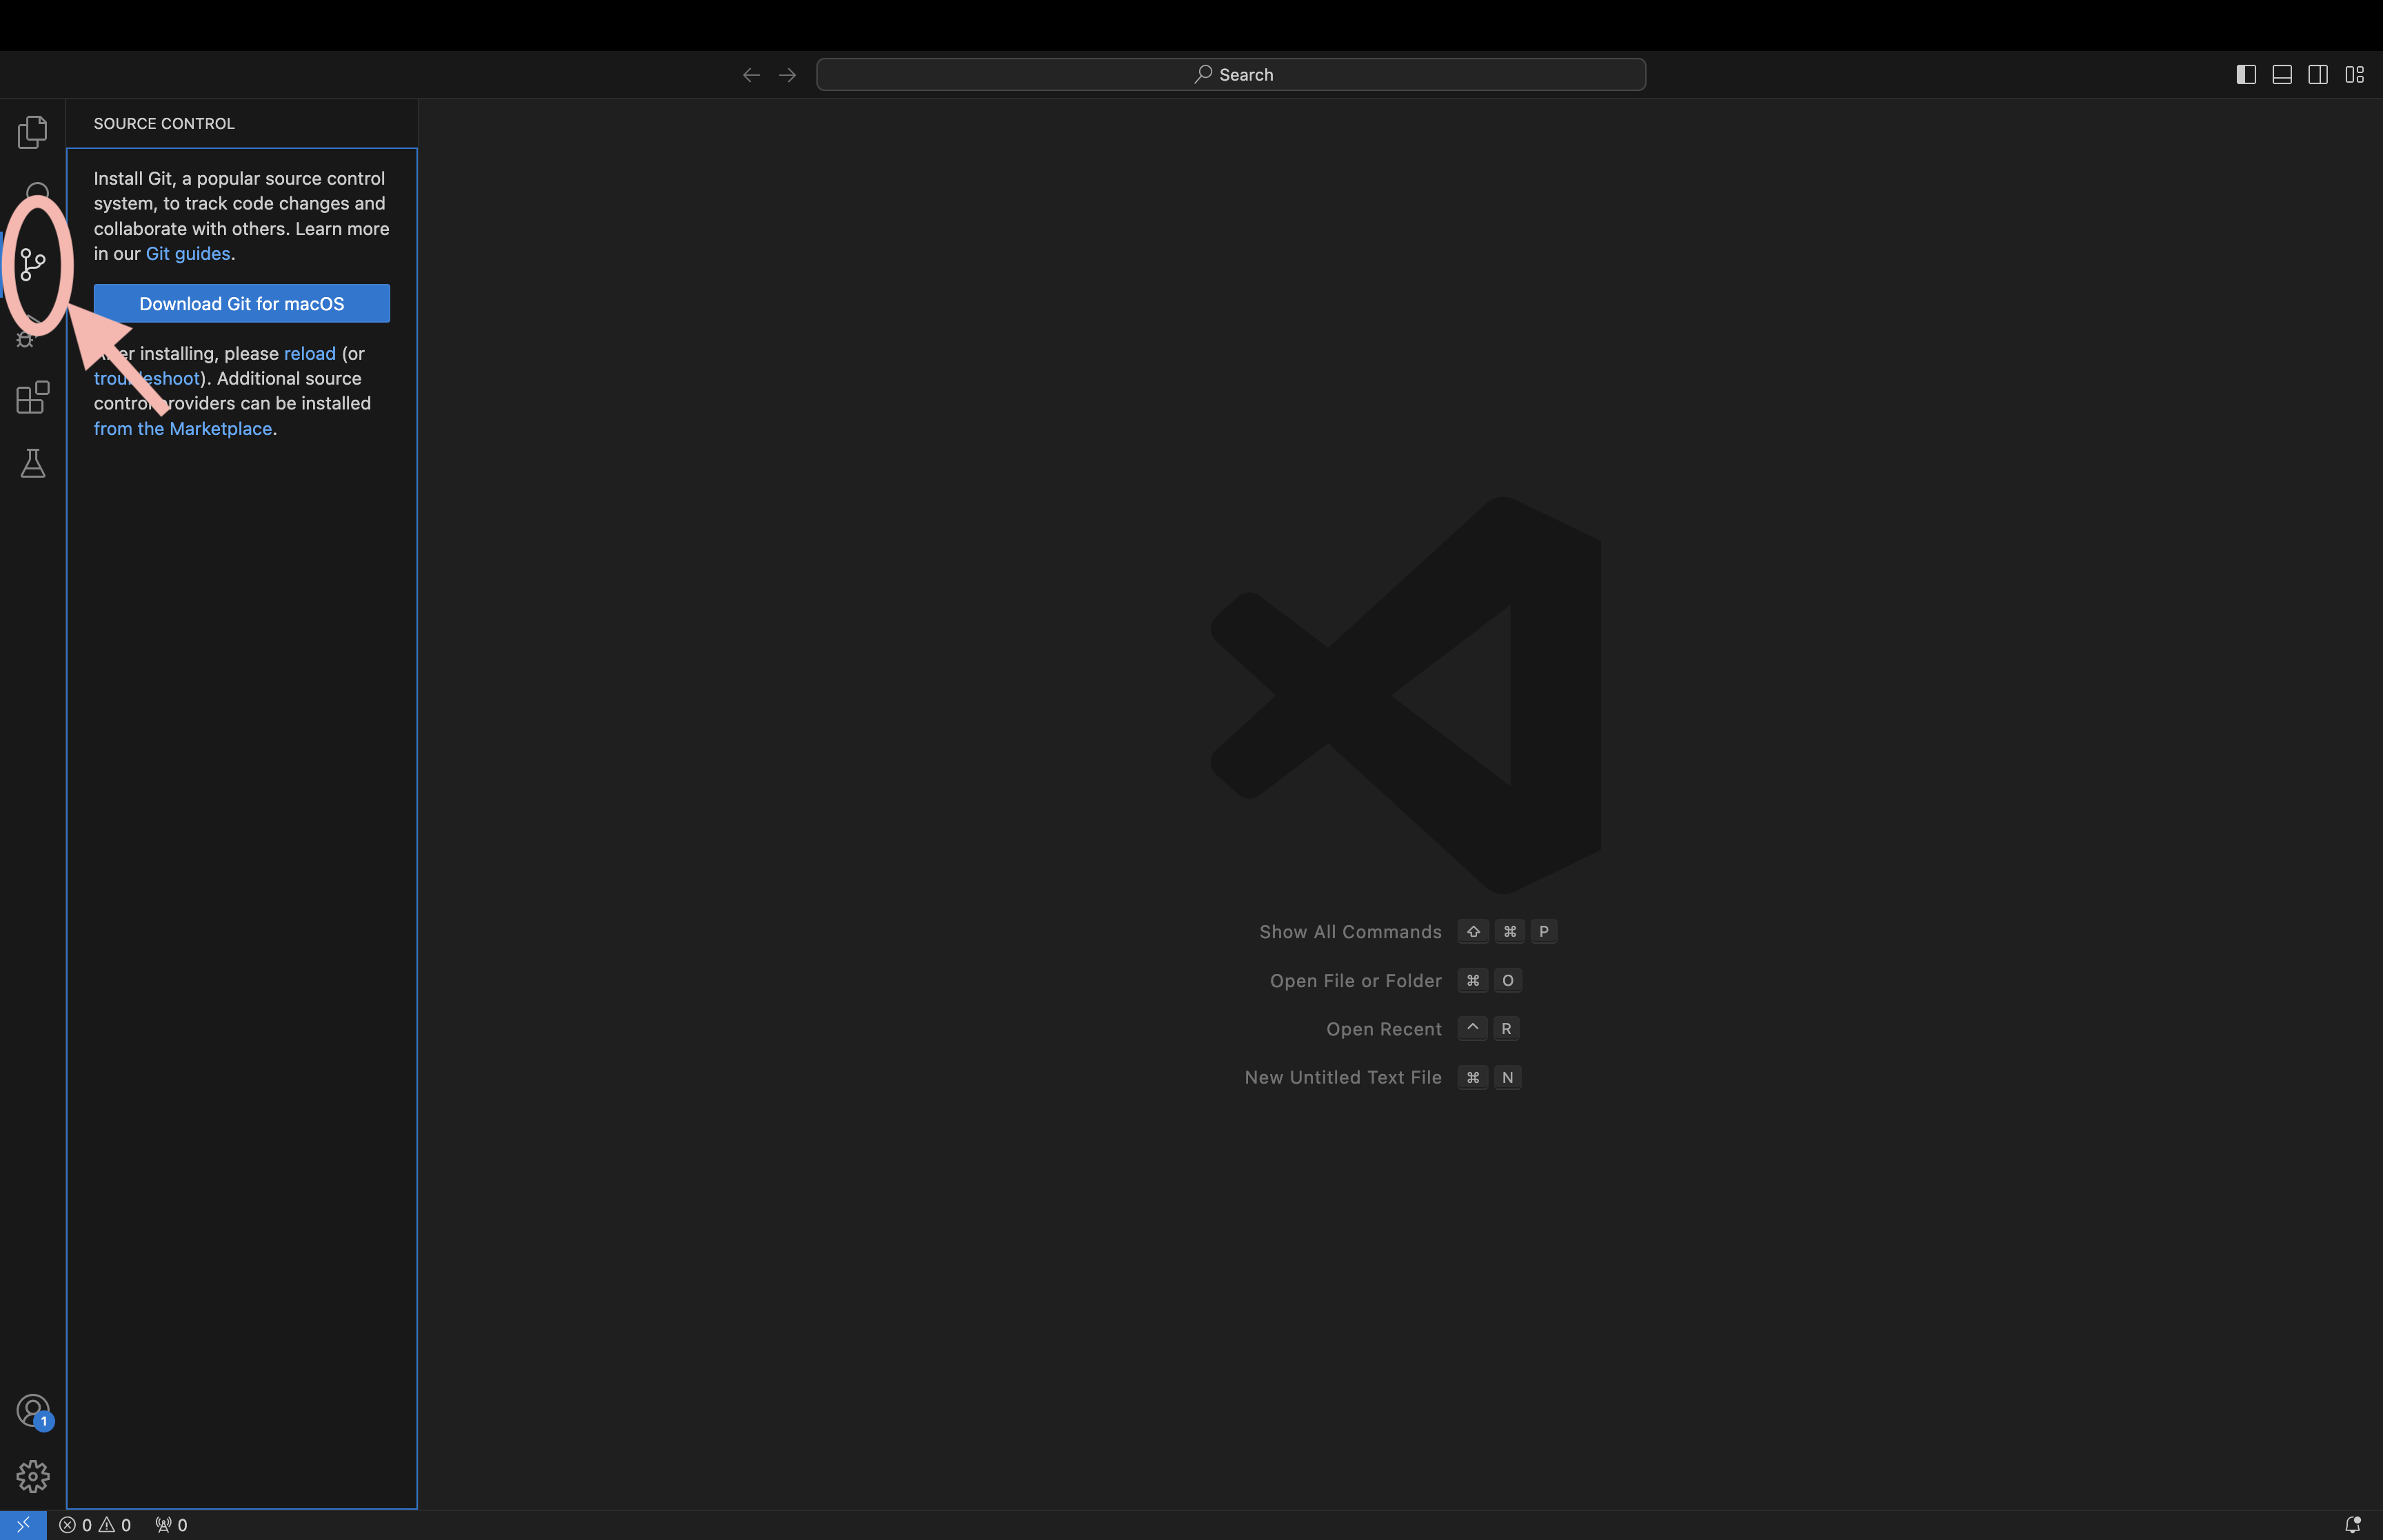
- If you have not previously installed git see
obtaining_dependencies_on_macos(if you click on “Download Git for macOS”, it’ll just redirect you to git’s website which will duplicate our instructions). Once git is installed, clickreloadin the source control view.
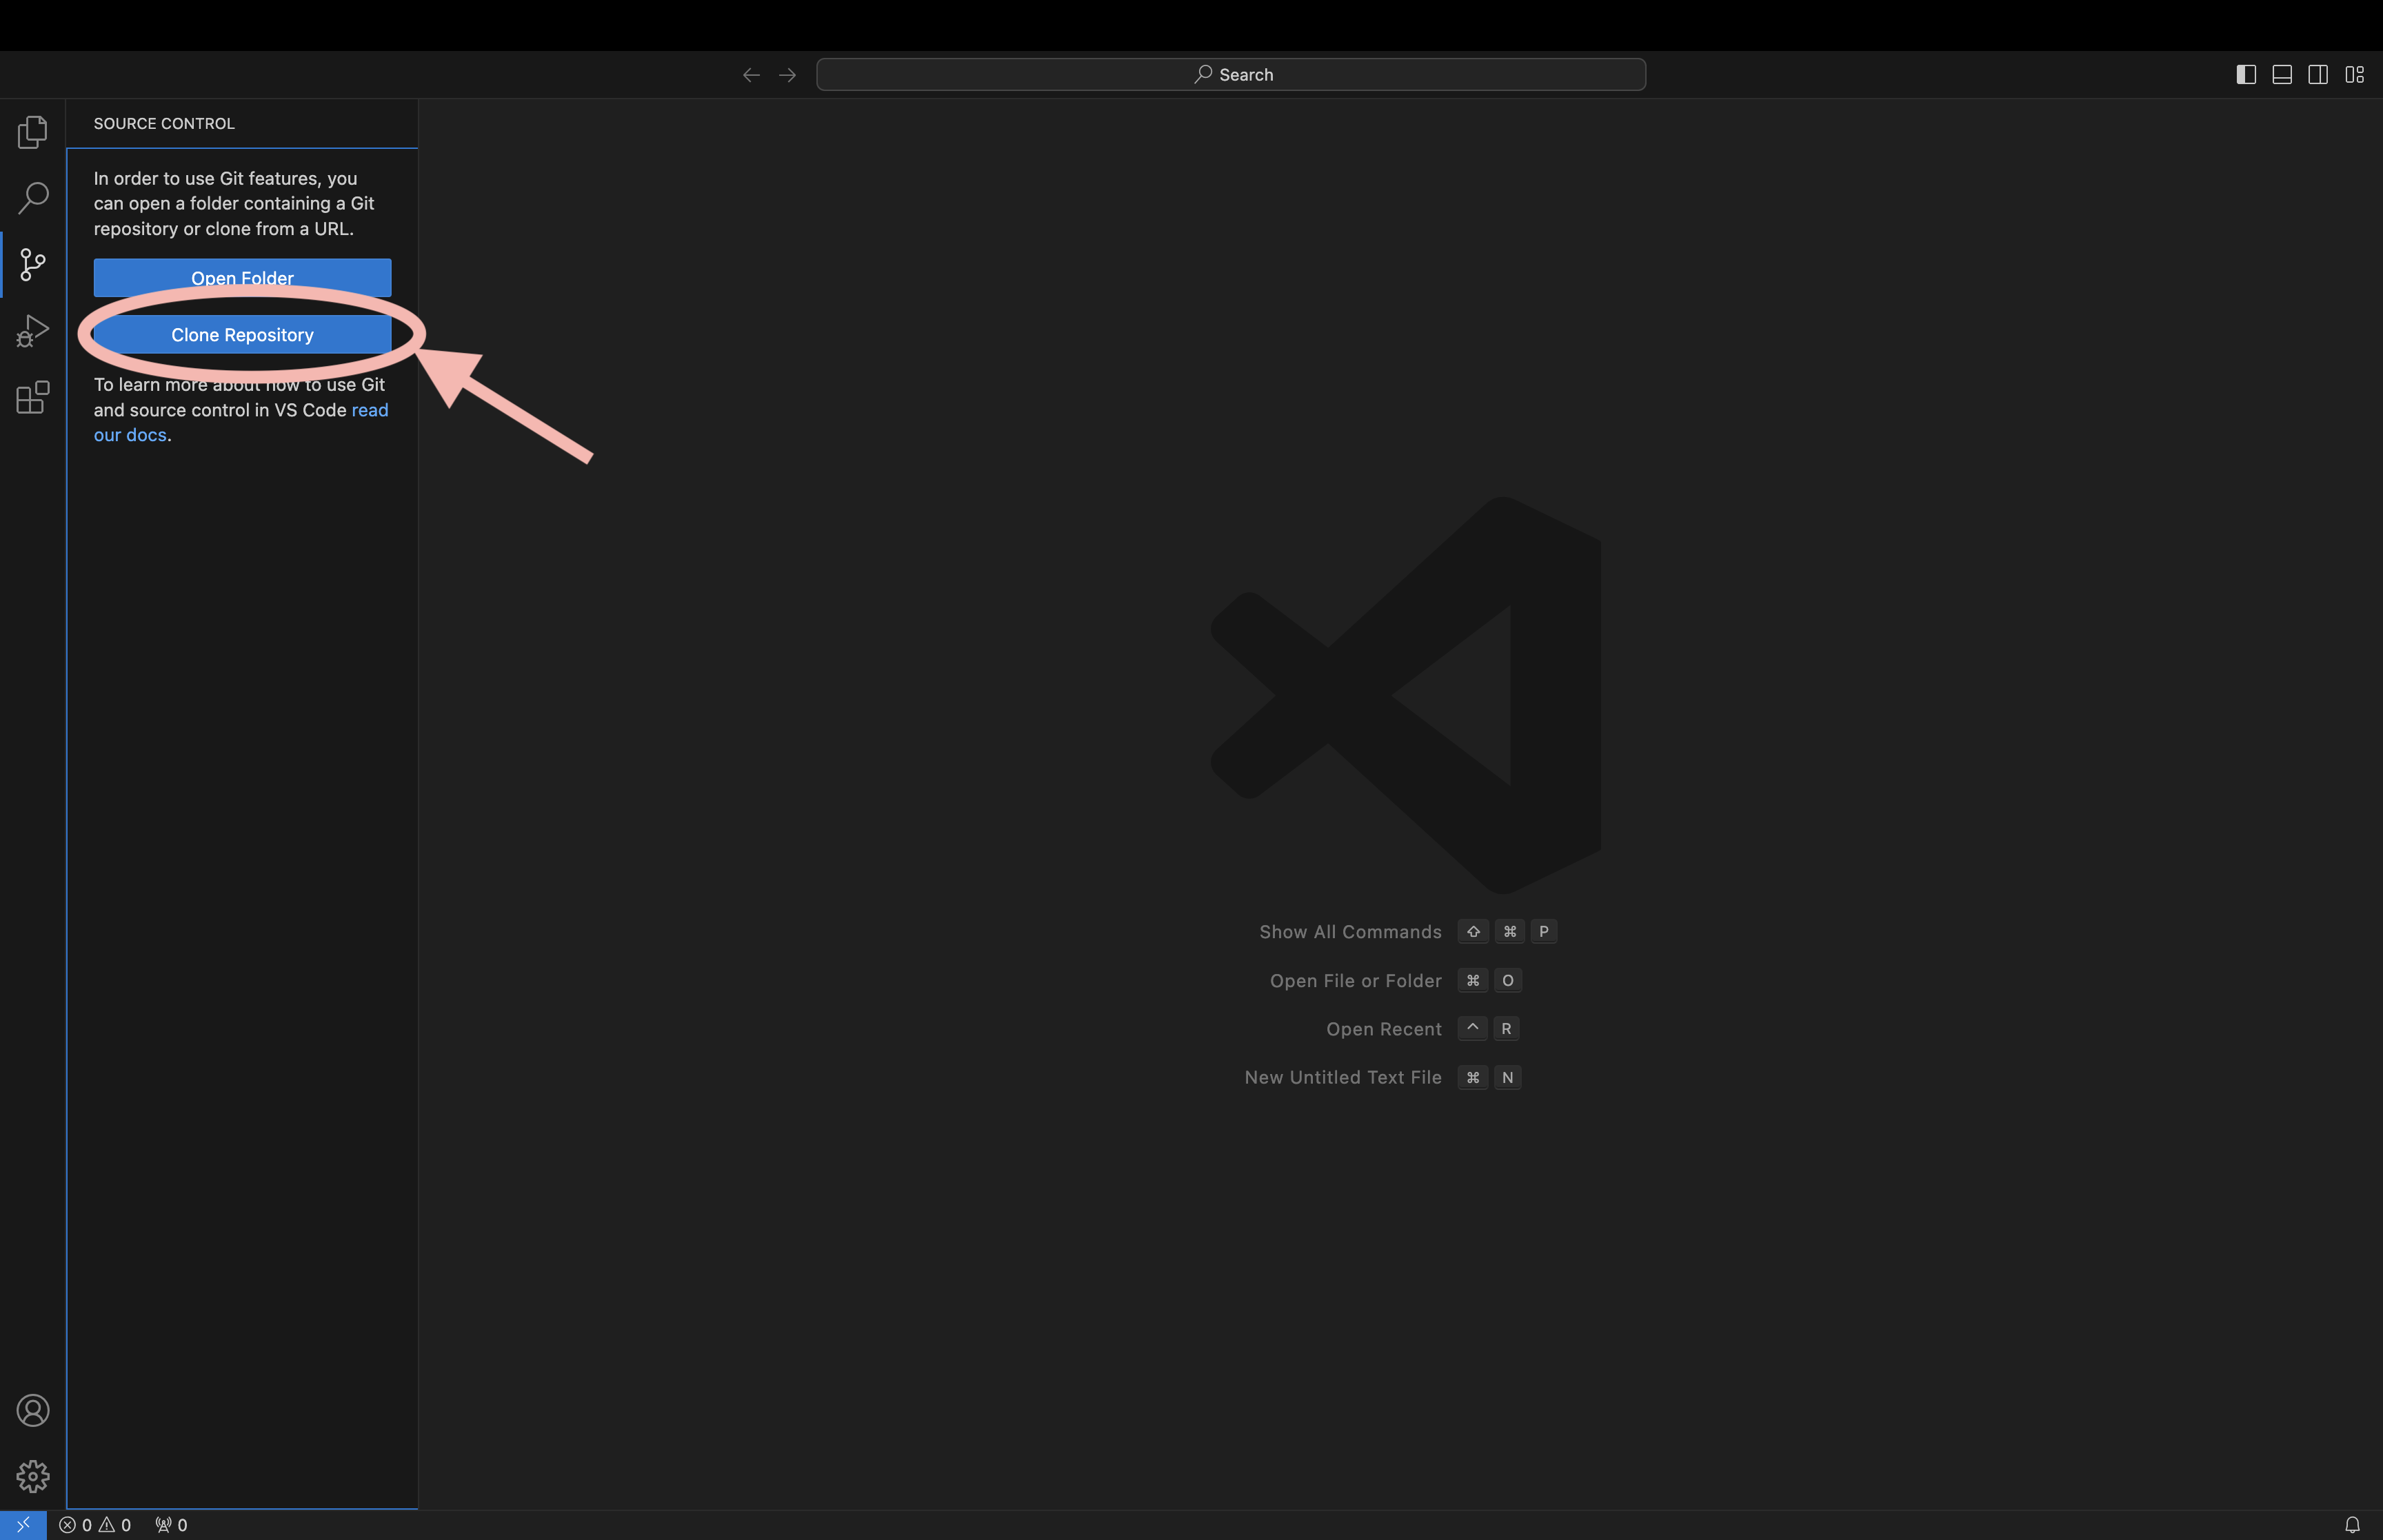
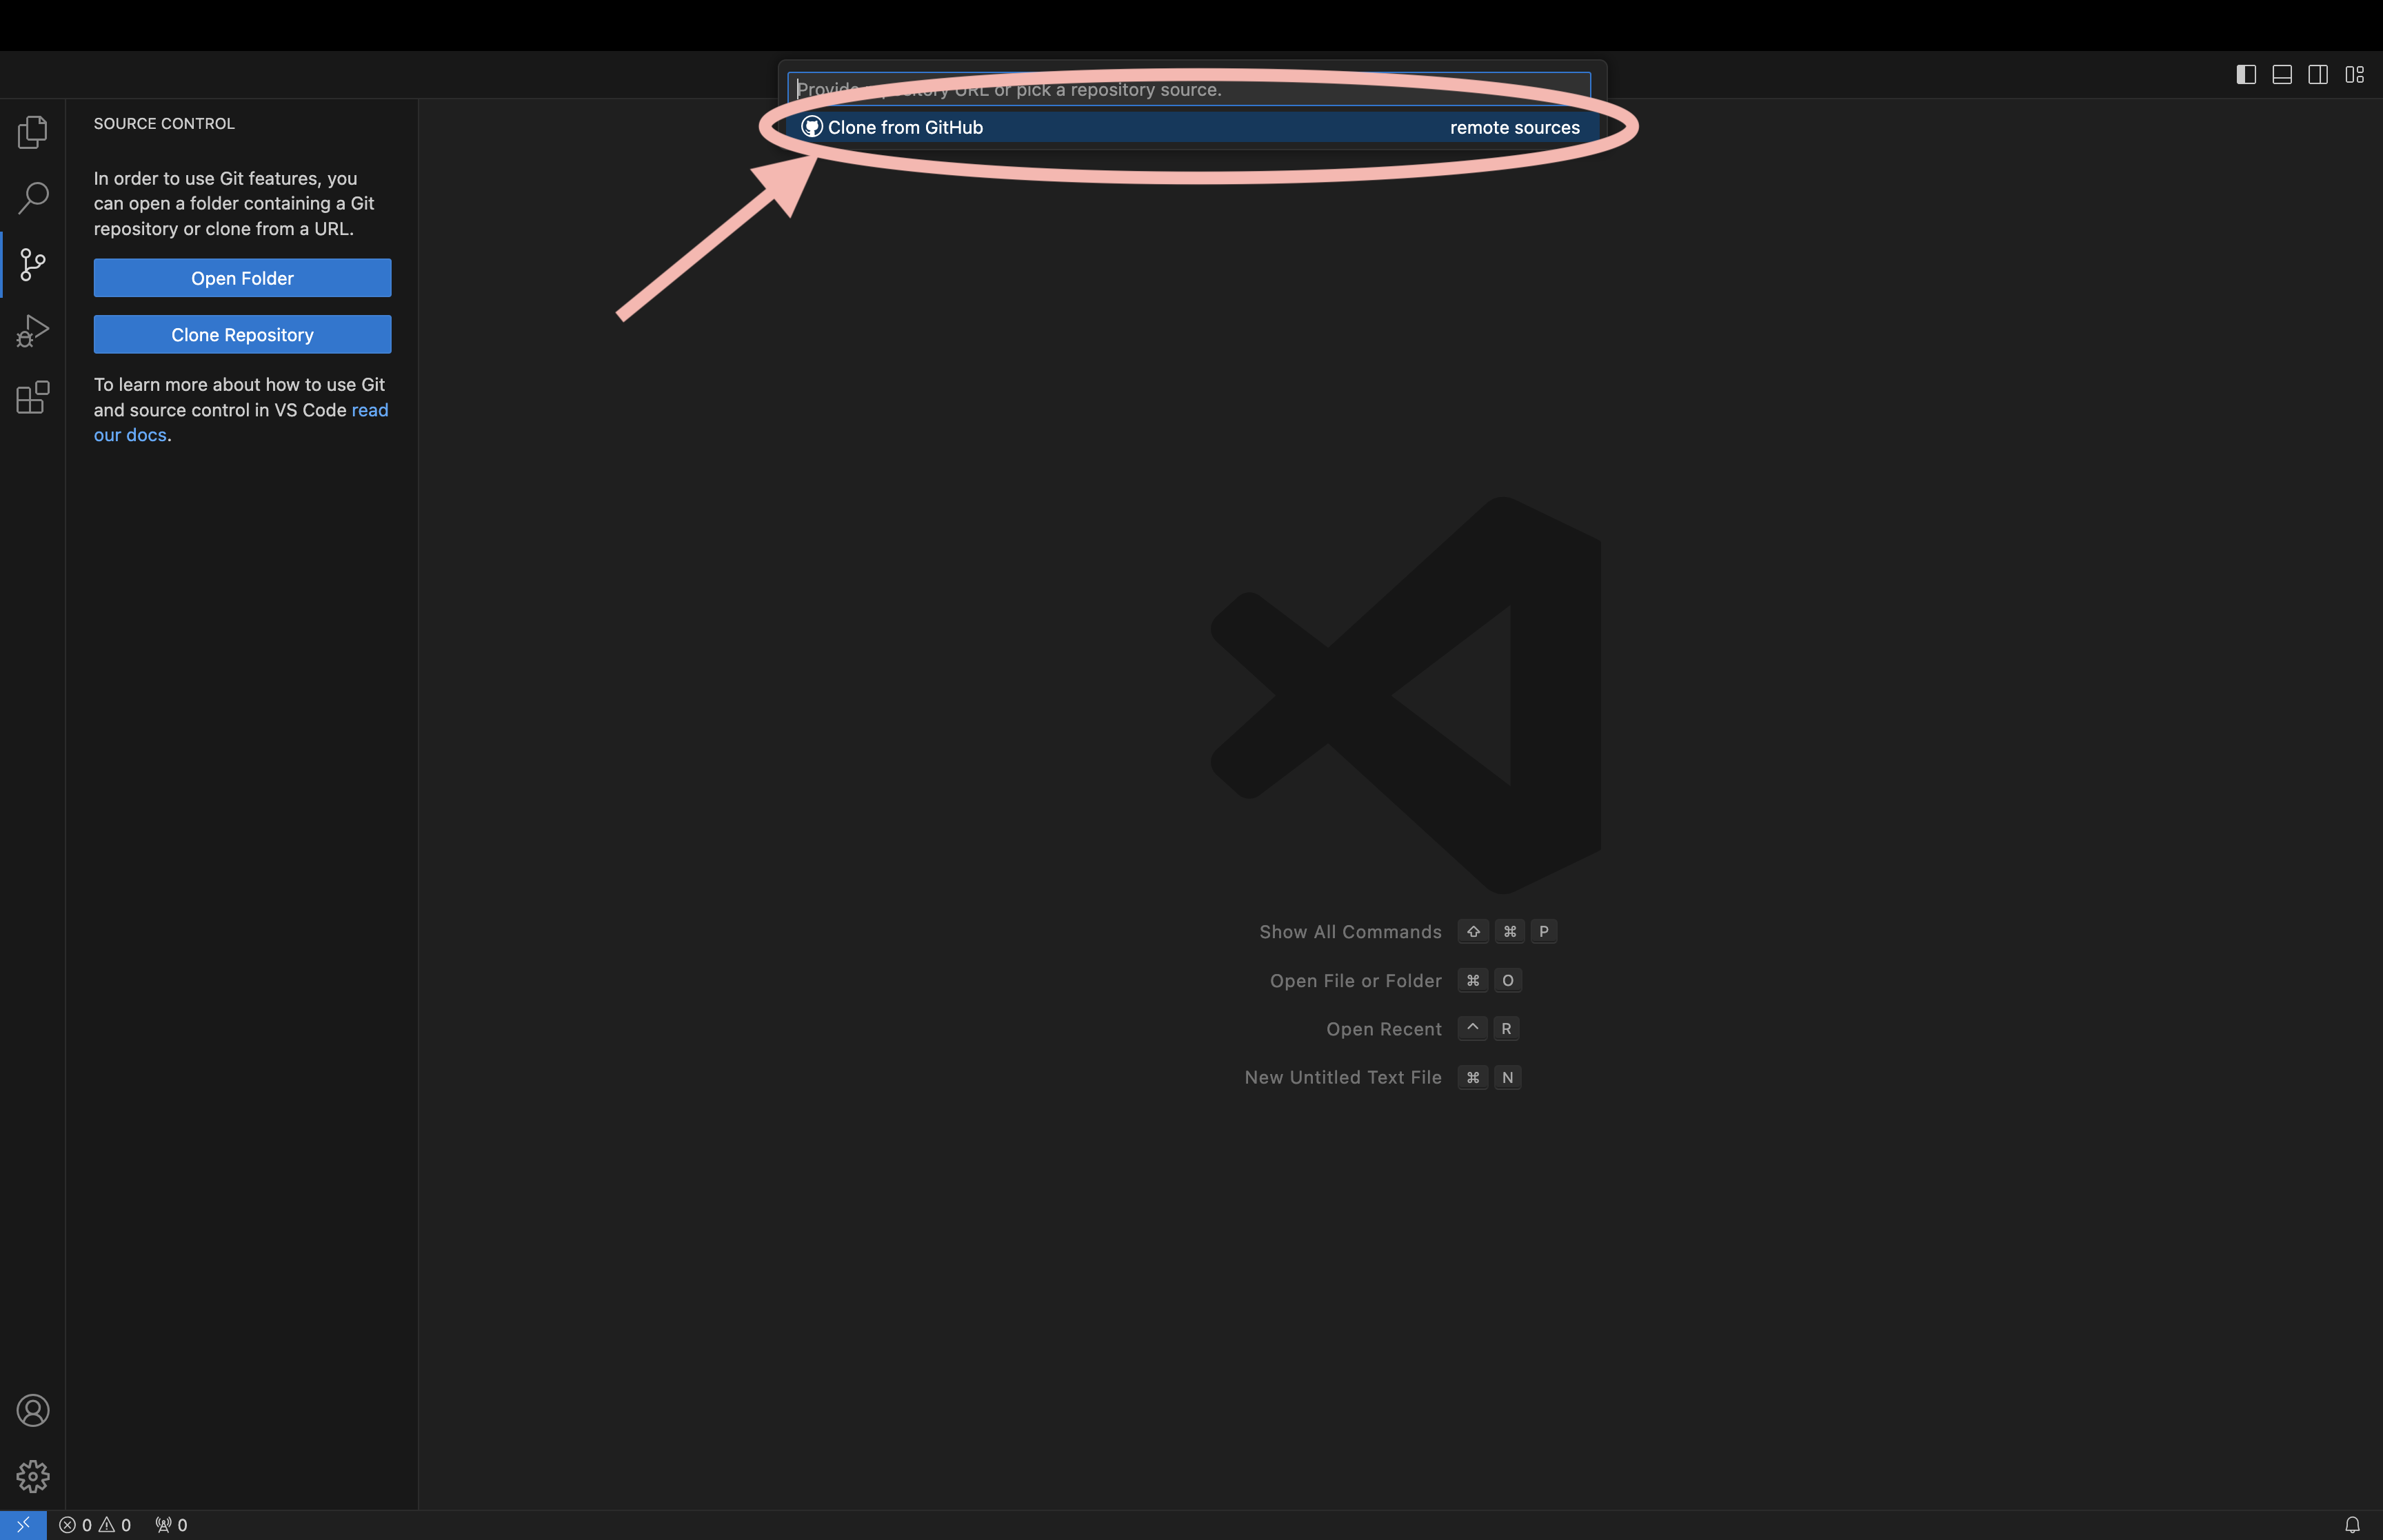
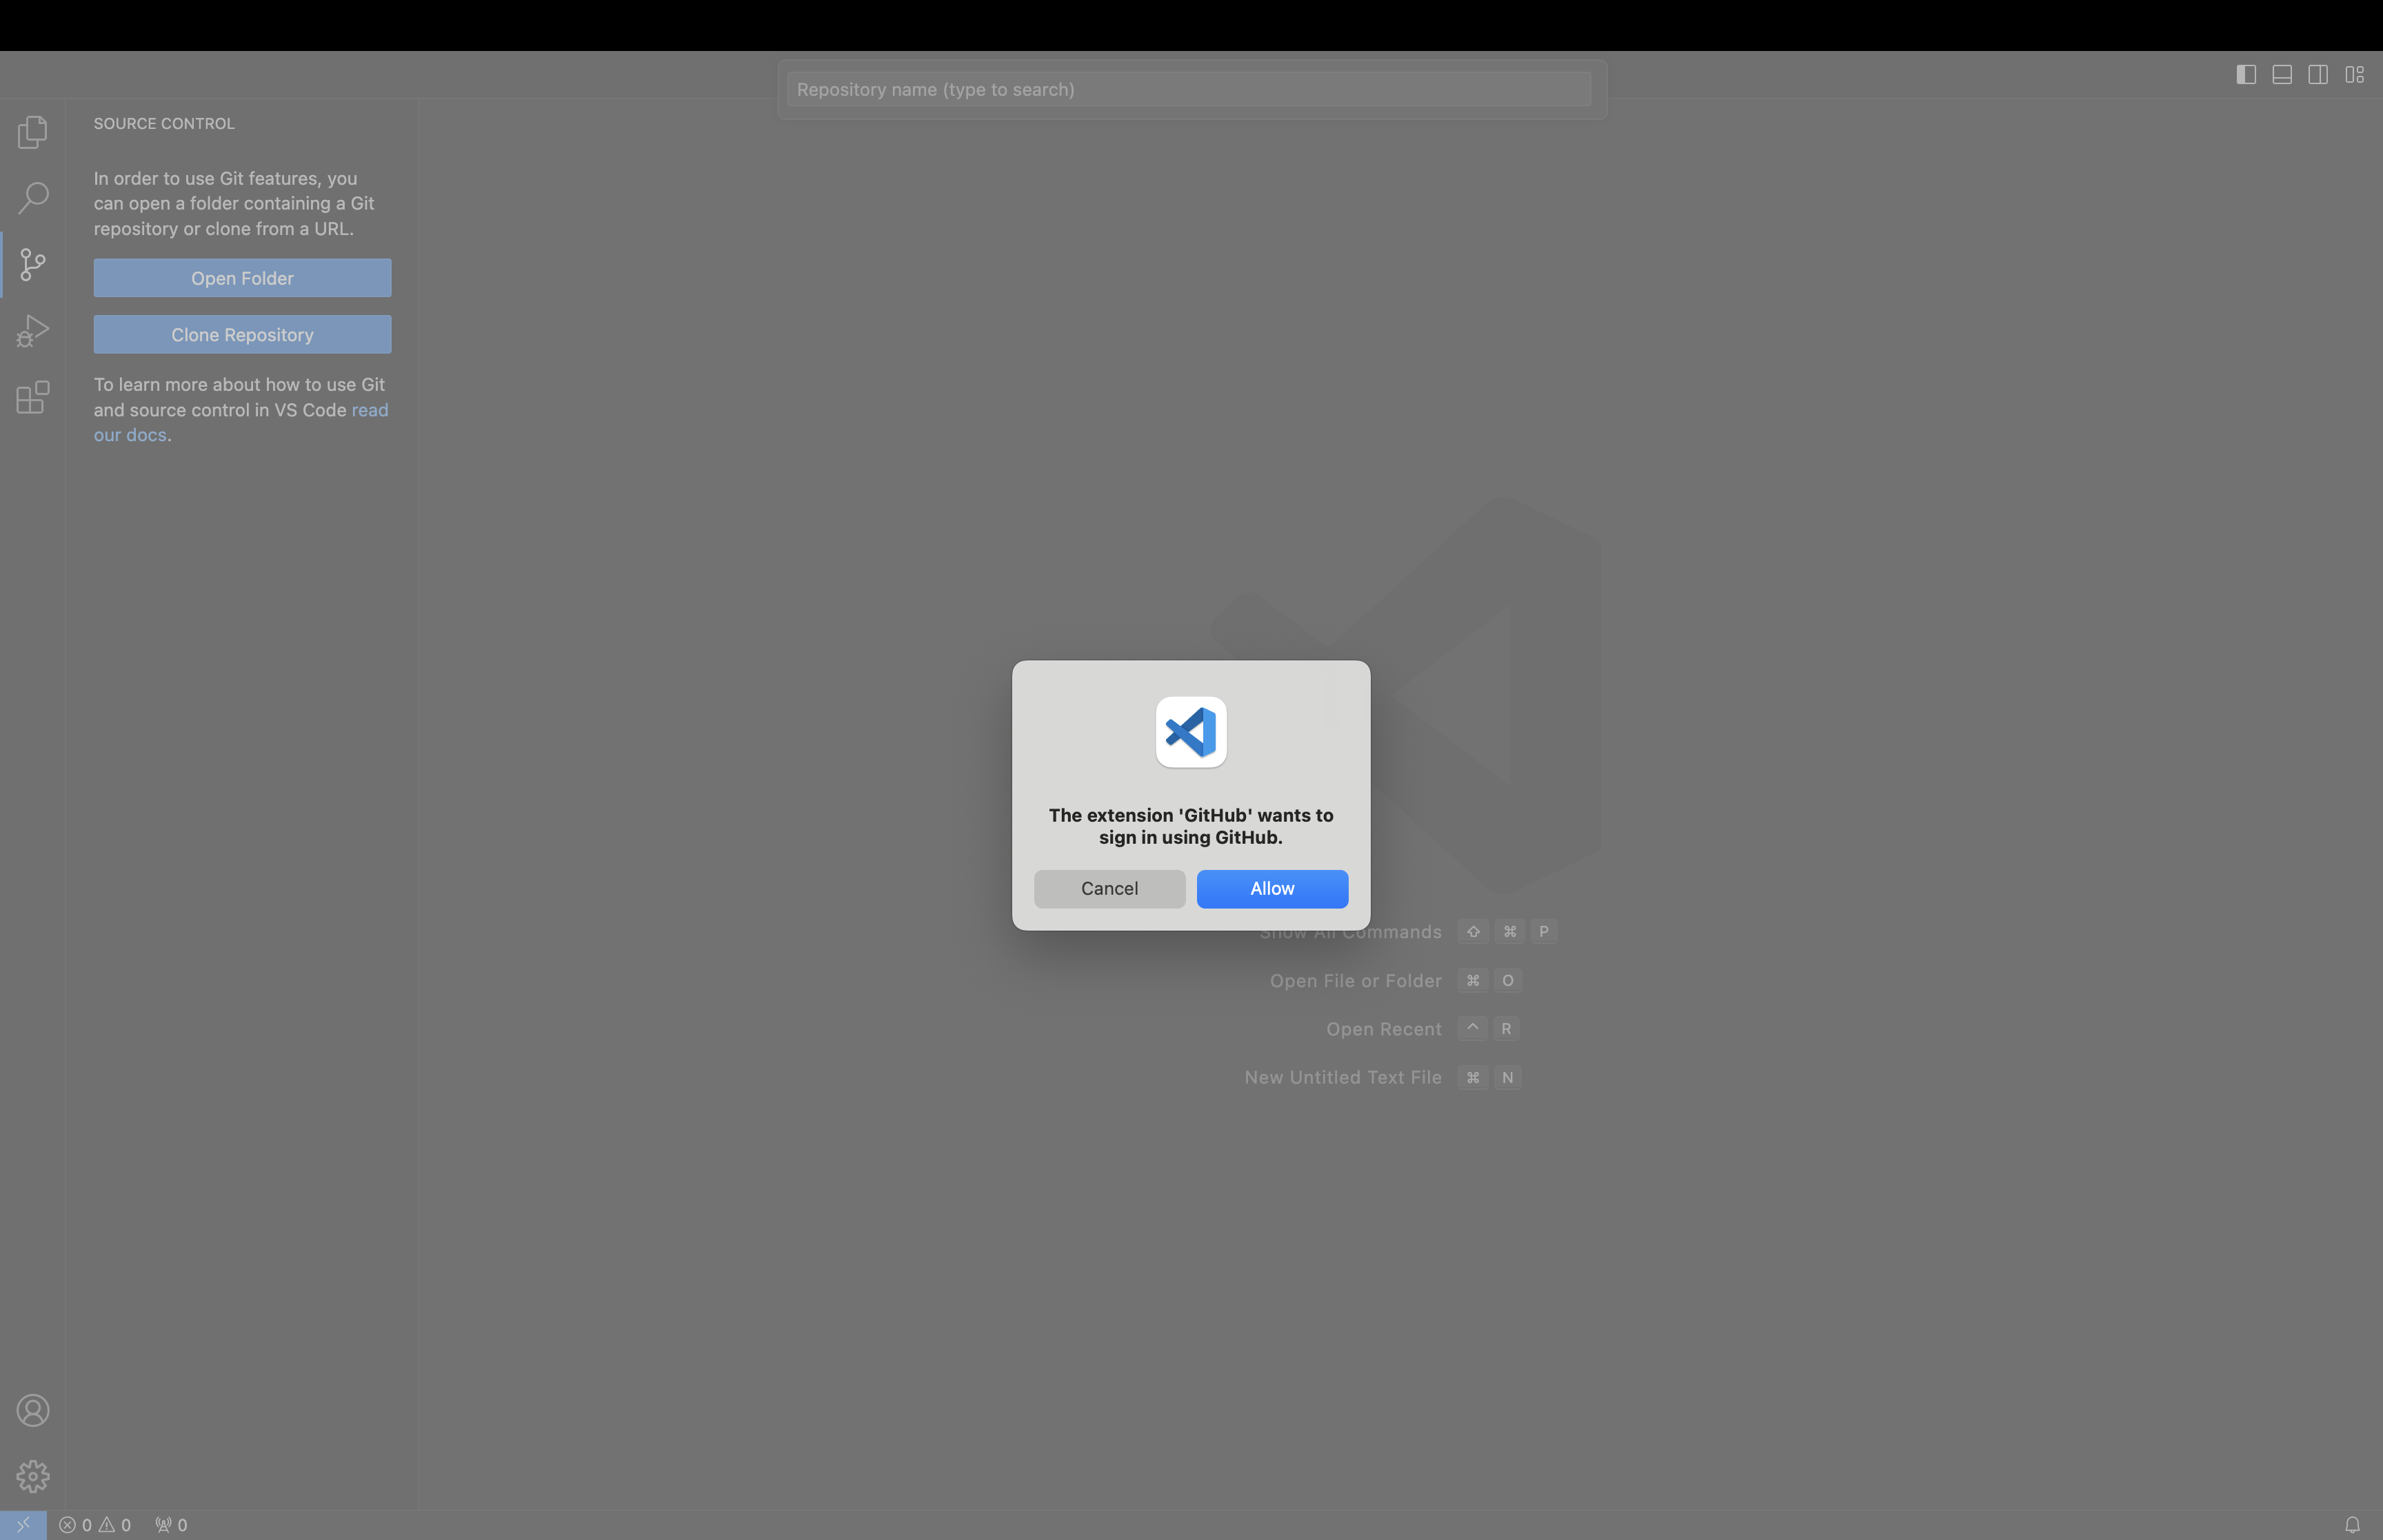
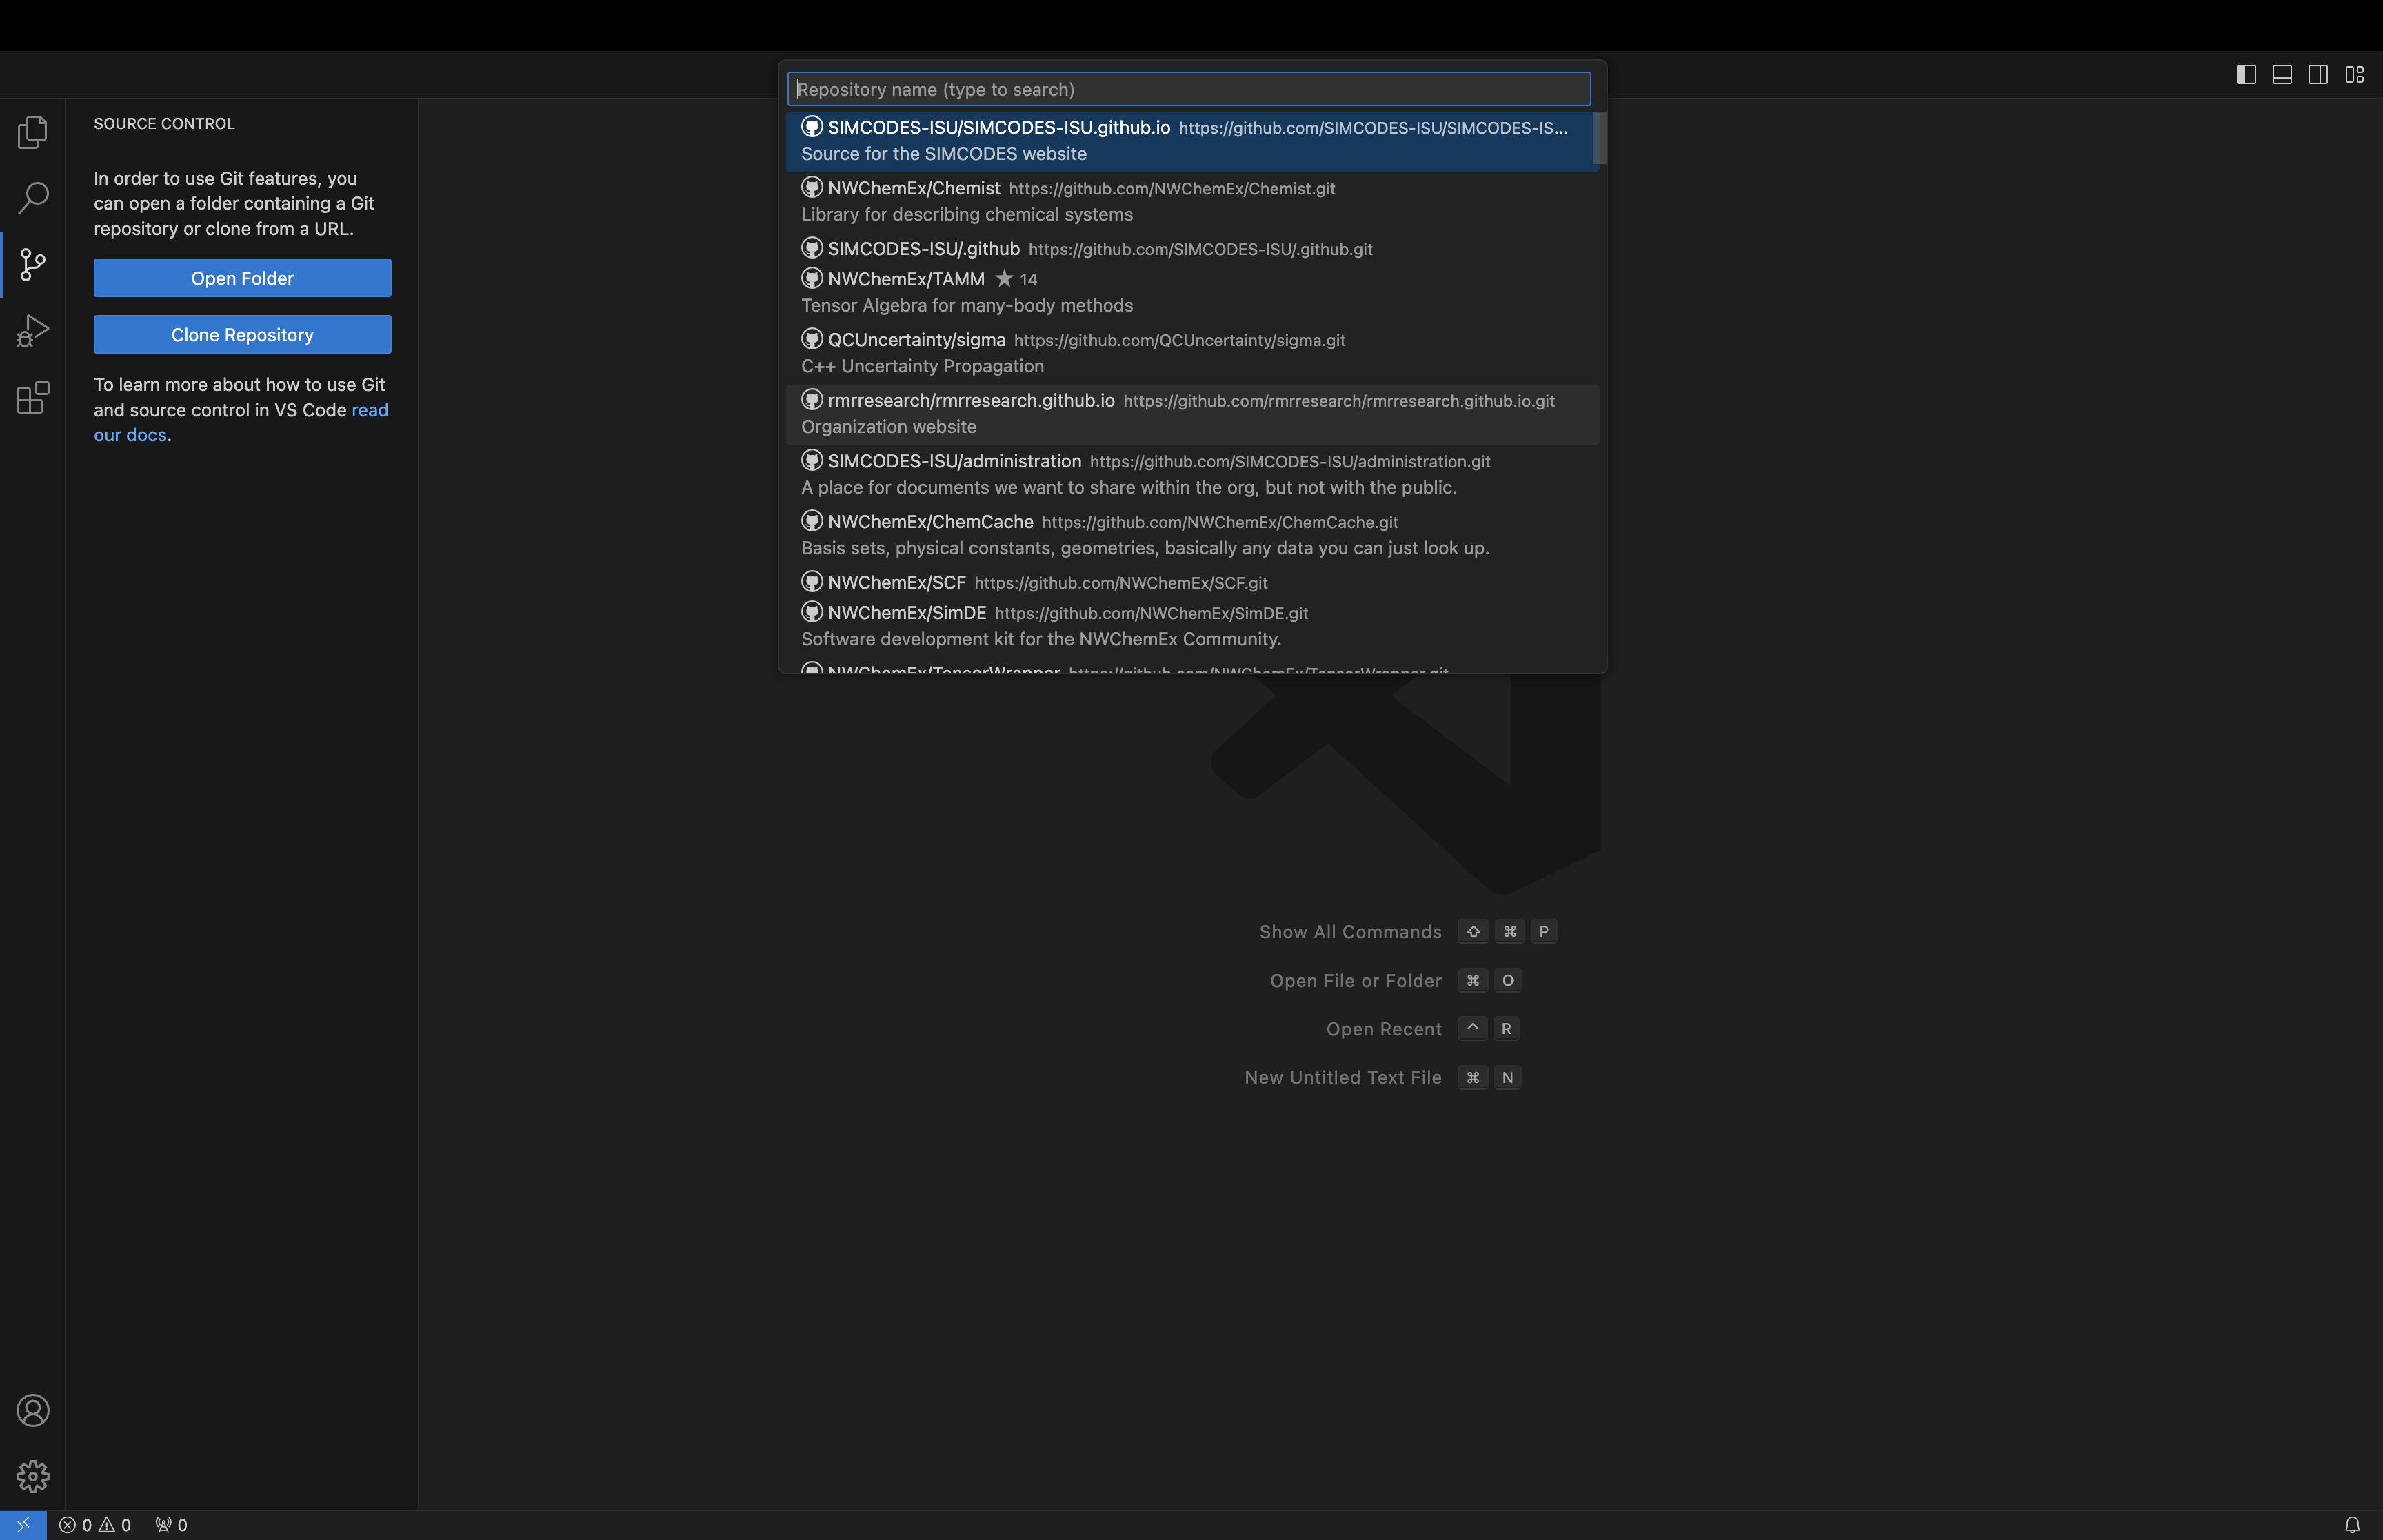
- That will bring up Finder. Select the workspace directory as the destination.
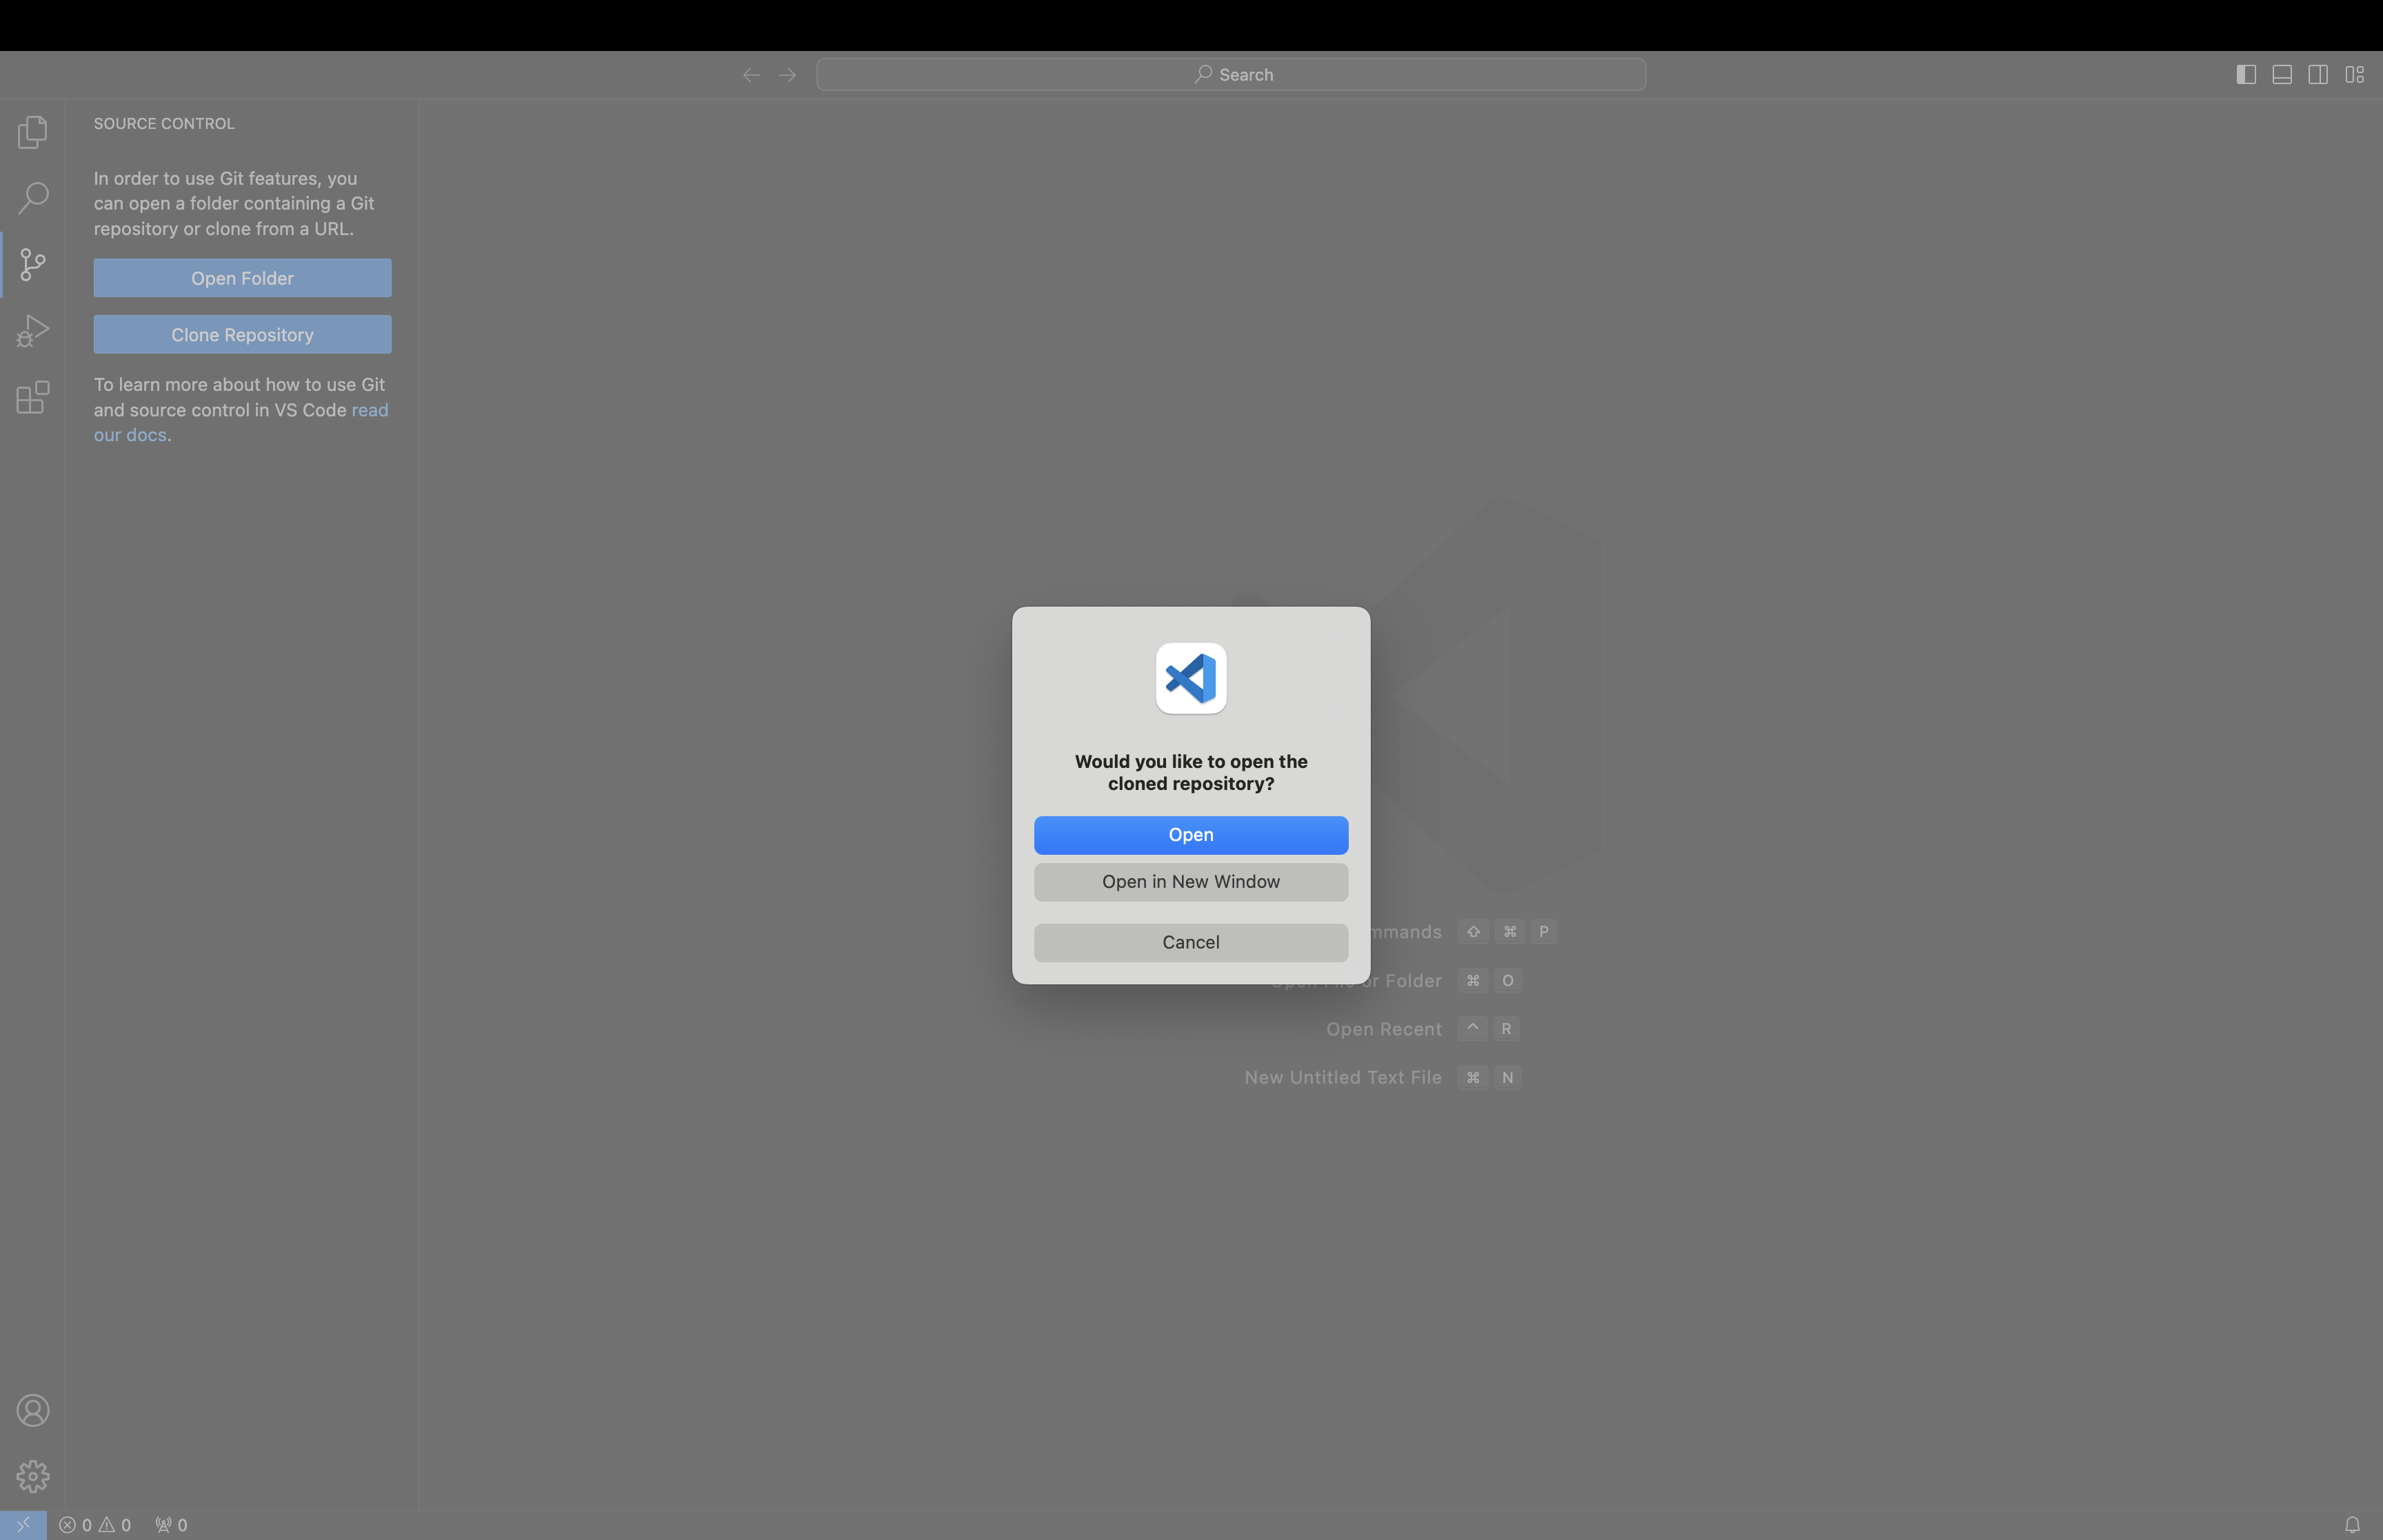
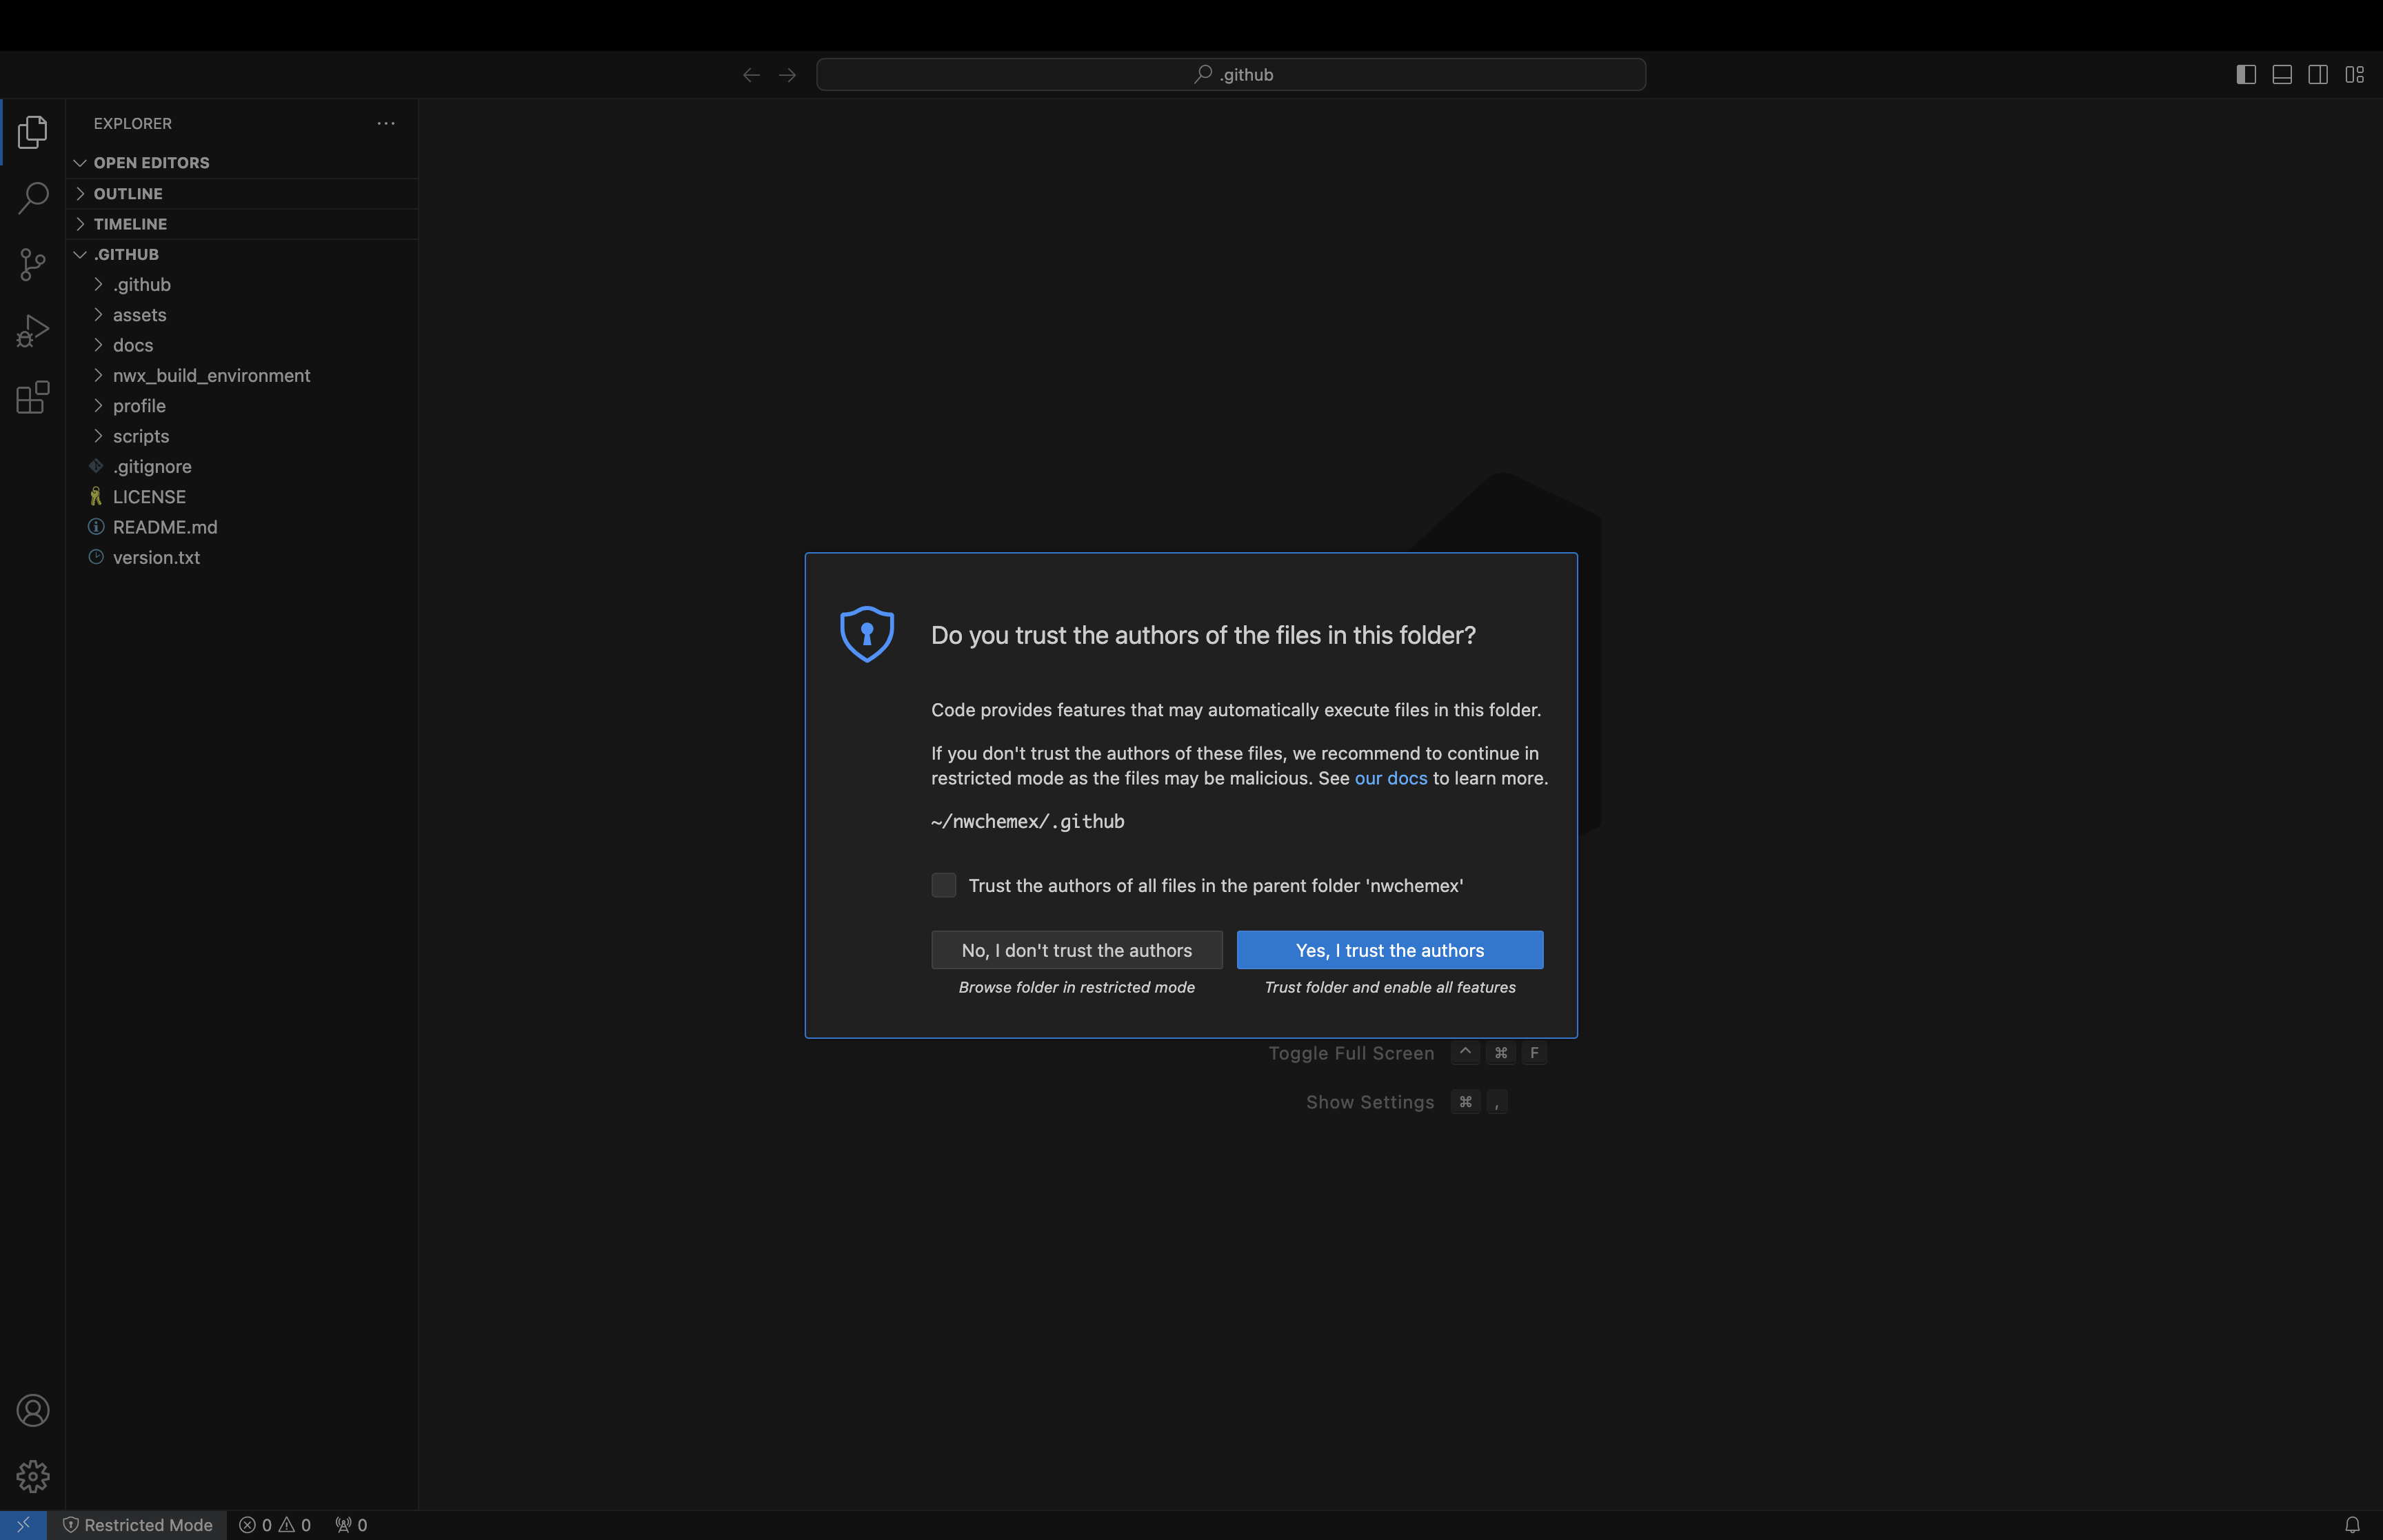
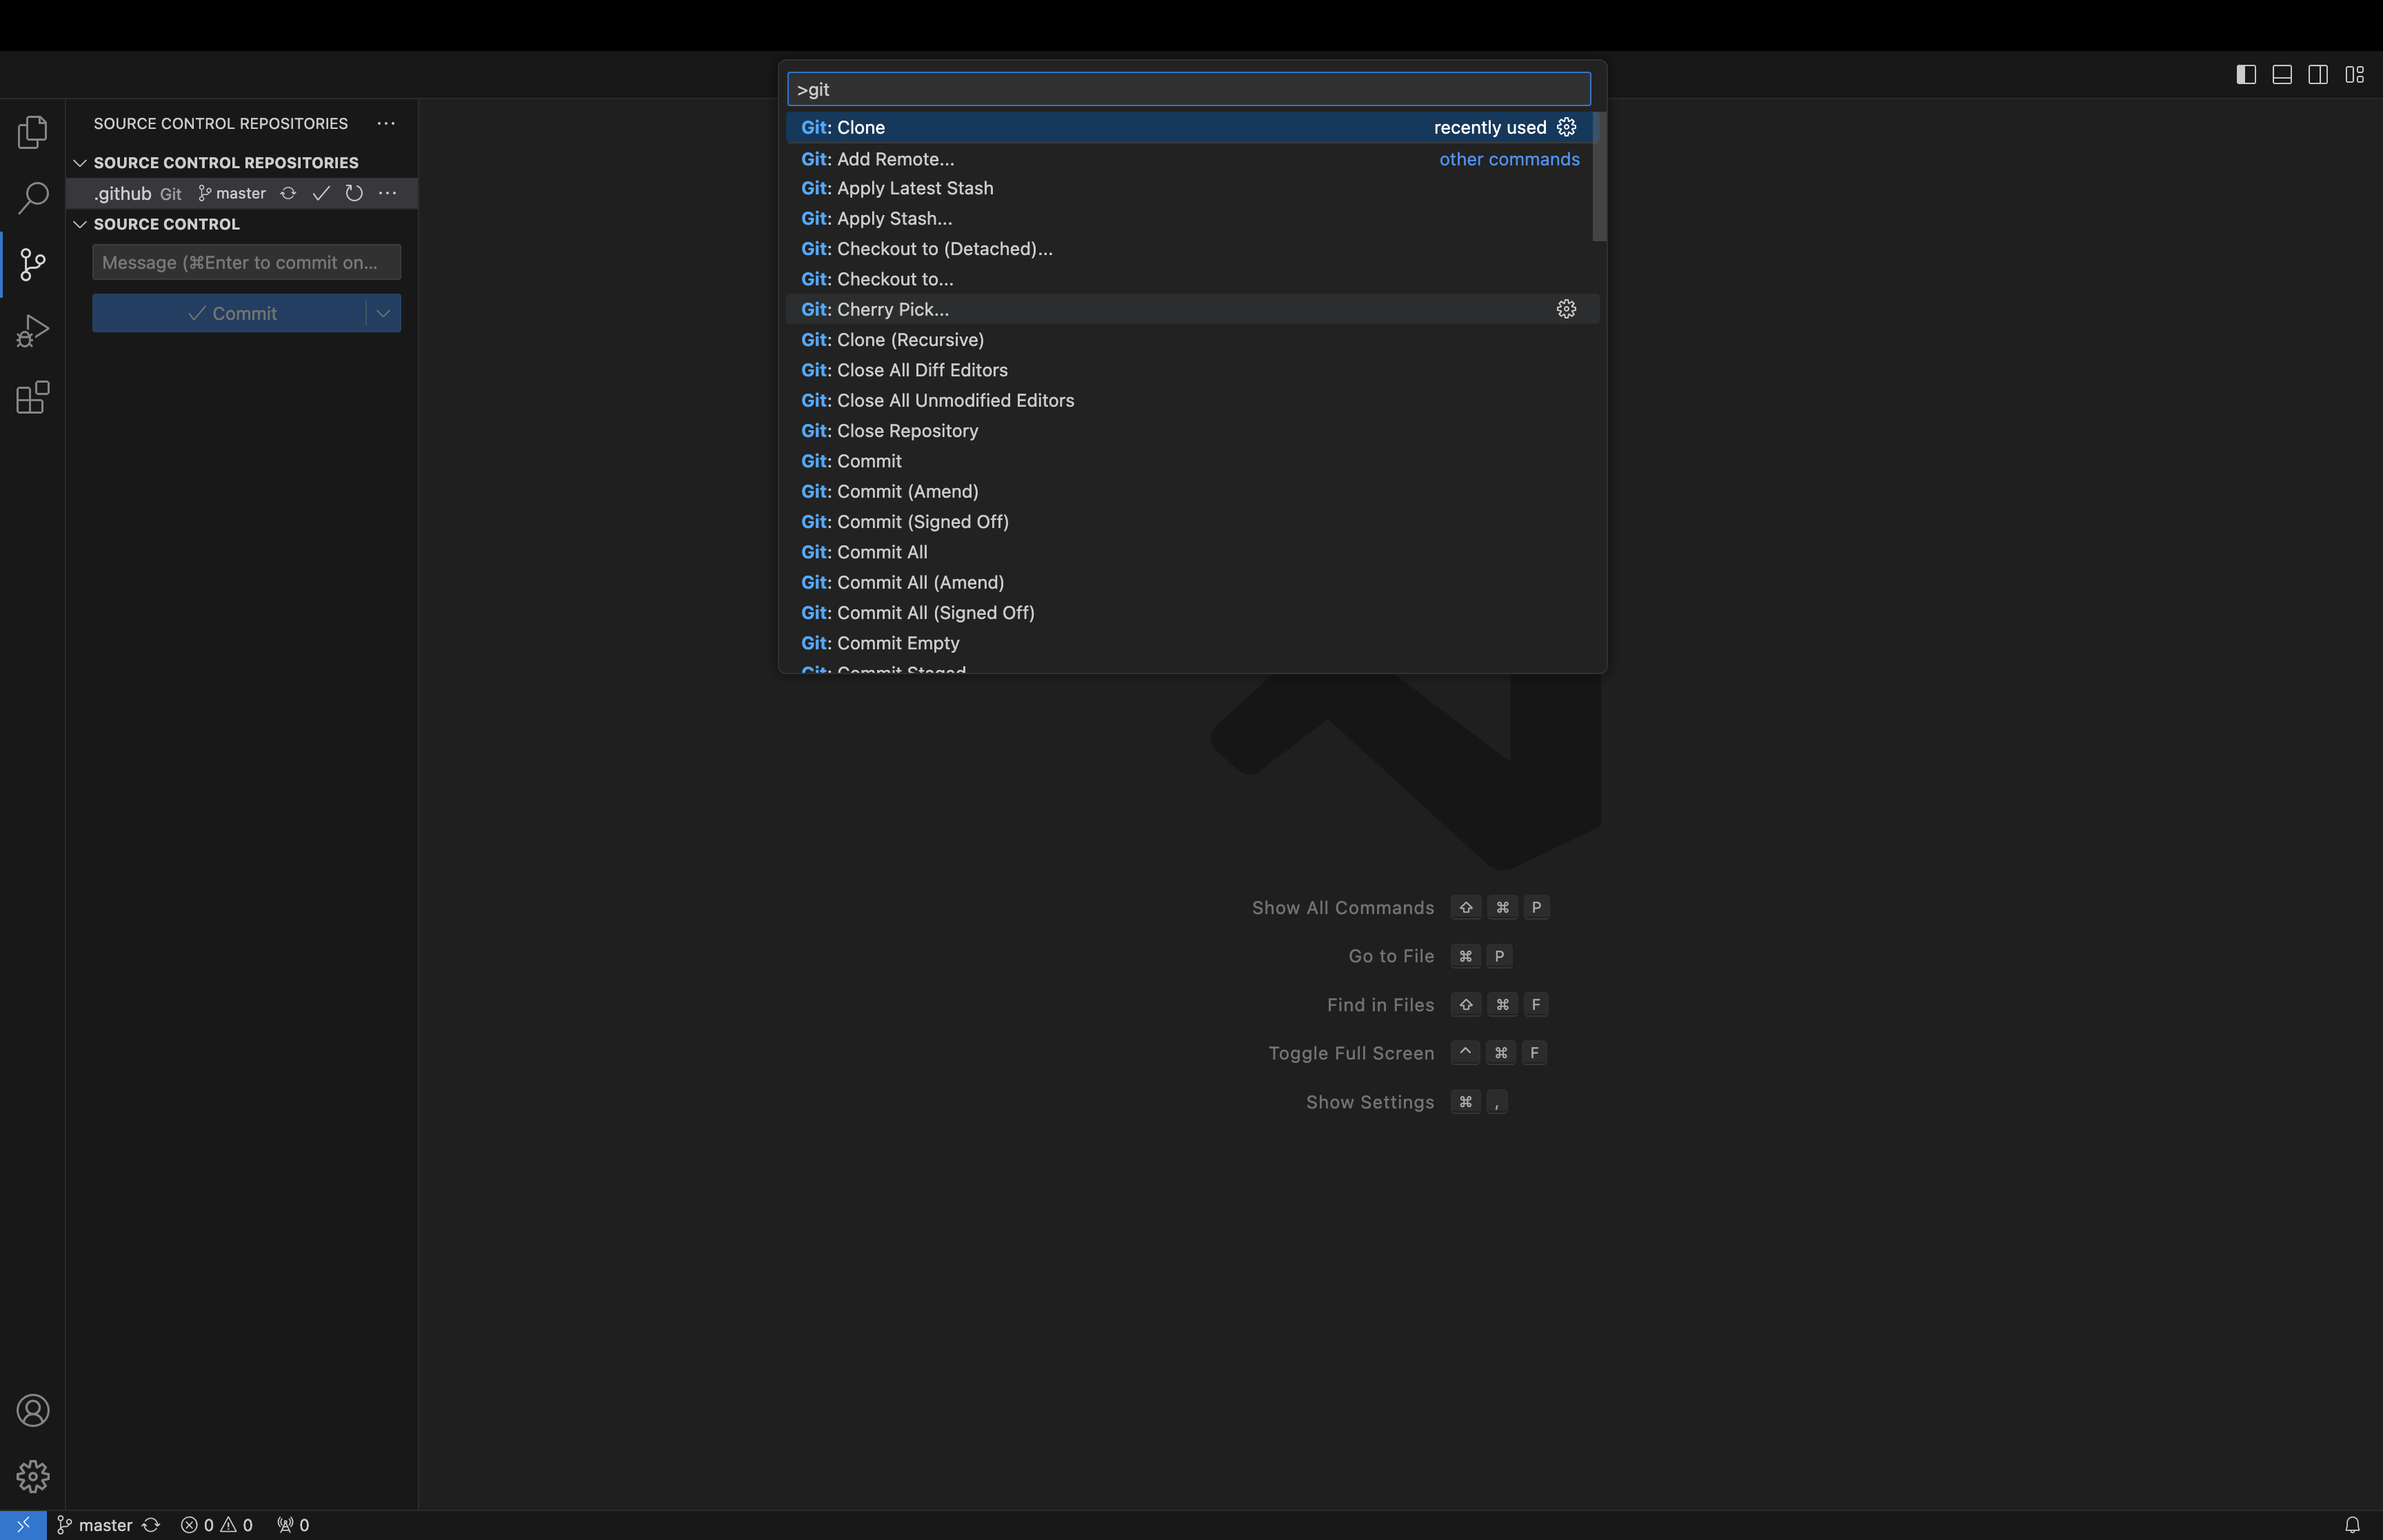
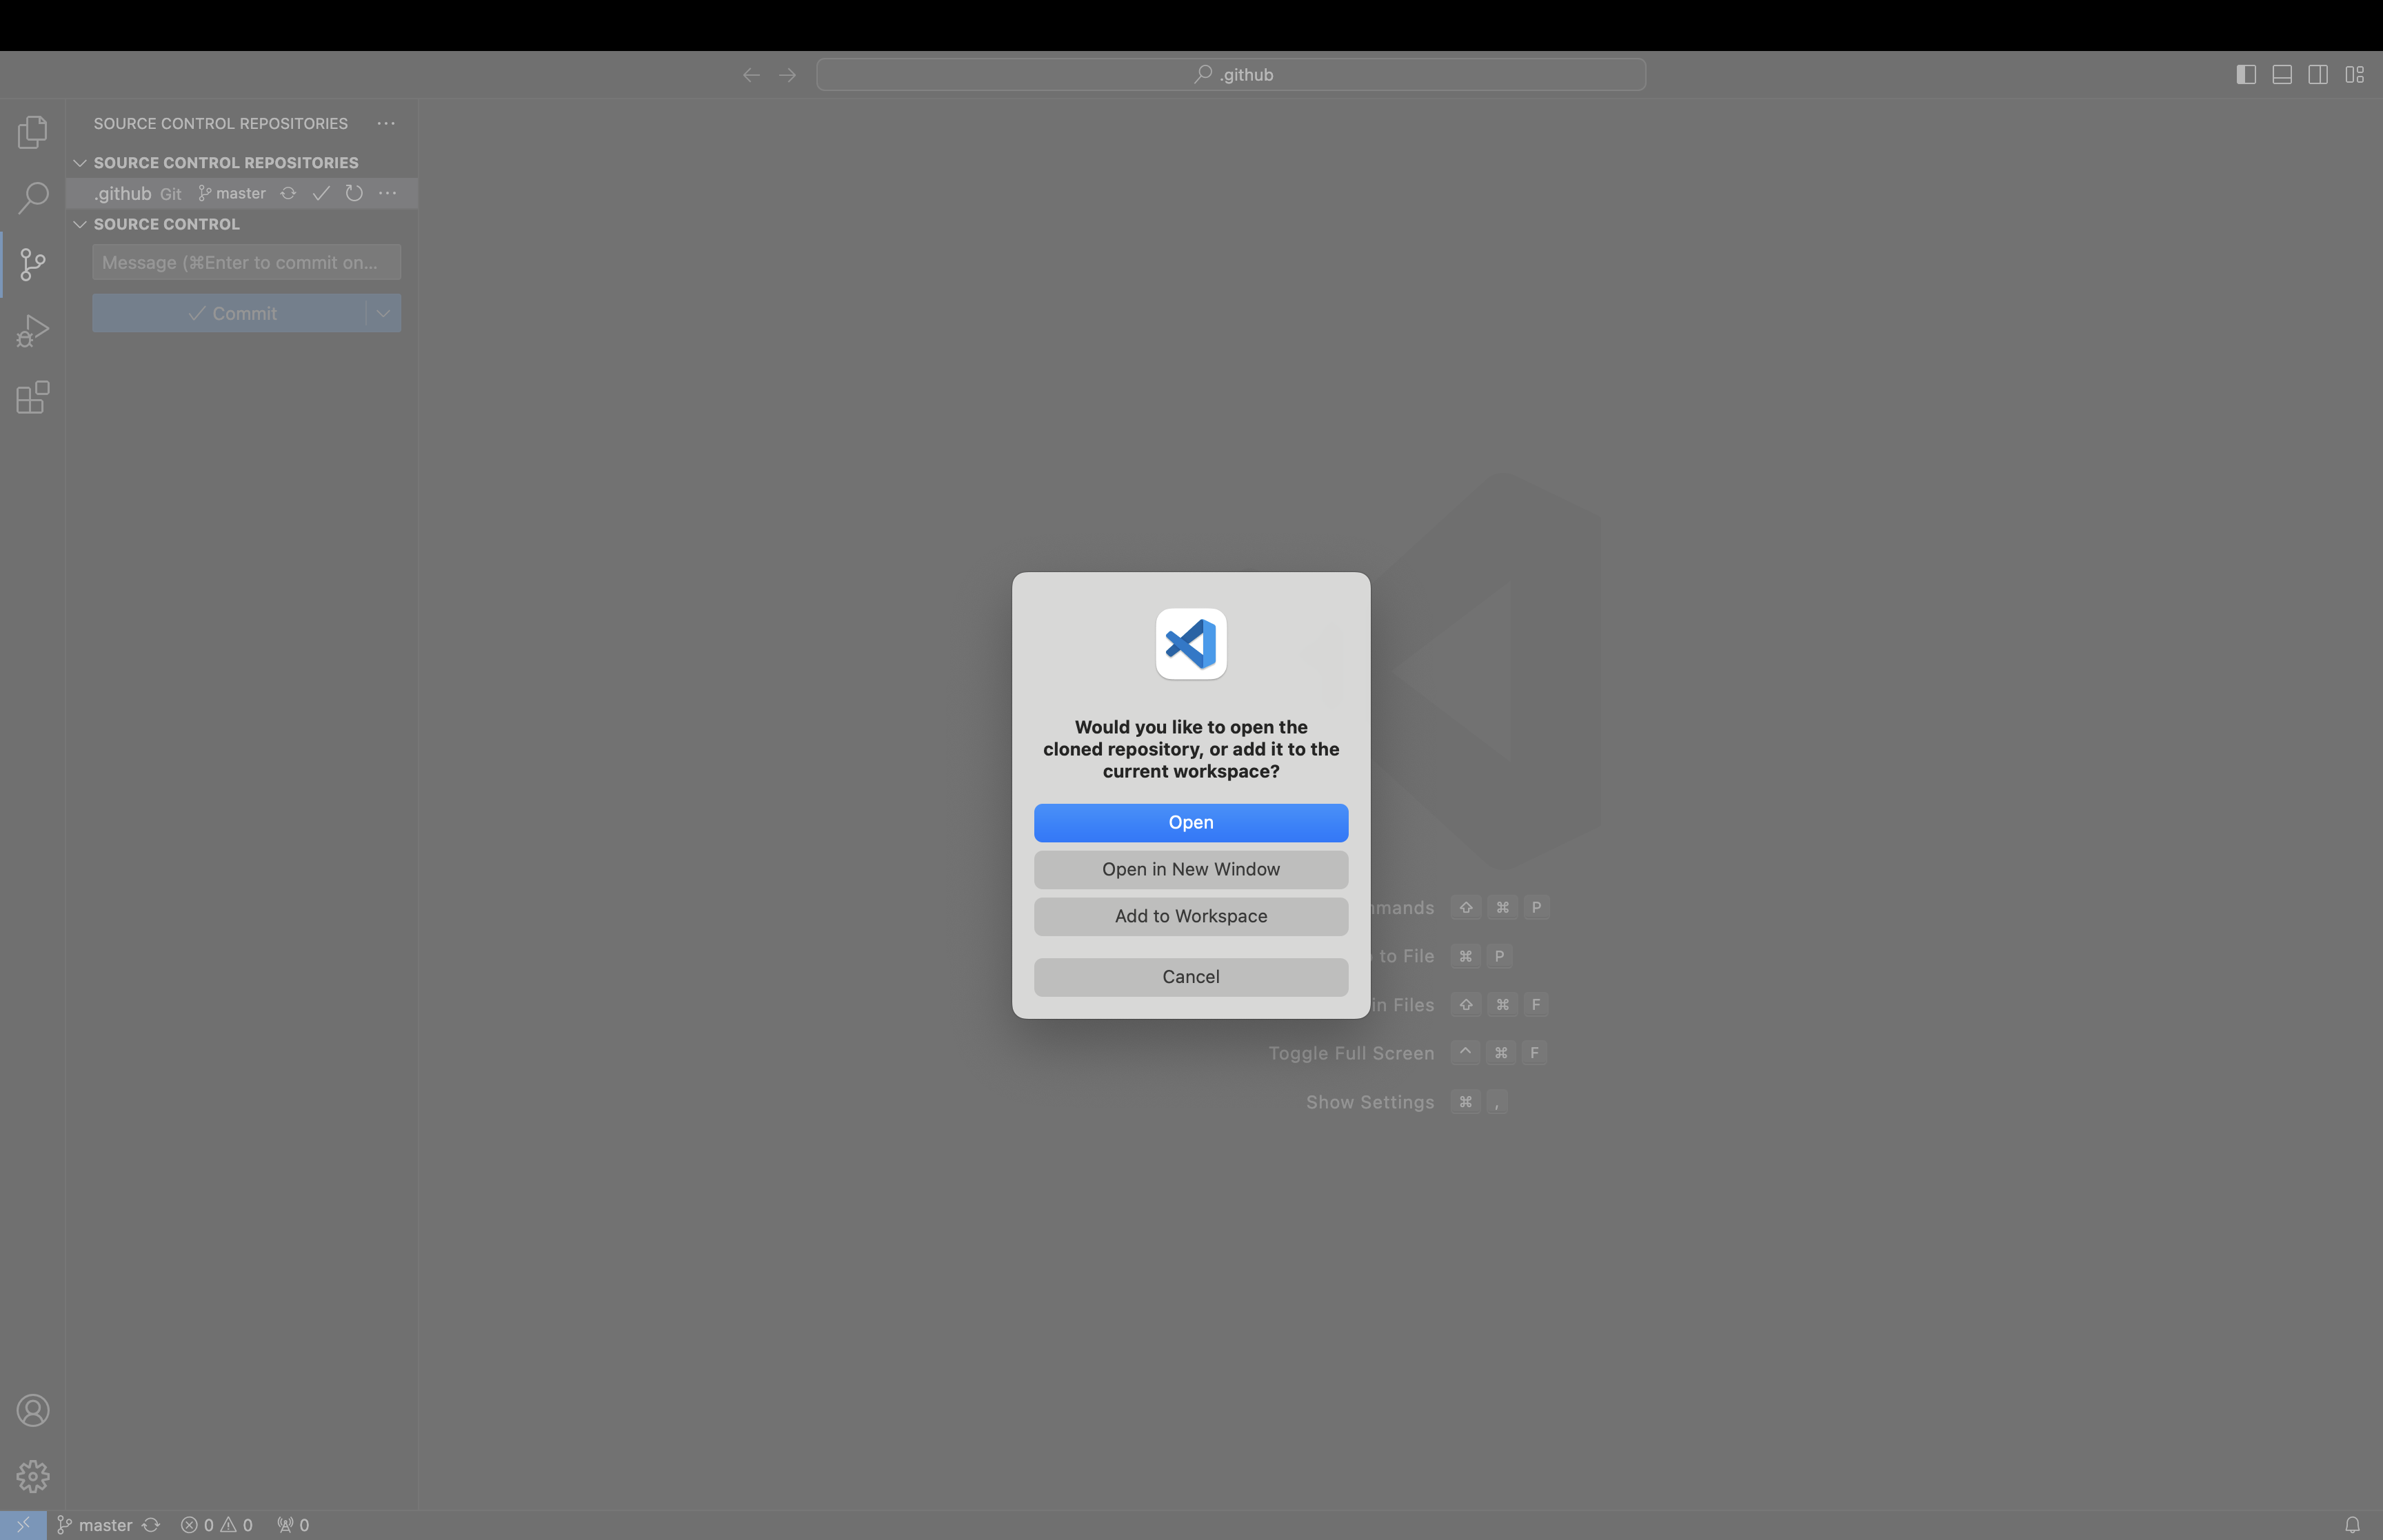
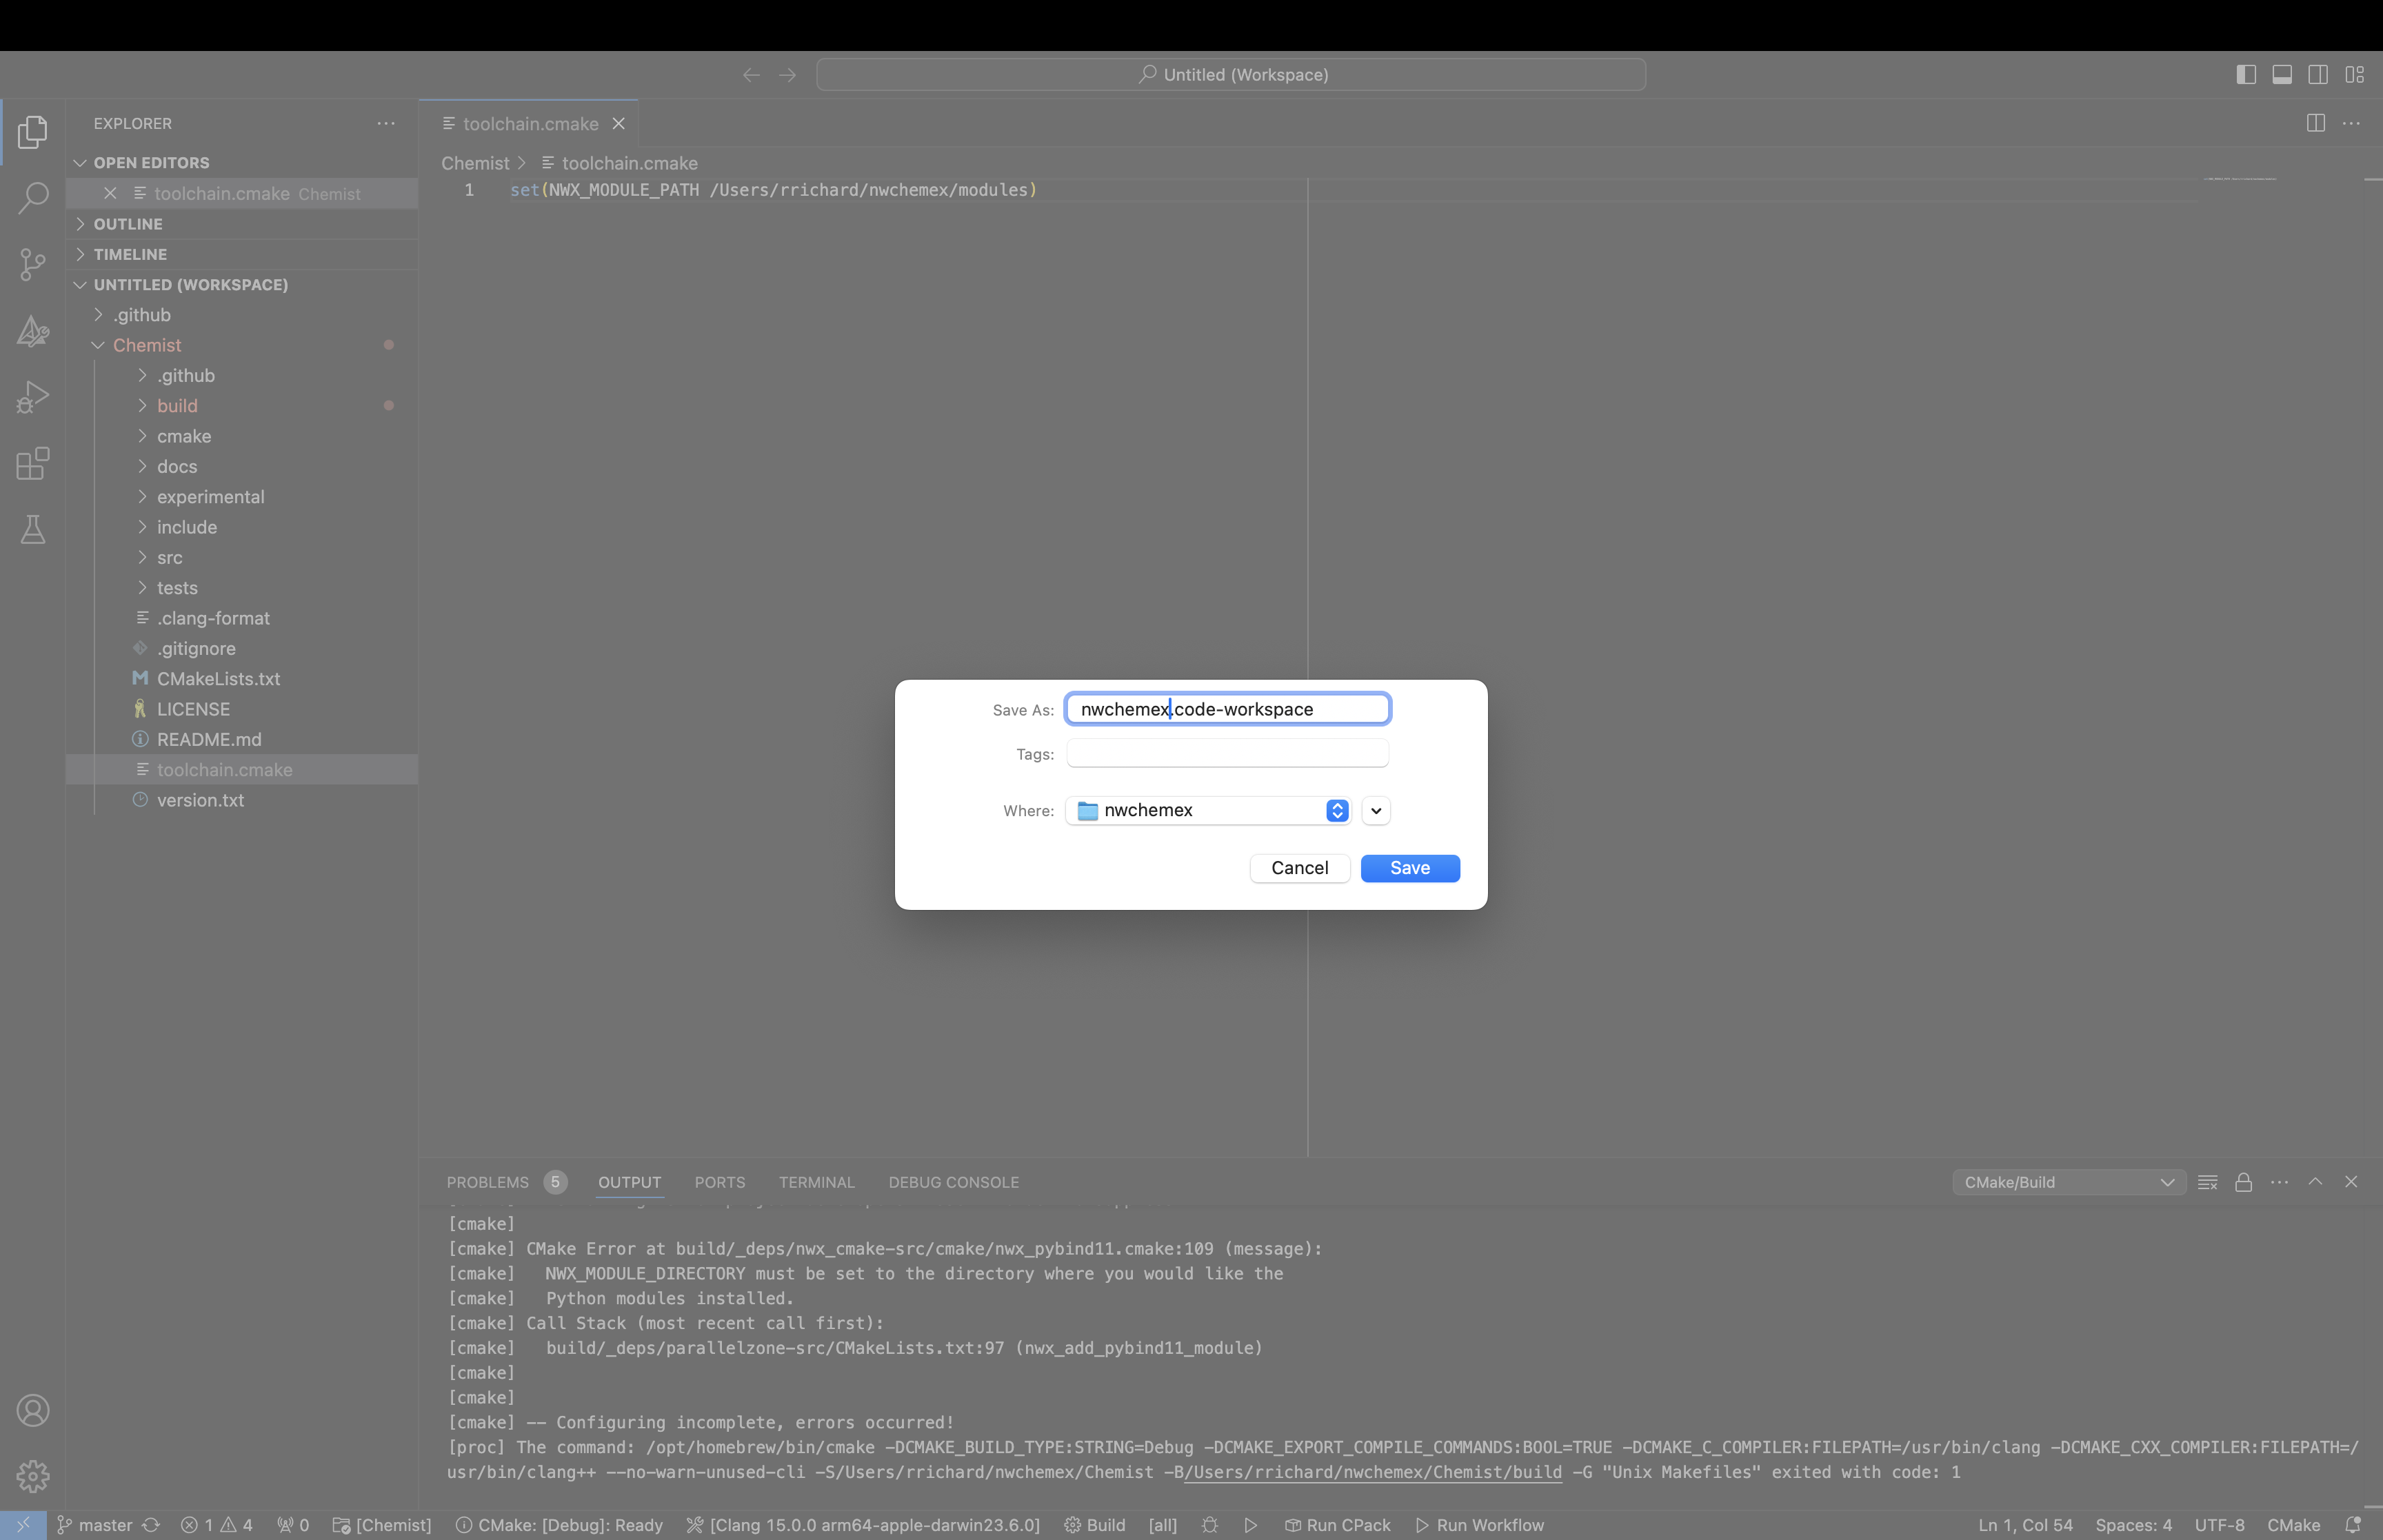
Note: If you choose a repository containing C++ source code, e.g.,
NWChemEx/chemist, VSCode may prompt you to select a kit. Instructions for this are below. To get this to go away for now just click “unspecified” or press esc.
Creating a CMake Toolchain File
CMake relies on toolchain files to pass configuration variables to dependencies.
Note: We suggest putting the toolchain in the workspace directory and not in any of the repositories. Unfortunately, this means we can’t use VSCode’s editor to create/edit the file (VSCode will only let us create/edit files in the repository directories we downloaded). Thus, if you put it in the workspace you’ll have to use an external editor to write the file.
- In the directory of you choice, create a new file
toolchain.cmake. -
Modify the toolchain file. Syntax is
set(<name_of_variable> <value>). Some variables you may want to include are:- `NWX_MODULE_DIRECTORY`. Set this to where you want plugins and modules to be installed to. - `CMAKE_CXX_STANDARD`. Set this to 17 if for some reason your C++17 compliant compiler doesn't at least default to 17 being enabled. - `BUILD_TESTING`. To build the unit tests.An example:
set(NWX_MODULE_DIRECTORY /path/to/your/workspace/directory)
set(CMAKE_CXX_STANDARD 17)
set(BUILD_TESTING TRUE)
Setting up Kits
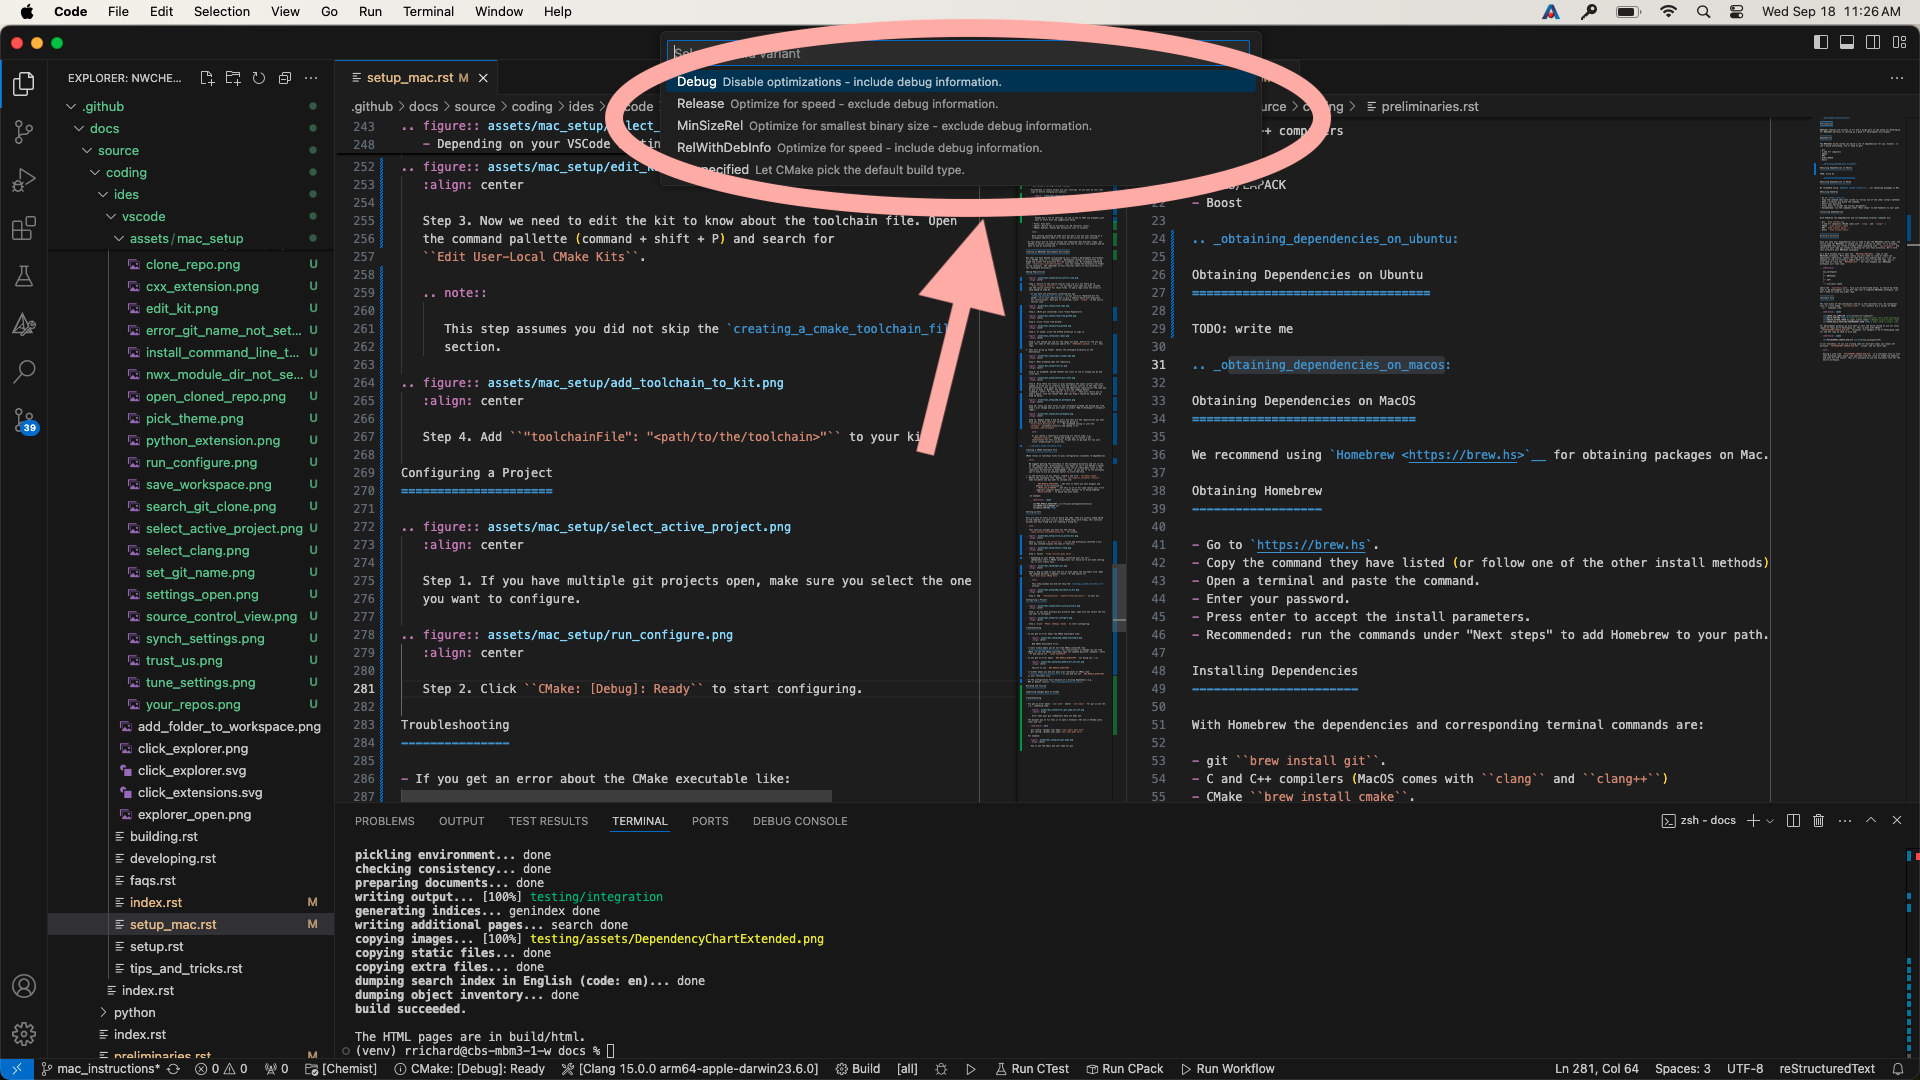
Kits are sets of tools to use to build the code. They are usually named based on the compiler you want to use. Since MacOS ships with Clang, this tutorial assumes you have Clang and are creating a Clang kit.
Note: This tutorial assumes you have set the setting
cmake.options.statusBarVisibilityto visible.
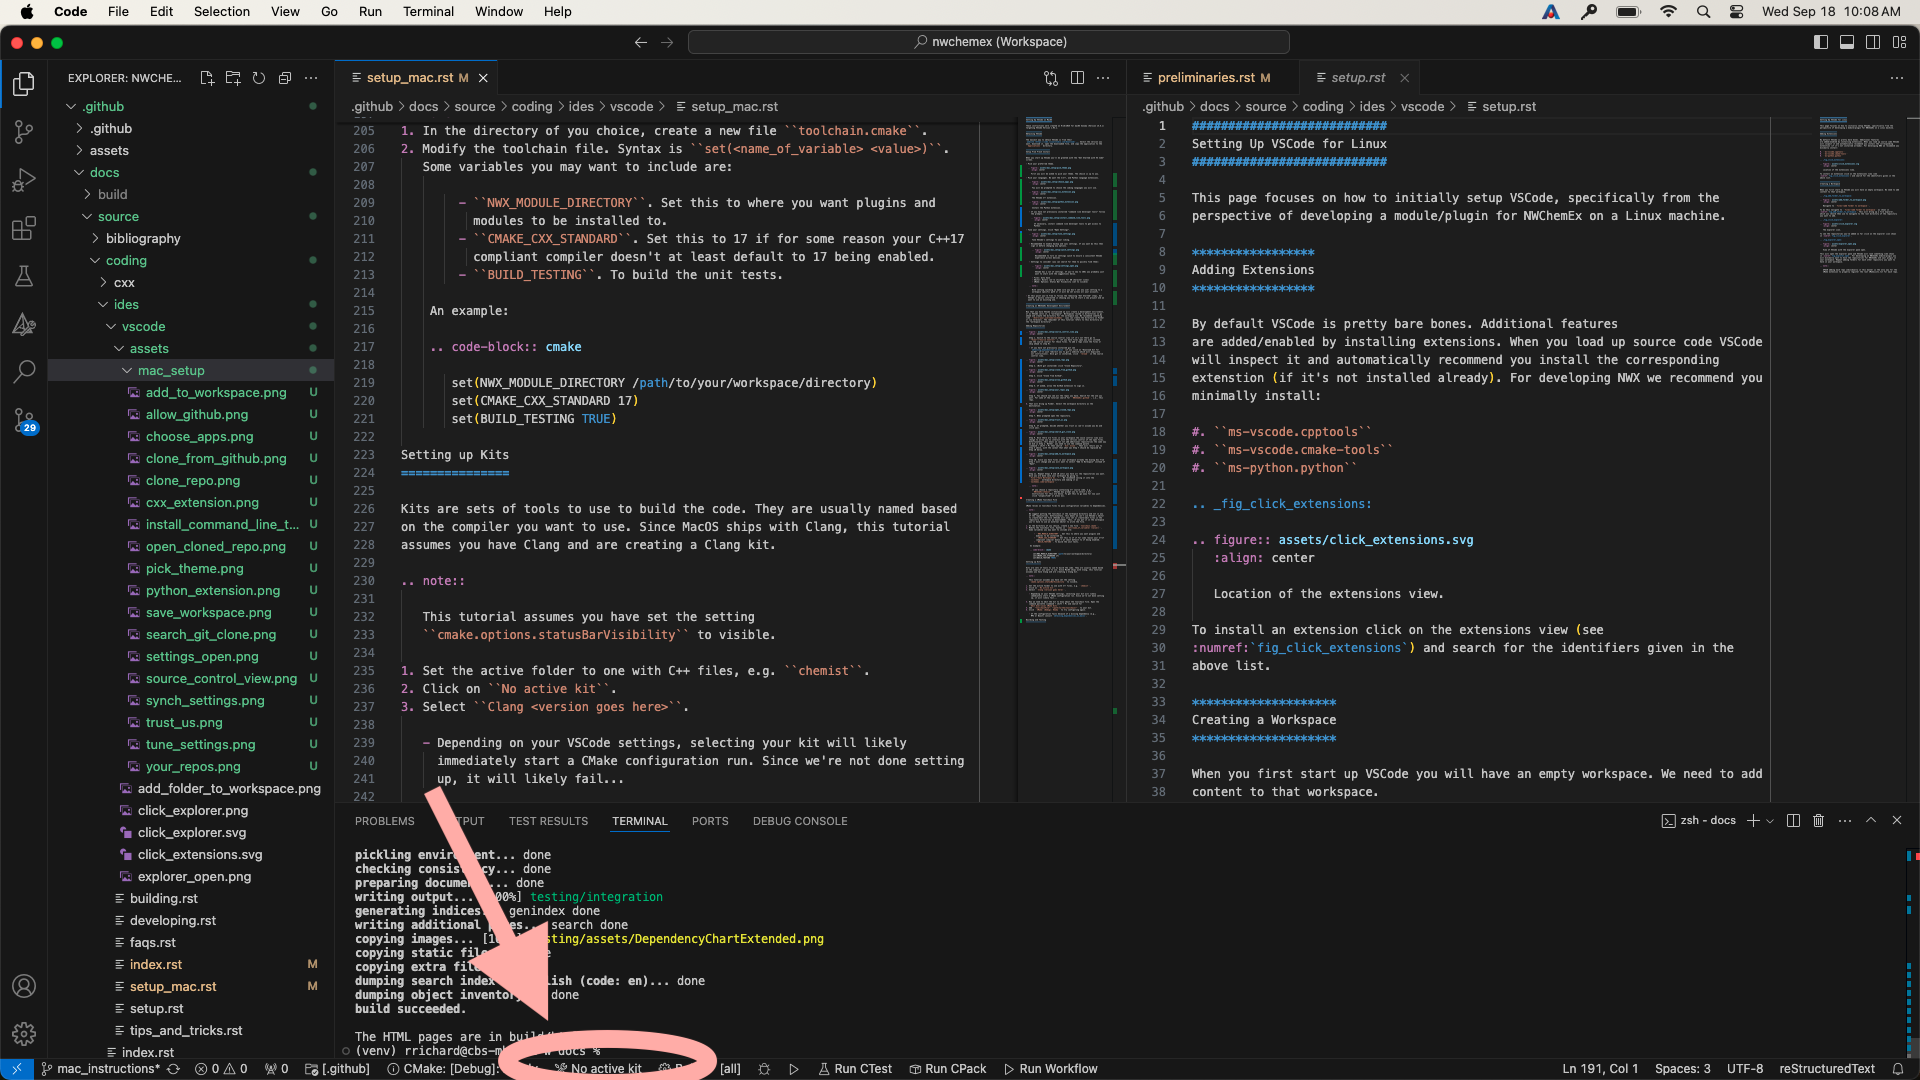
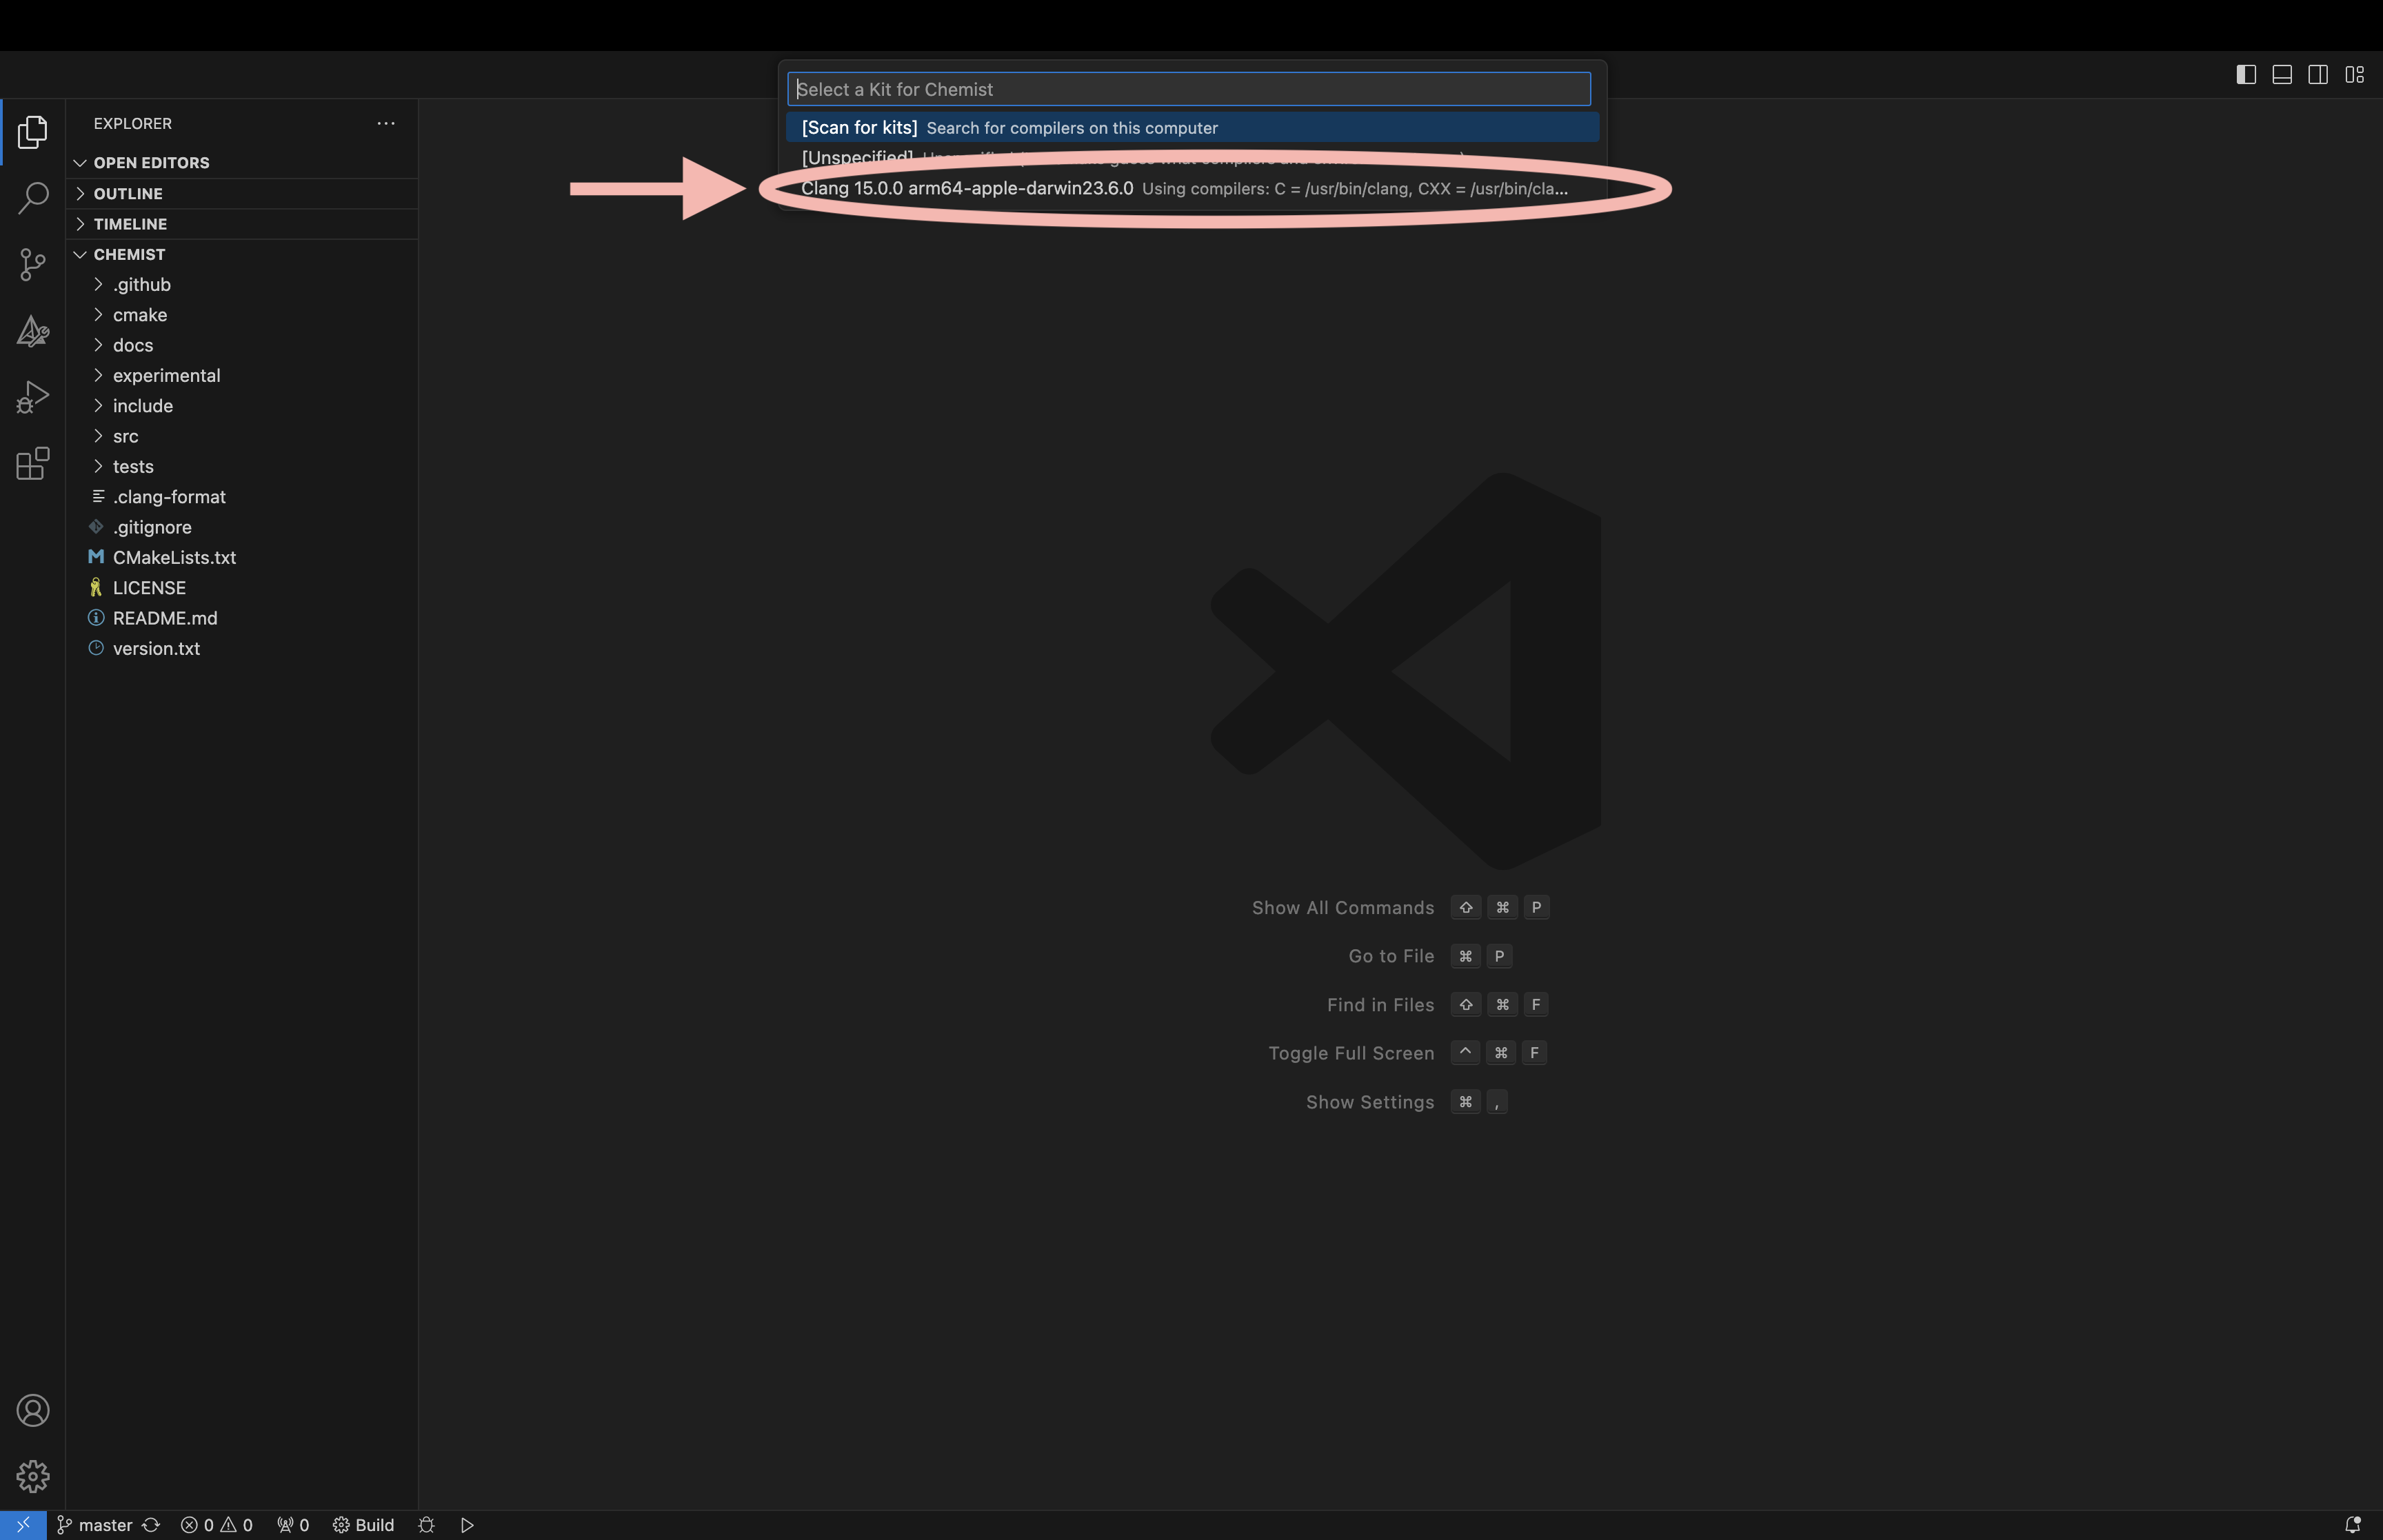
Note: Depending on your VSCode settings, selecting your kit will immediately start a CMake configuration run. Since we’re not done setting up, it will likely fail…
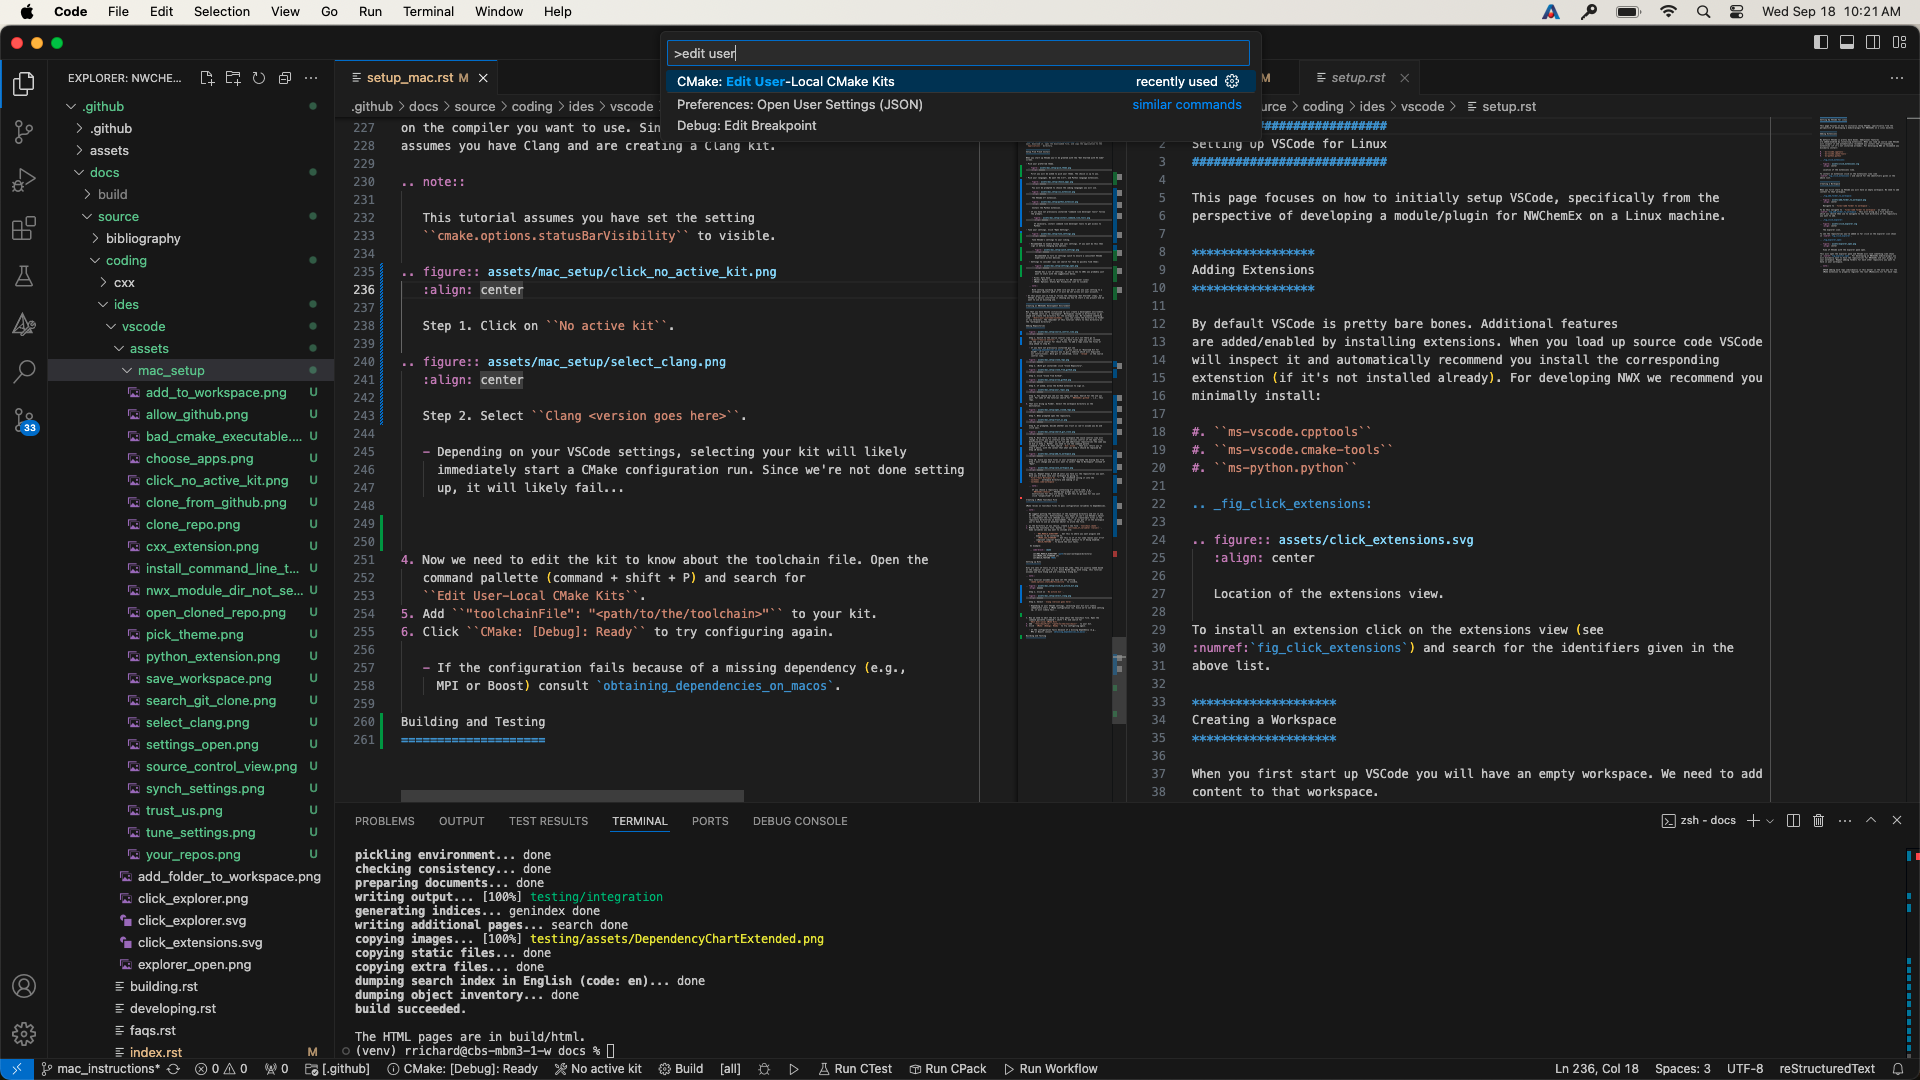
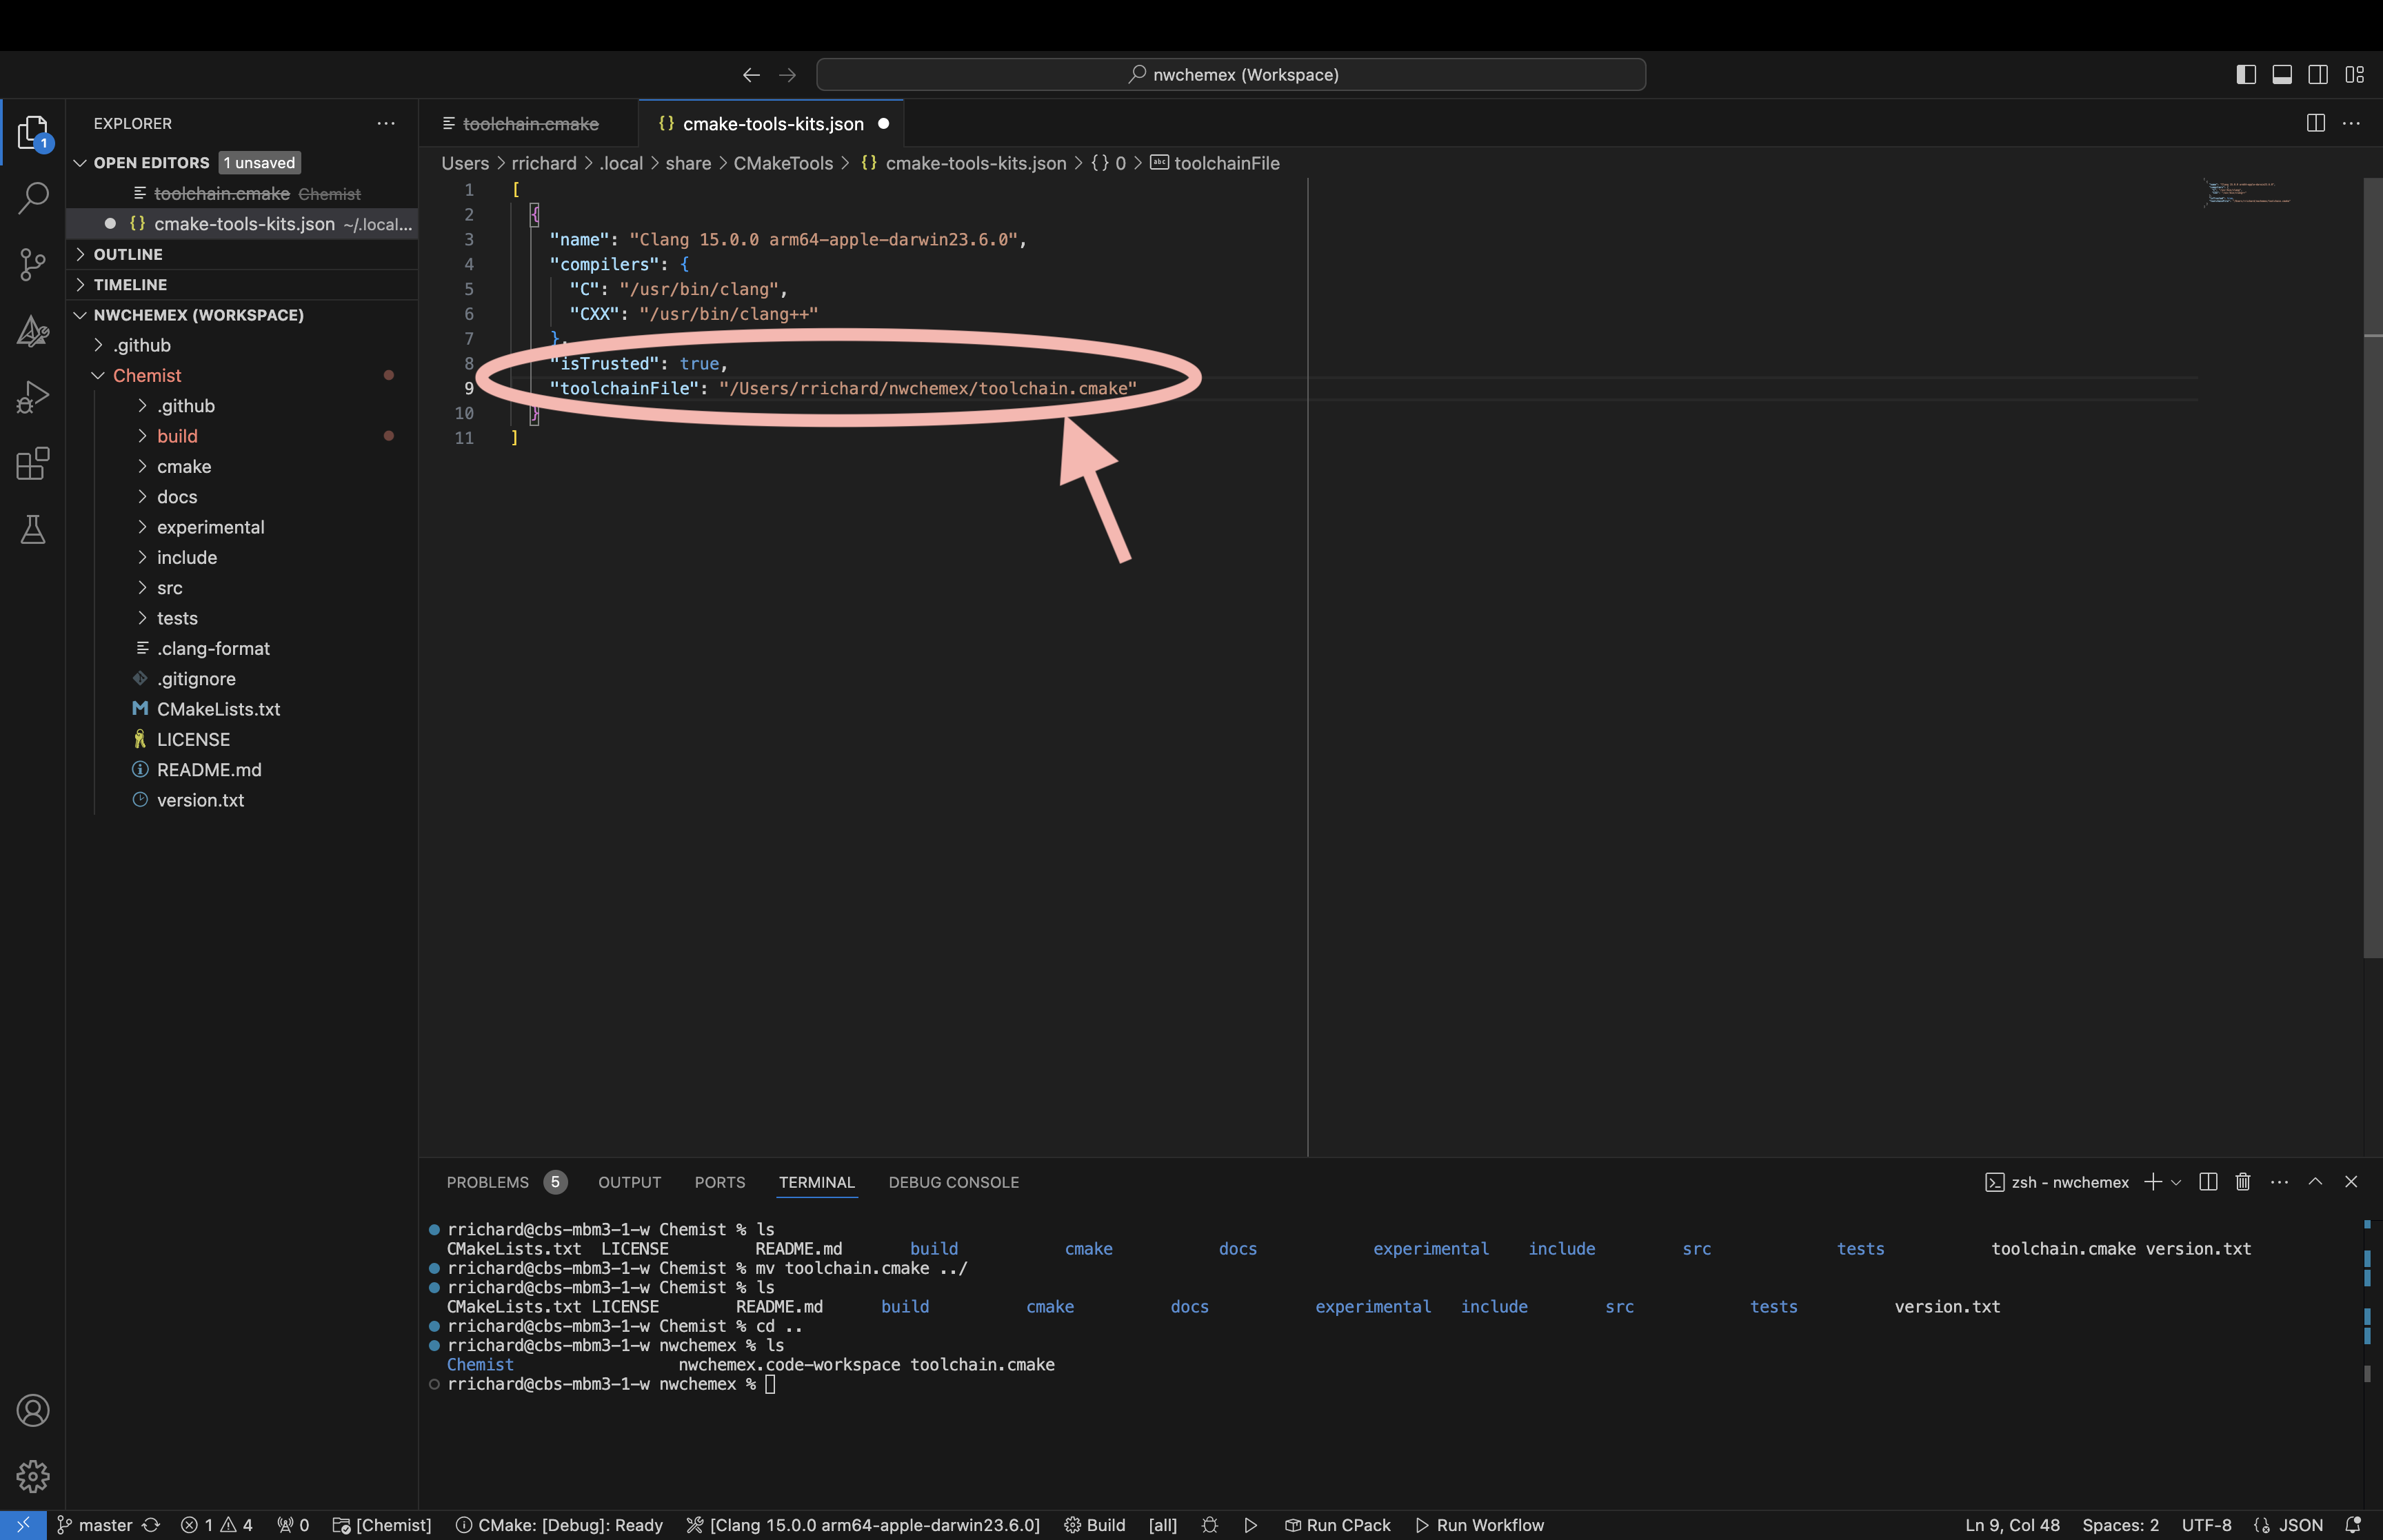
Note: This step assumes you did not skip the :ref:
creating_a_cmake_toolchain_filesection.
Another good idea, assuming you have Ninja installed
(brew install ninja) is to add it to your kit via:
"preferredGenerator": {
  "name": "Ninja"
},
"environmentVariables": {
  "PATH": "/opt/homebrew/bin;${env:PATH}"
}
Configuring a Project
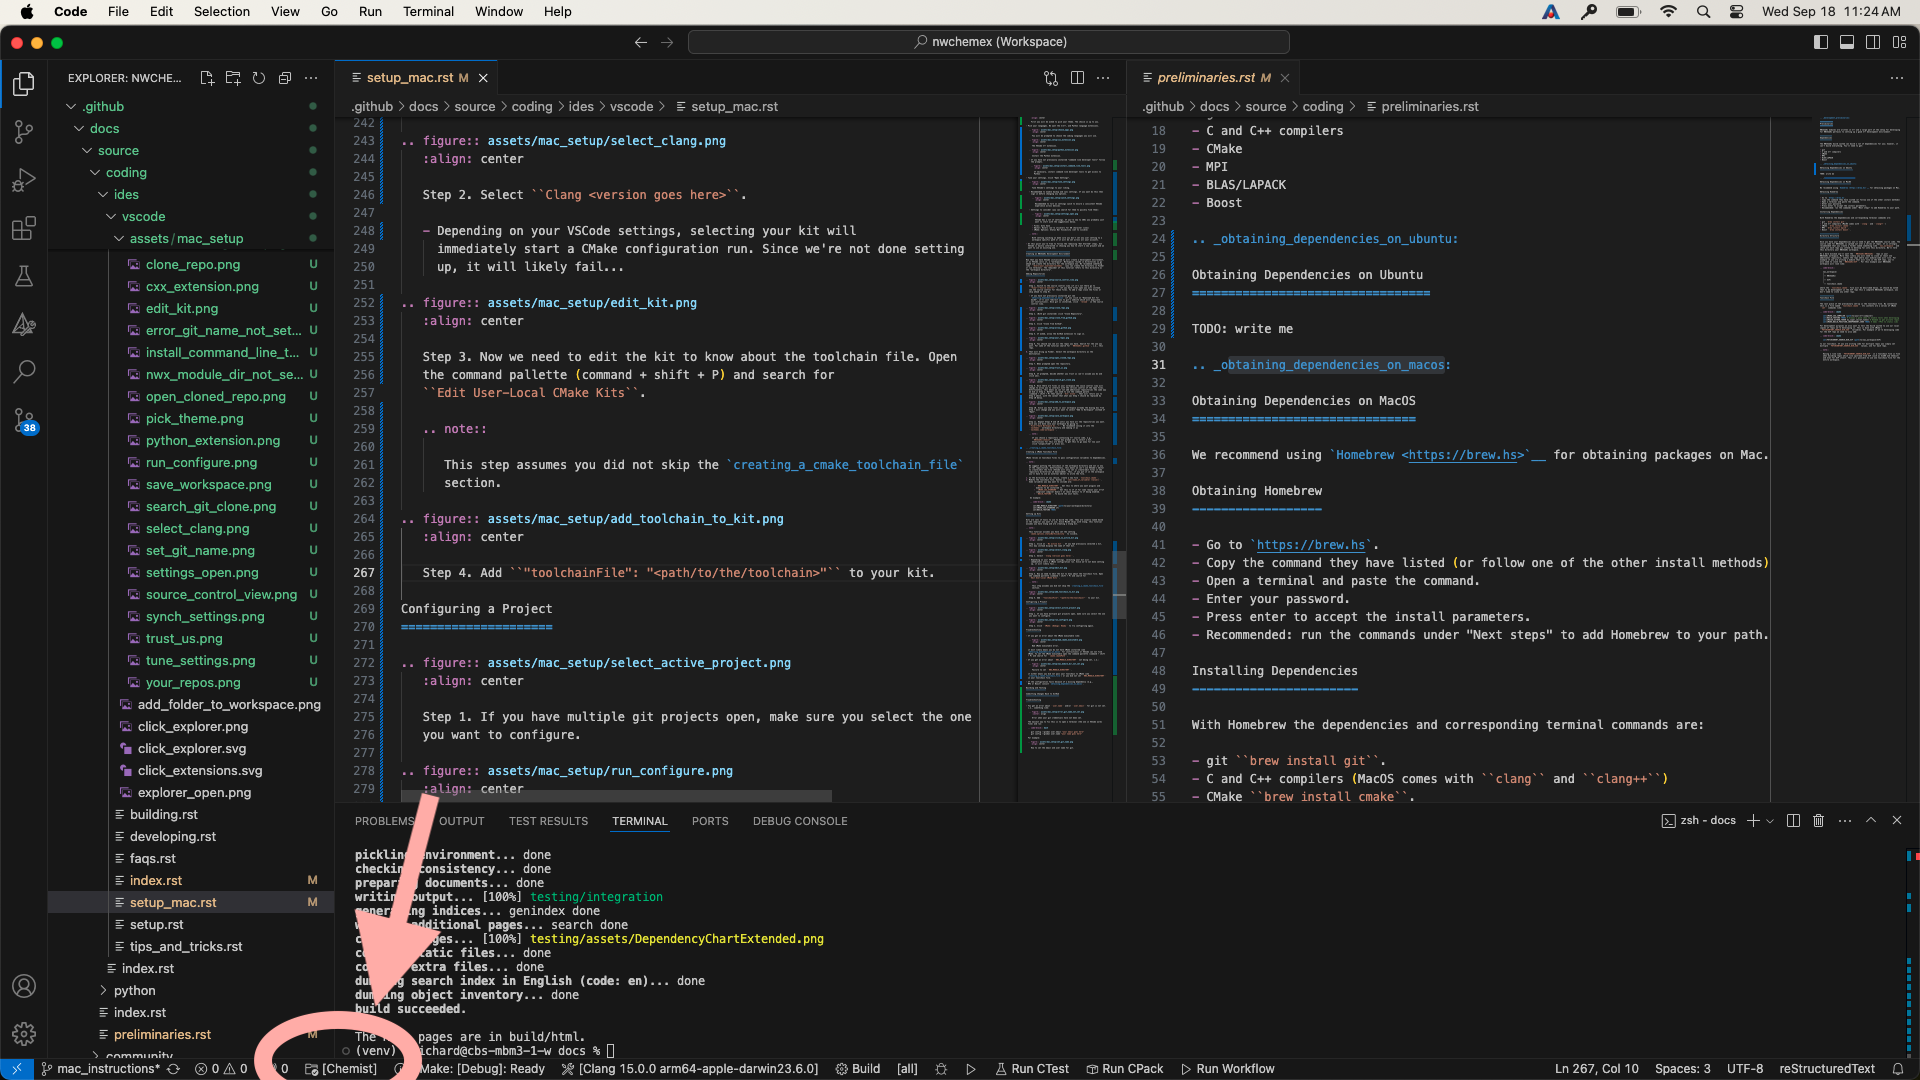
![Step 2. Click `CMake: [Debug]: Ready` to start configuring.](/_pages/developer/ides/vscode/assets/mac_setup/run_configure.png)
Troubleshooting
- If you get an error about the CMake executable like:
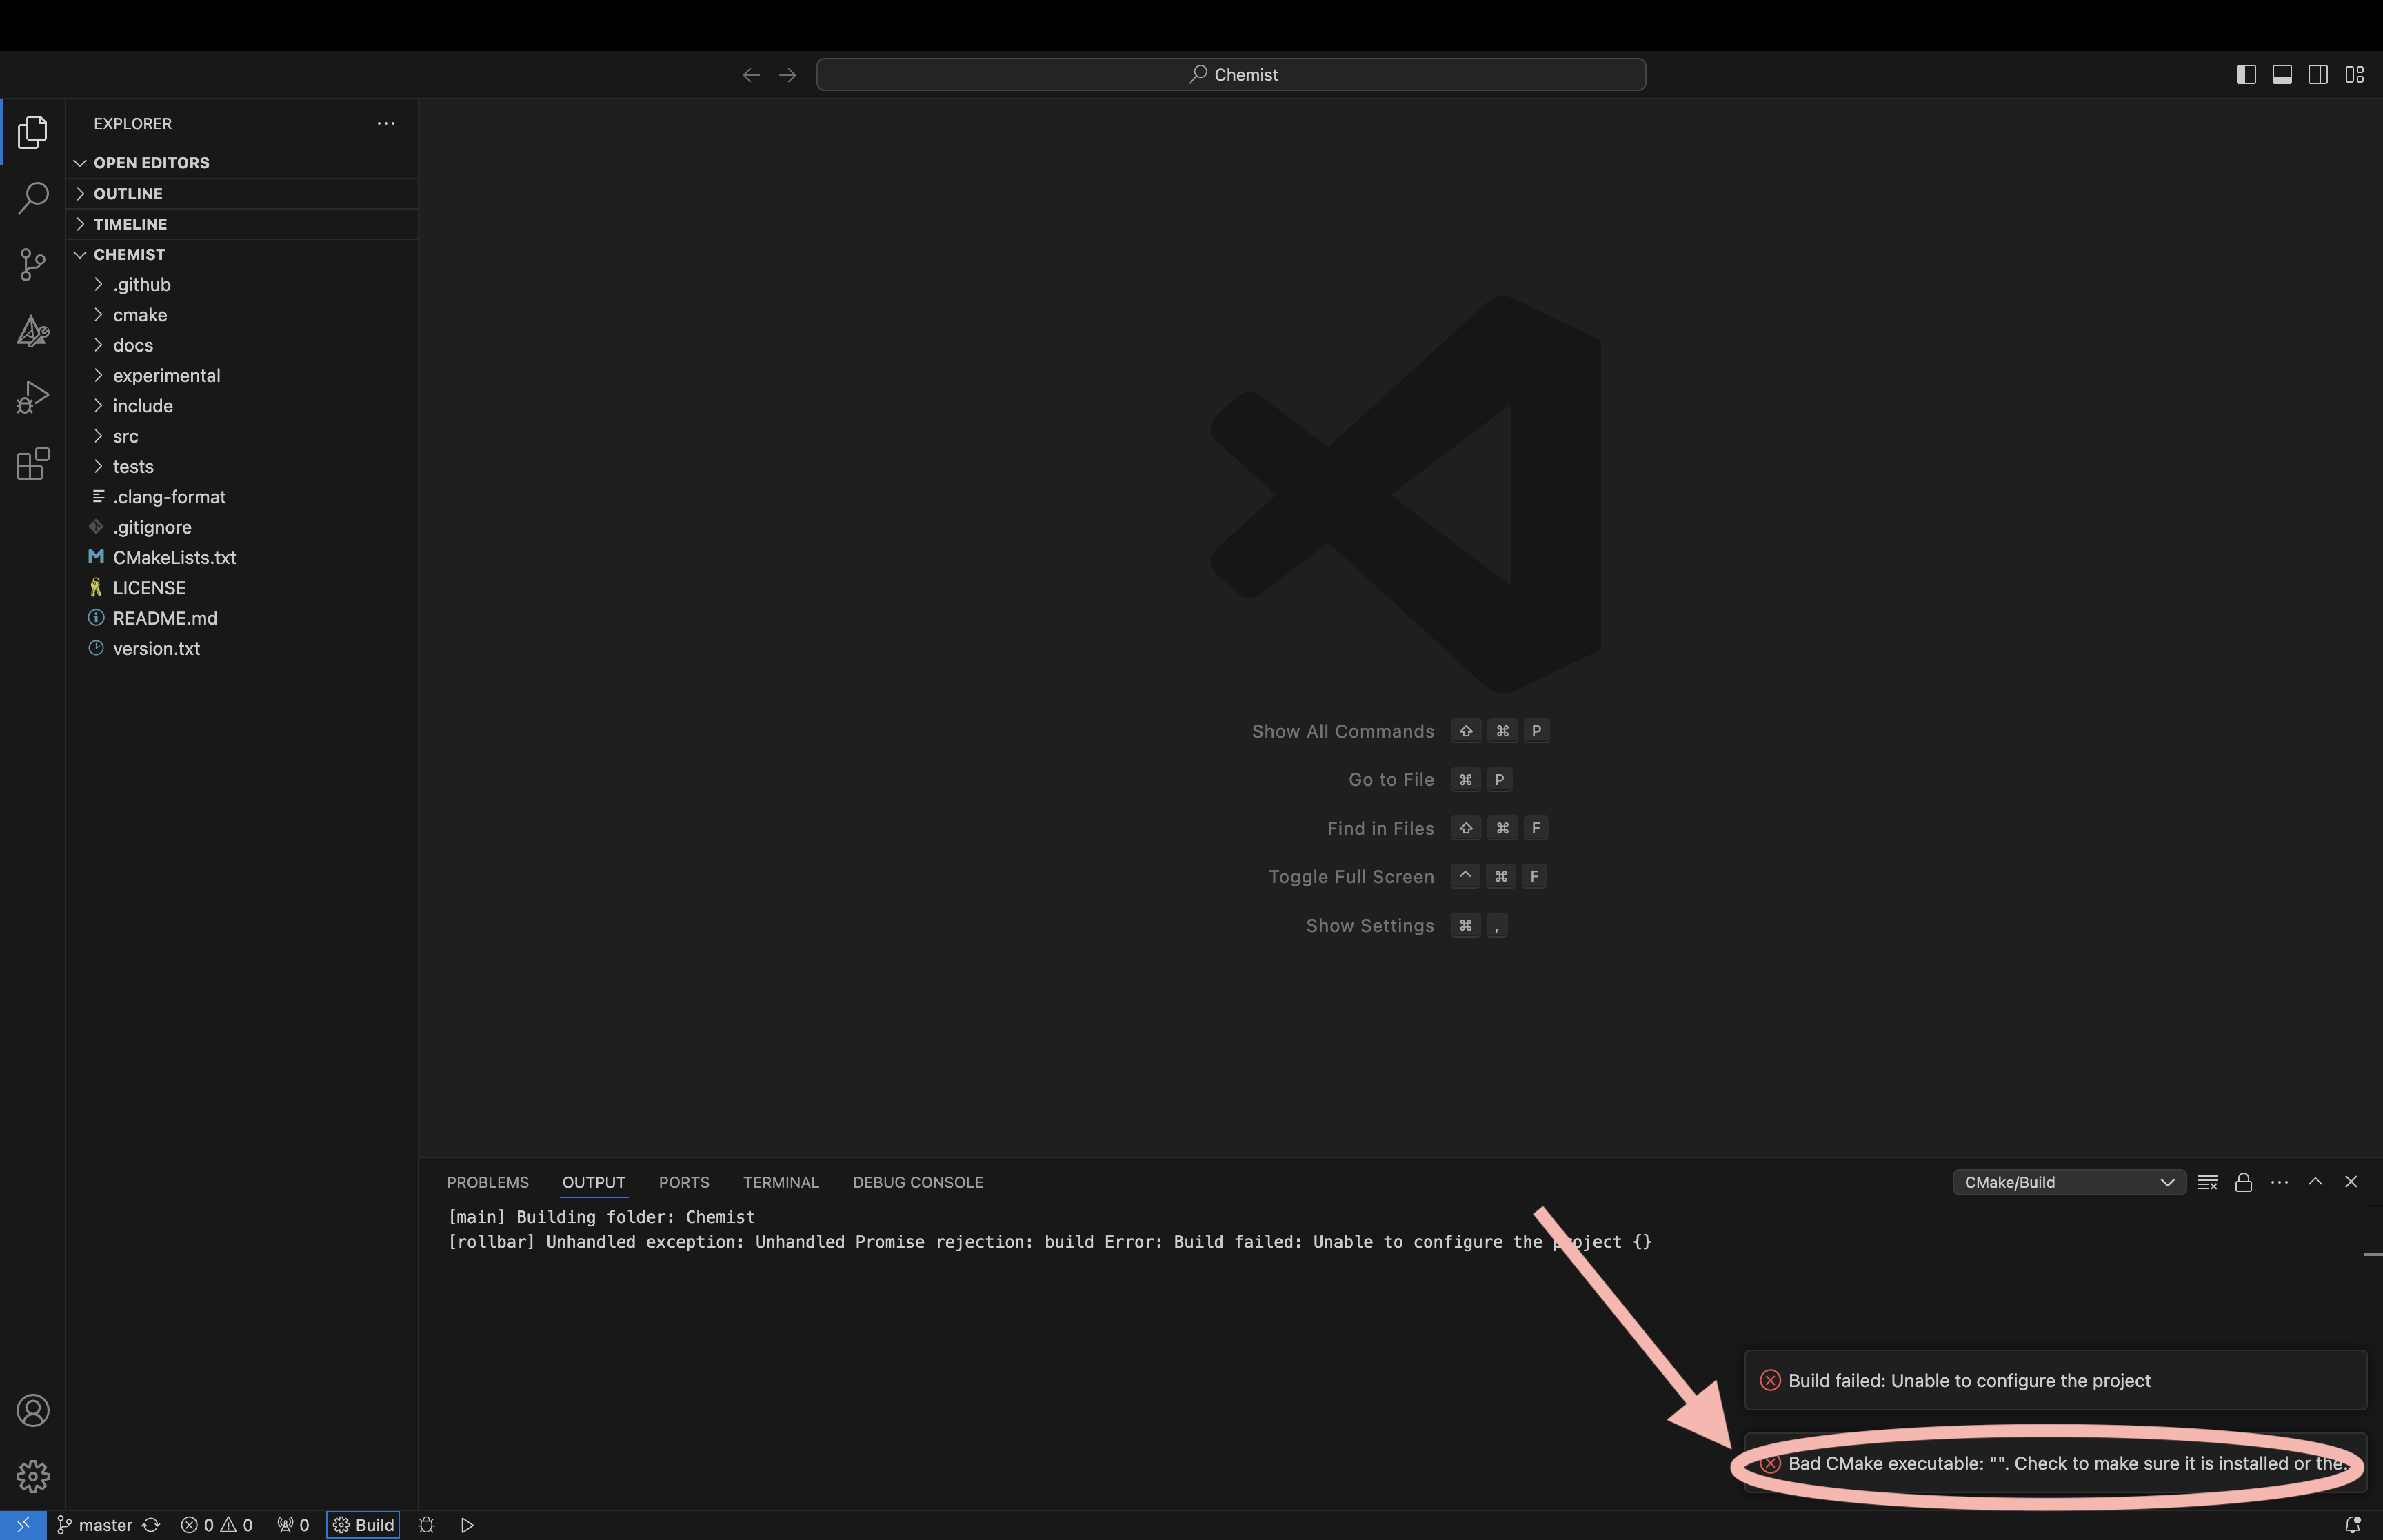
it most likely means you do not have CMake installed (see
obtaining_dependencies_on_macos for instructions) or VSCode can not
find CMake. To set the CMake executable open the command pallette
(command + shift + P) and search for cmake.cmakePath.
- If you get an error about
NWX_MODULE_DIRECTORYnot being set, i.e.:
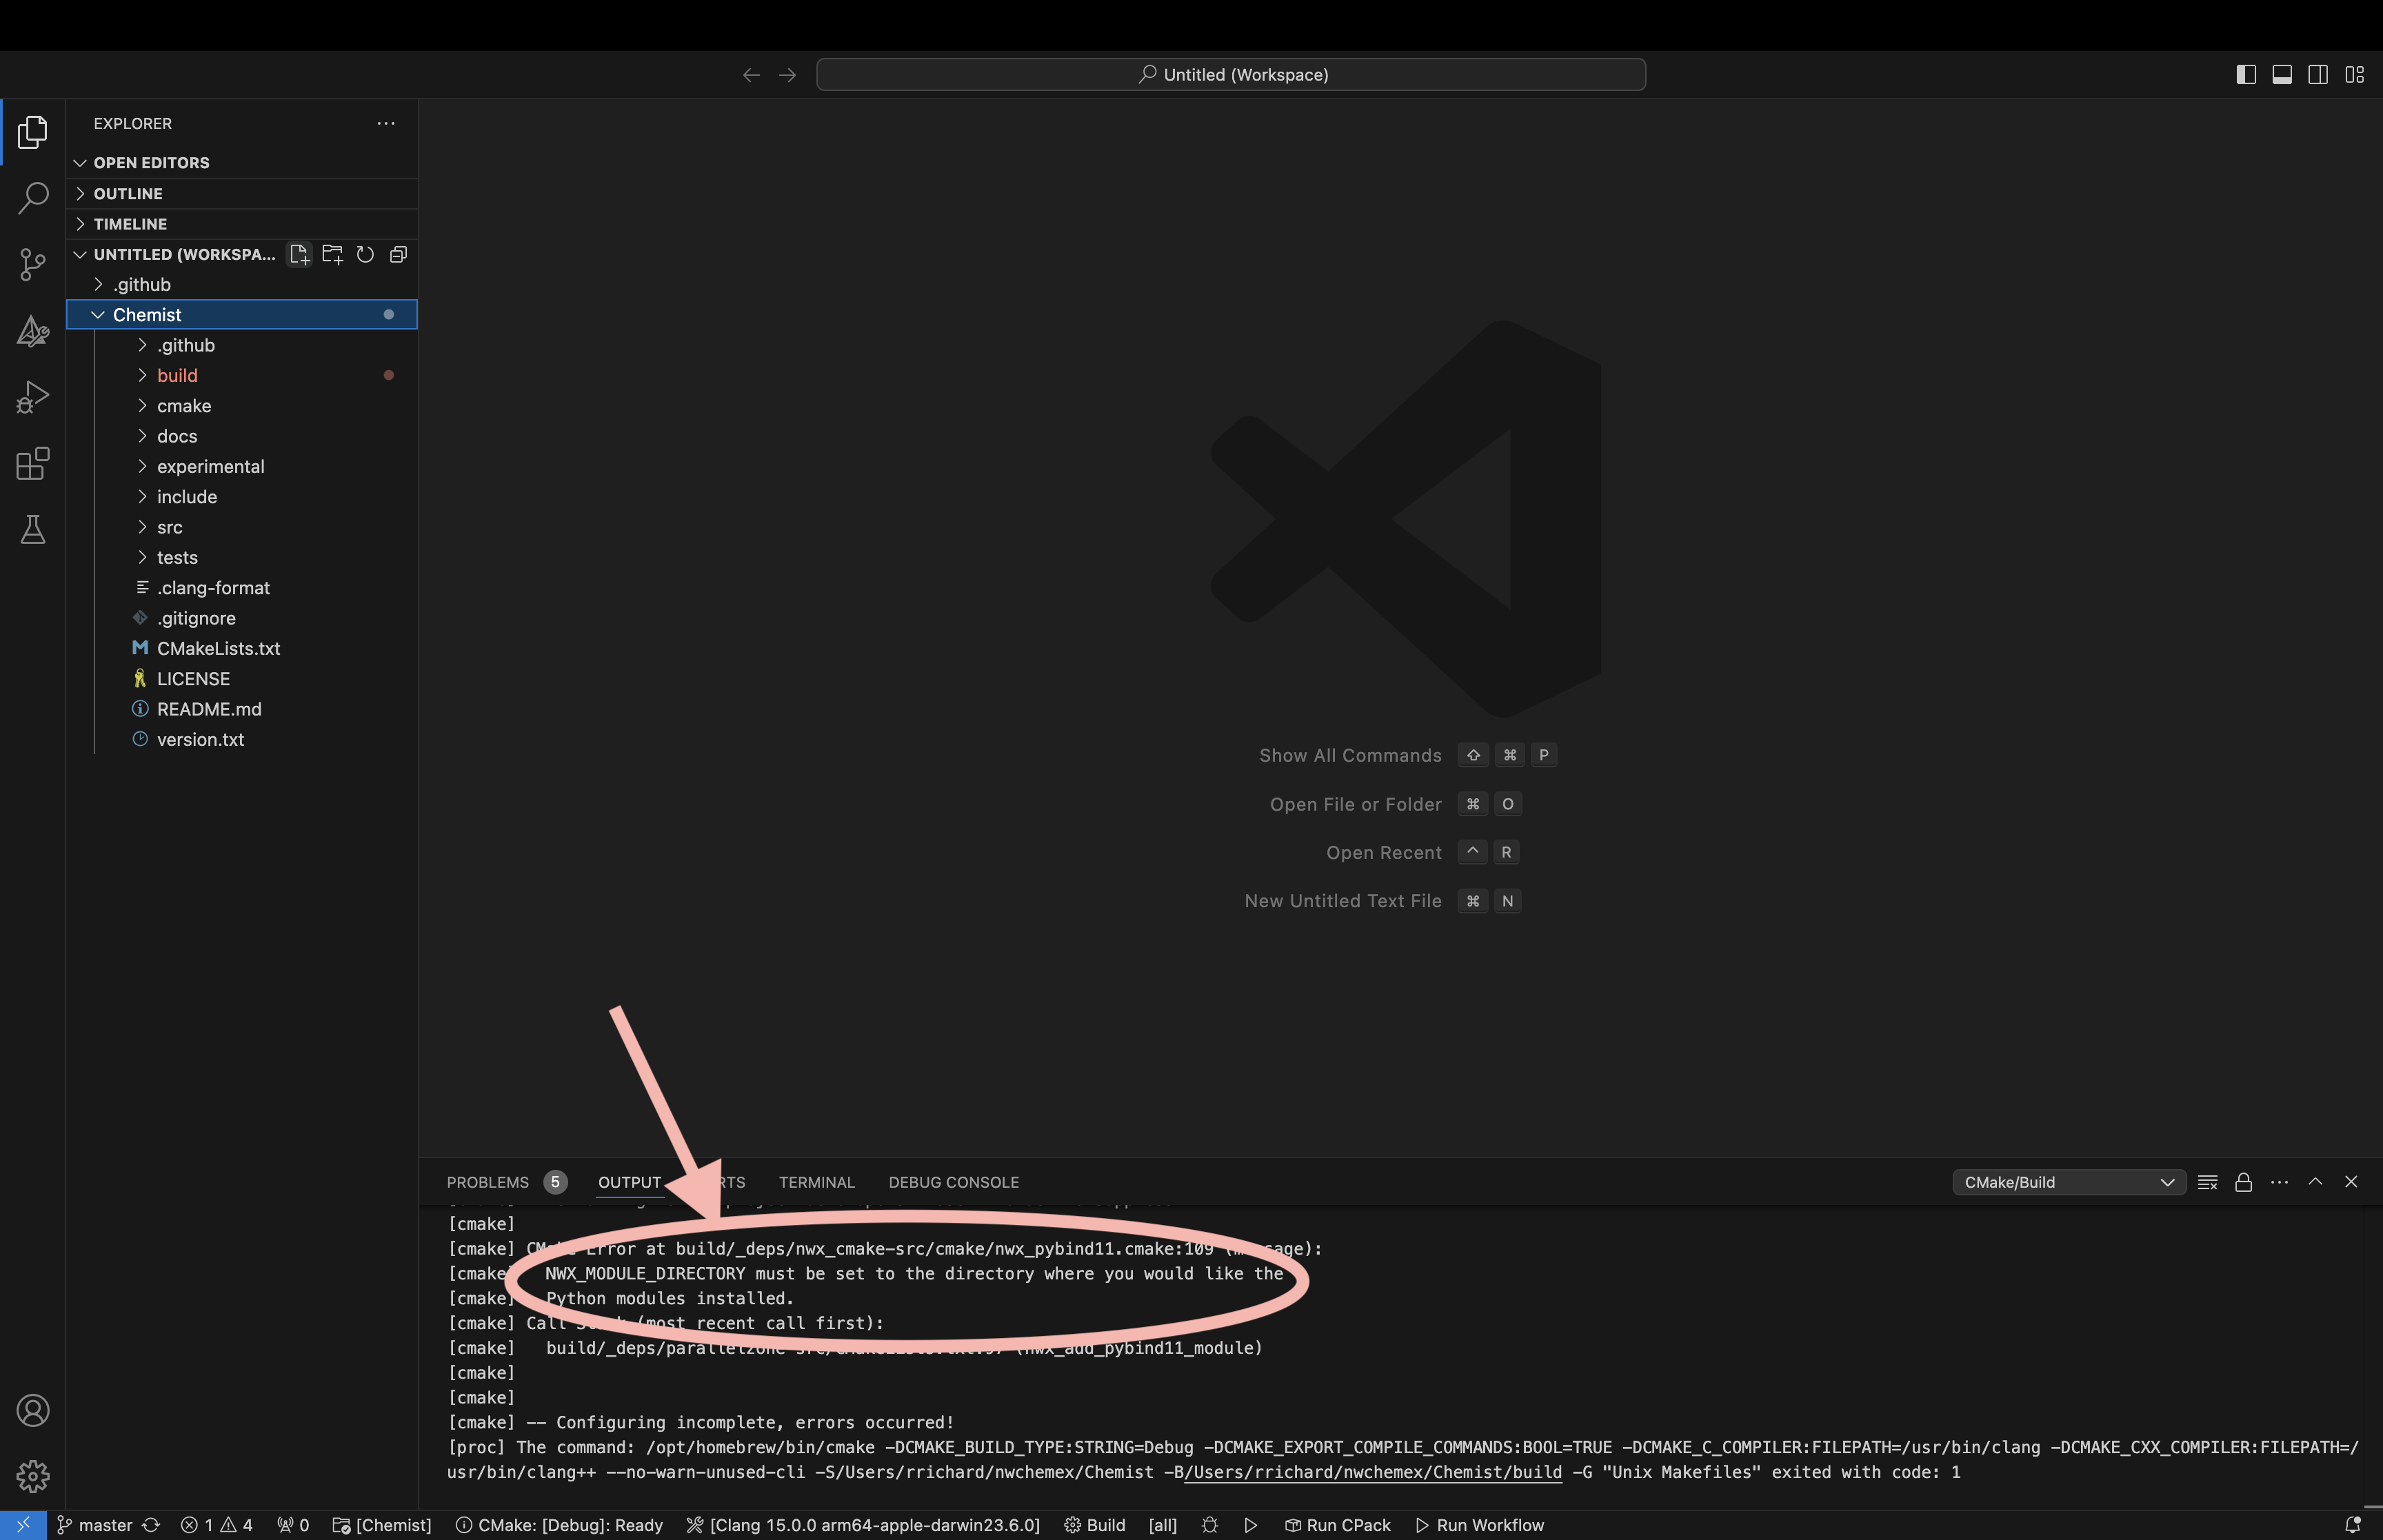
it either means you did not pass your toolchain to CMake (see
creating_a_cmake_toolchain_file) or you did not set
NWX_MODULE_DIRECTORY in your toolchain file.
-
If the configuration fails because of a missing dependency (e.g., MPI or Boost) consult obtaining_dependencies_on_macos.
-
If the configuration fails because of the missing Python developer files, e.g.,
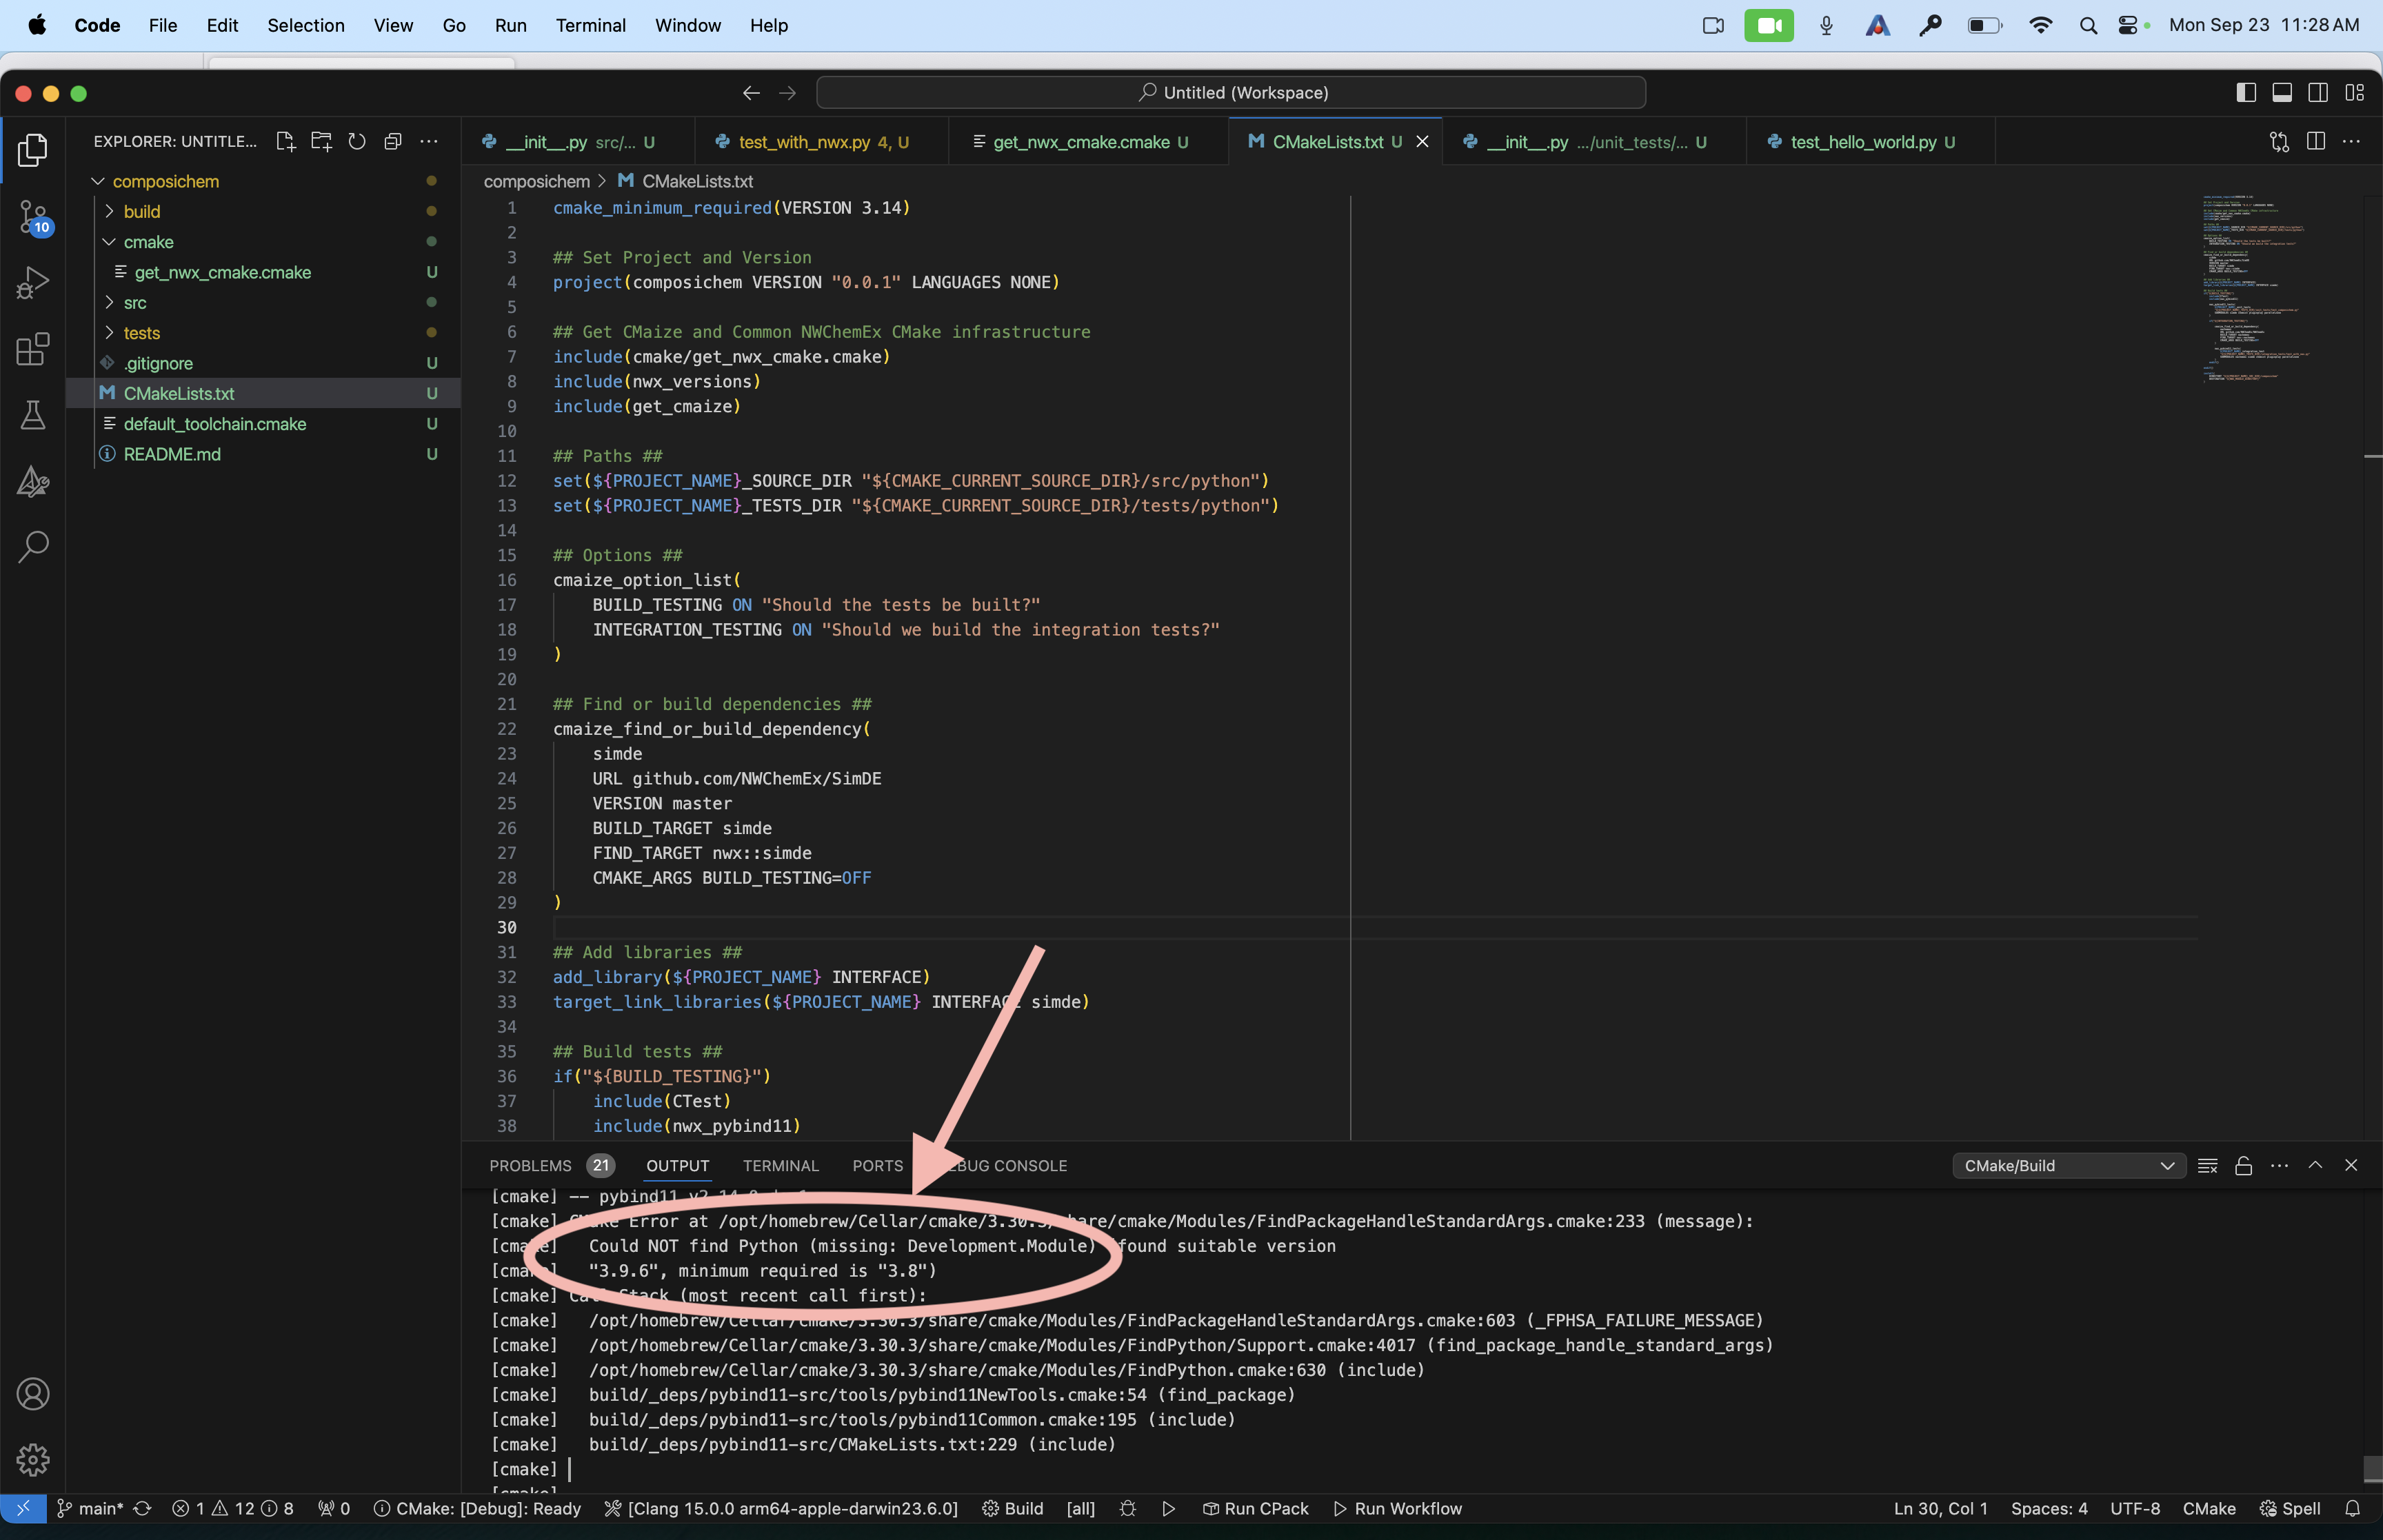
consult obtaining_dependencies_on_macos.
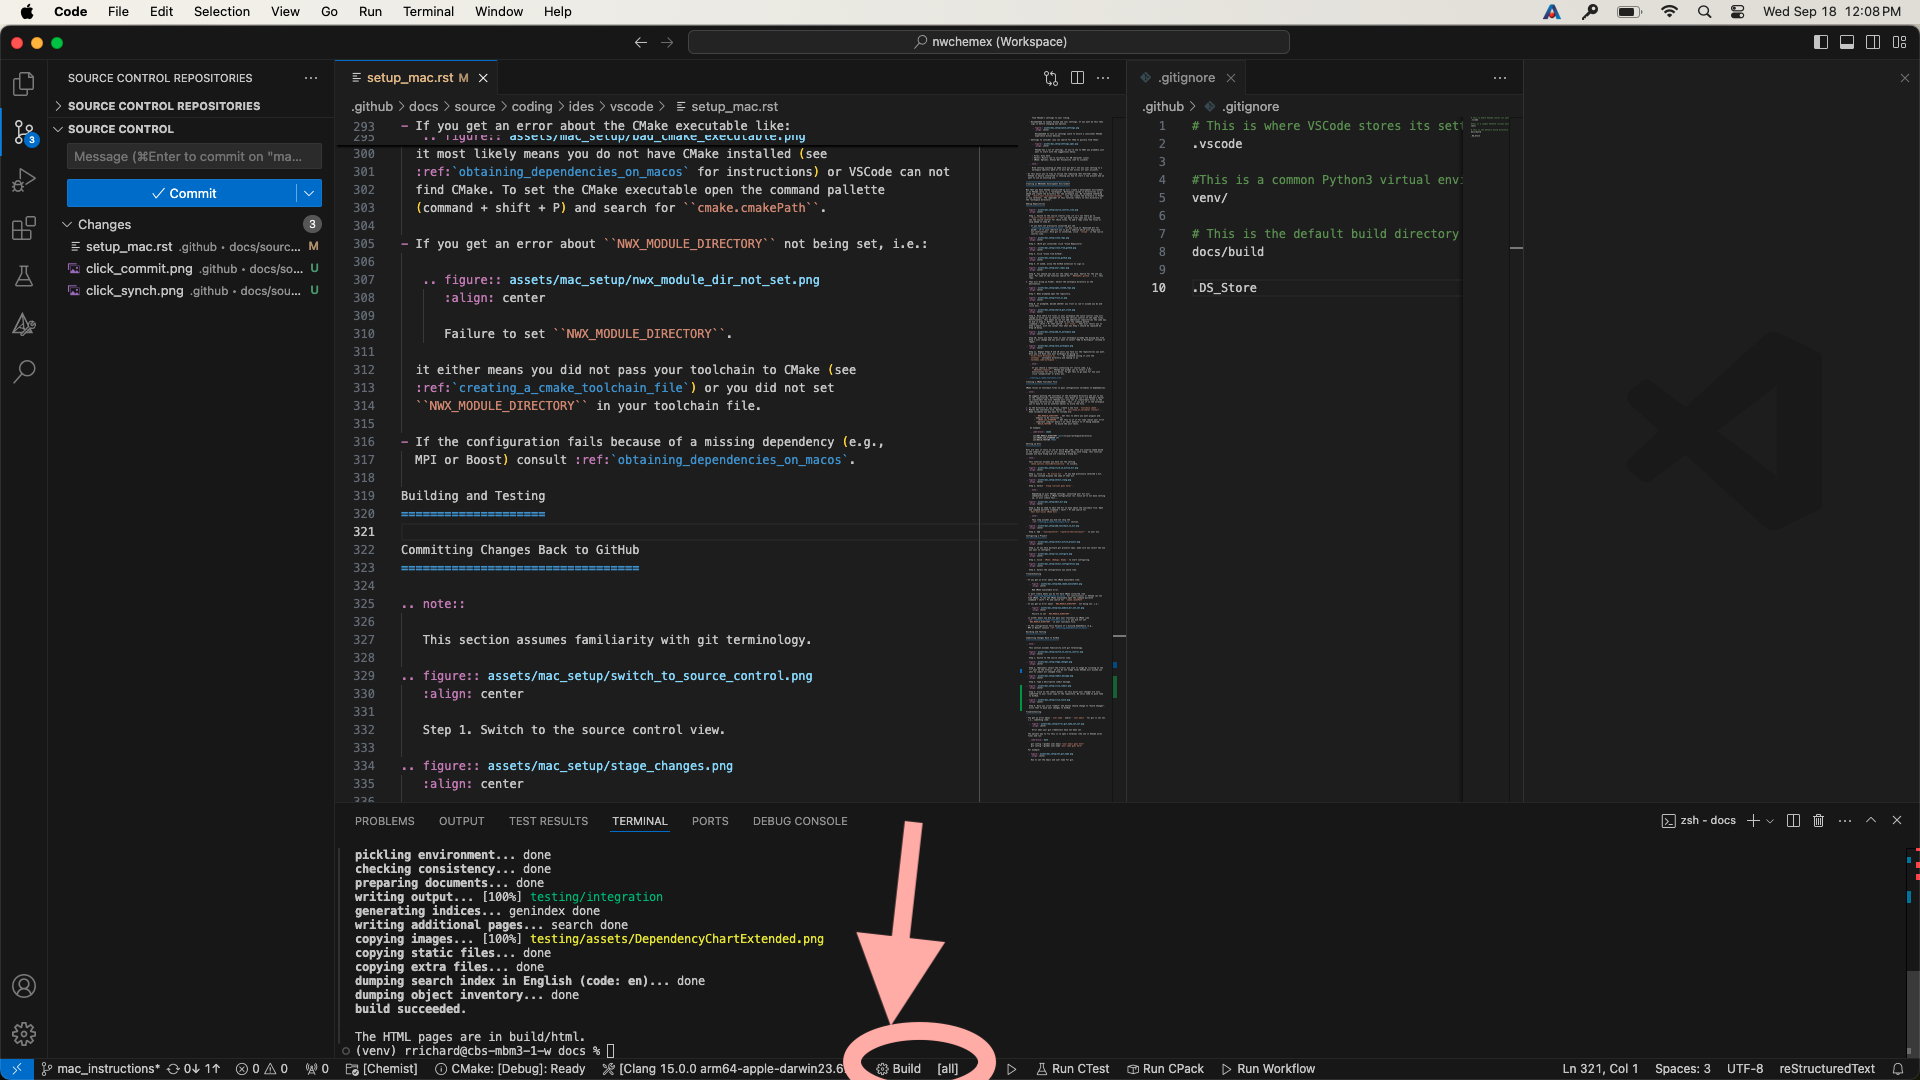
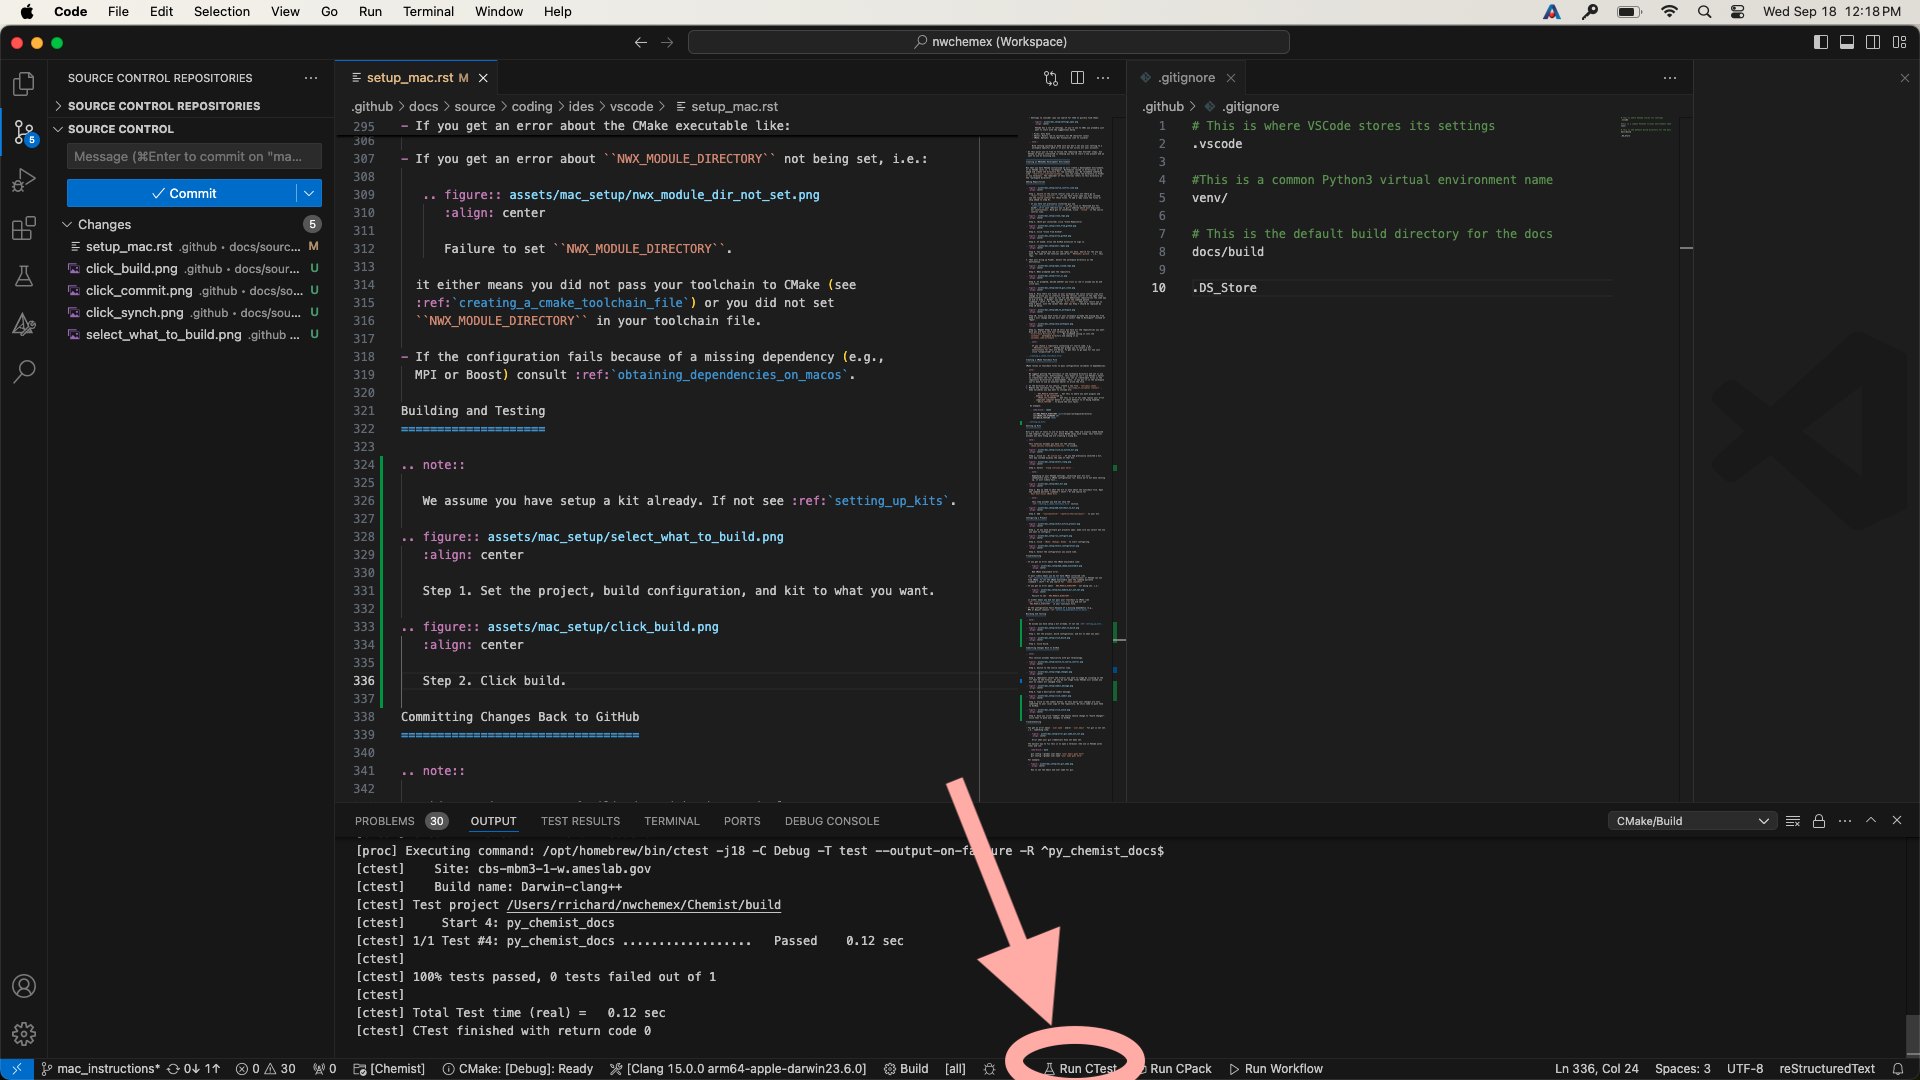
Building and Testing
Note: We assume you have setup a kit already. If not see :ref:
setting_up_kits.
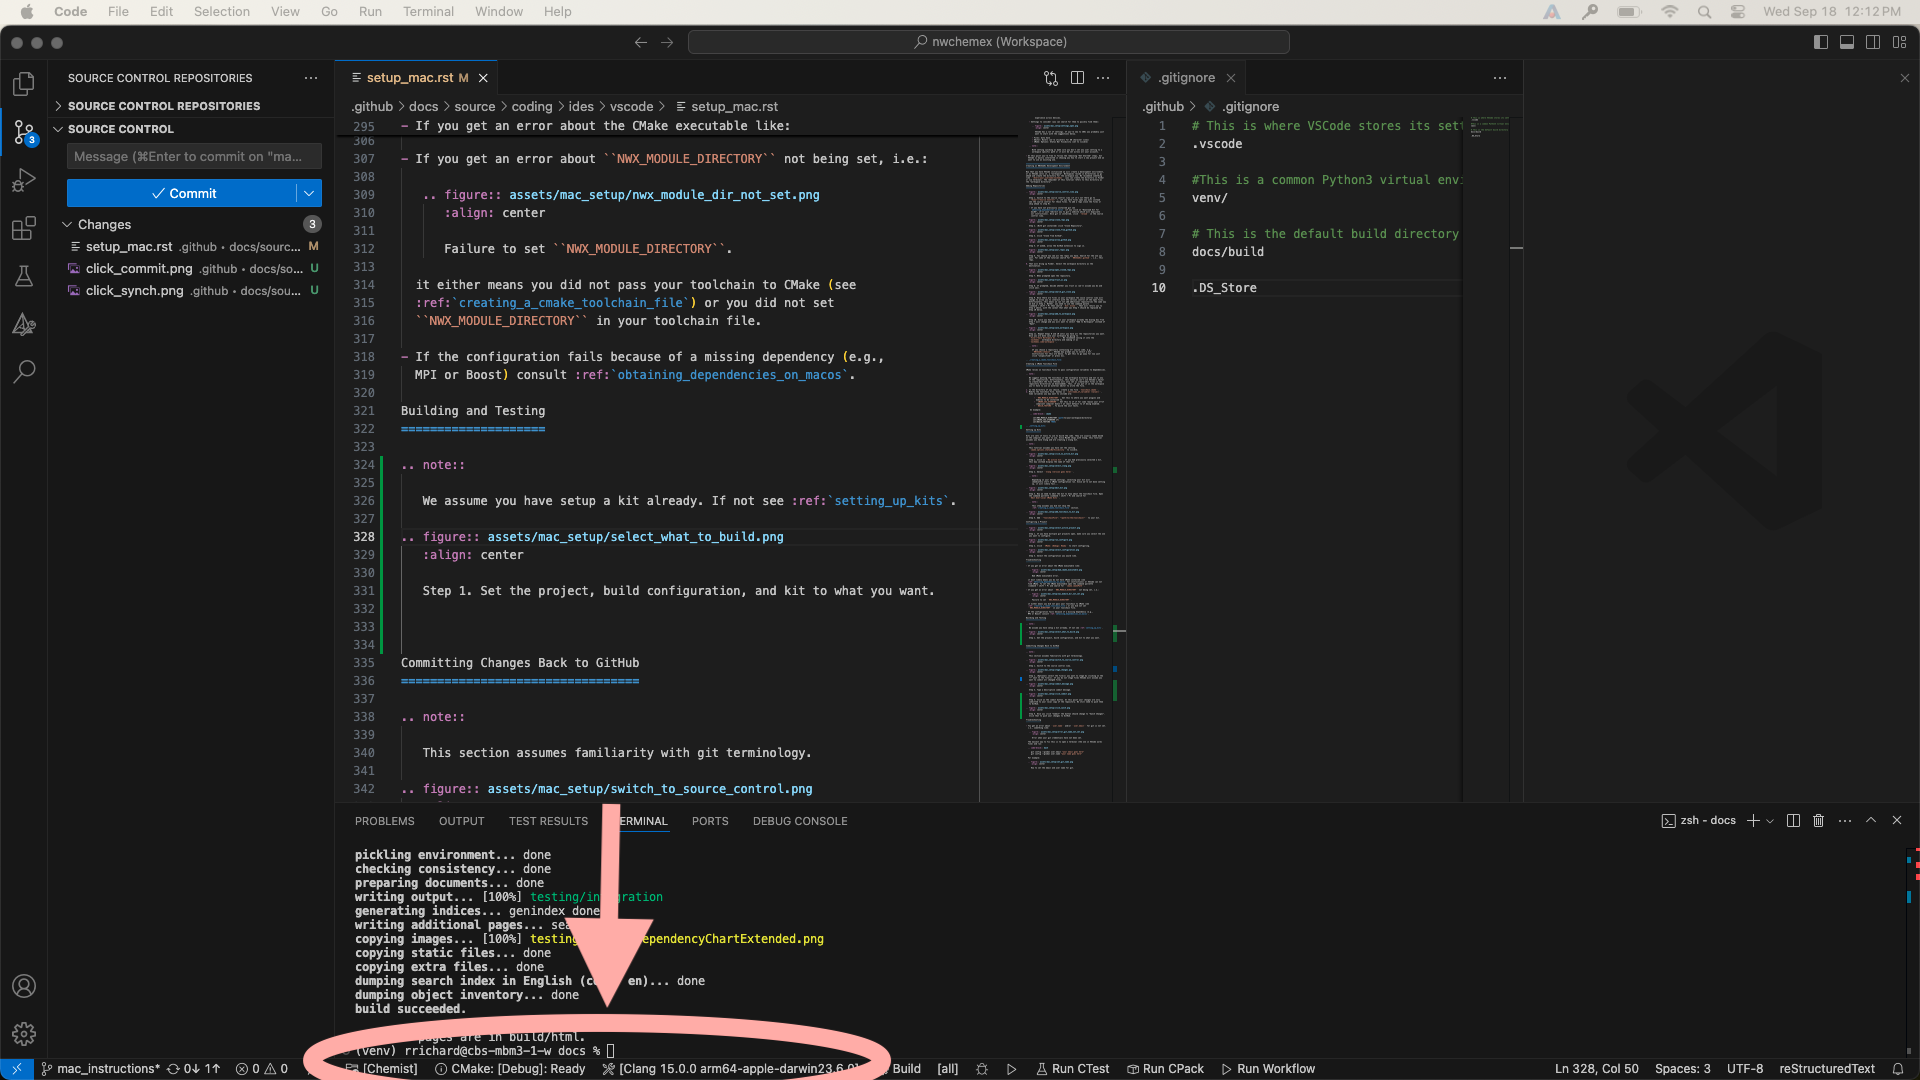
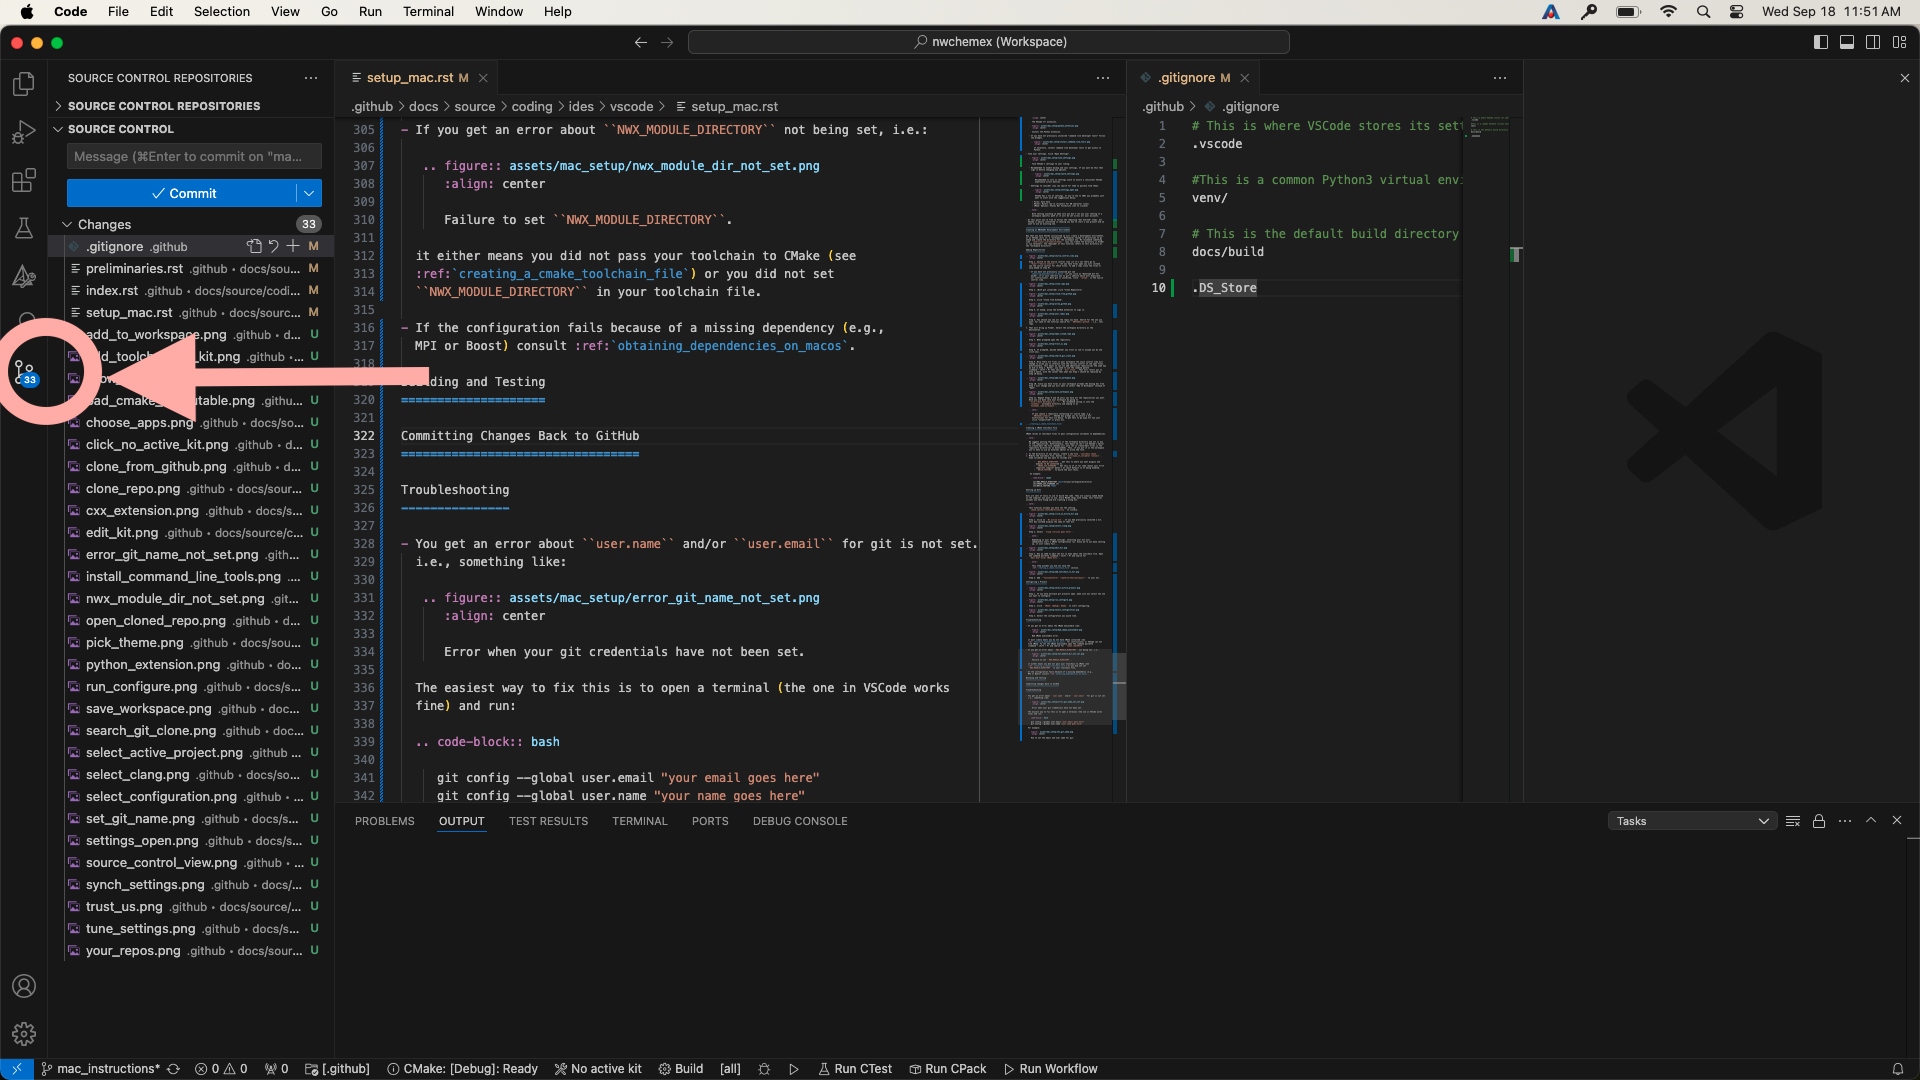
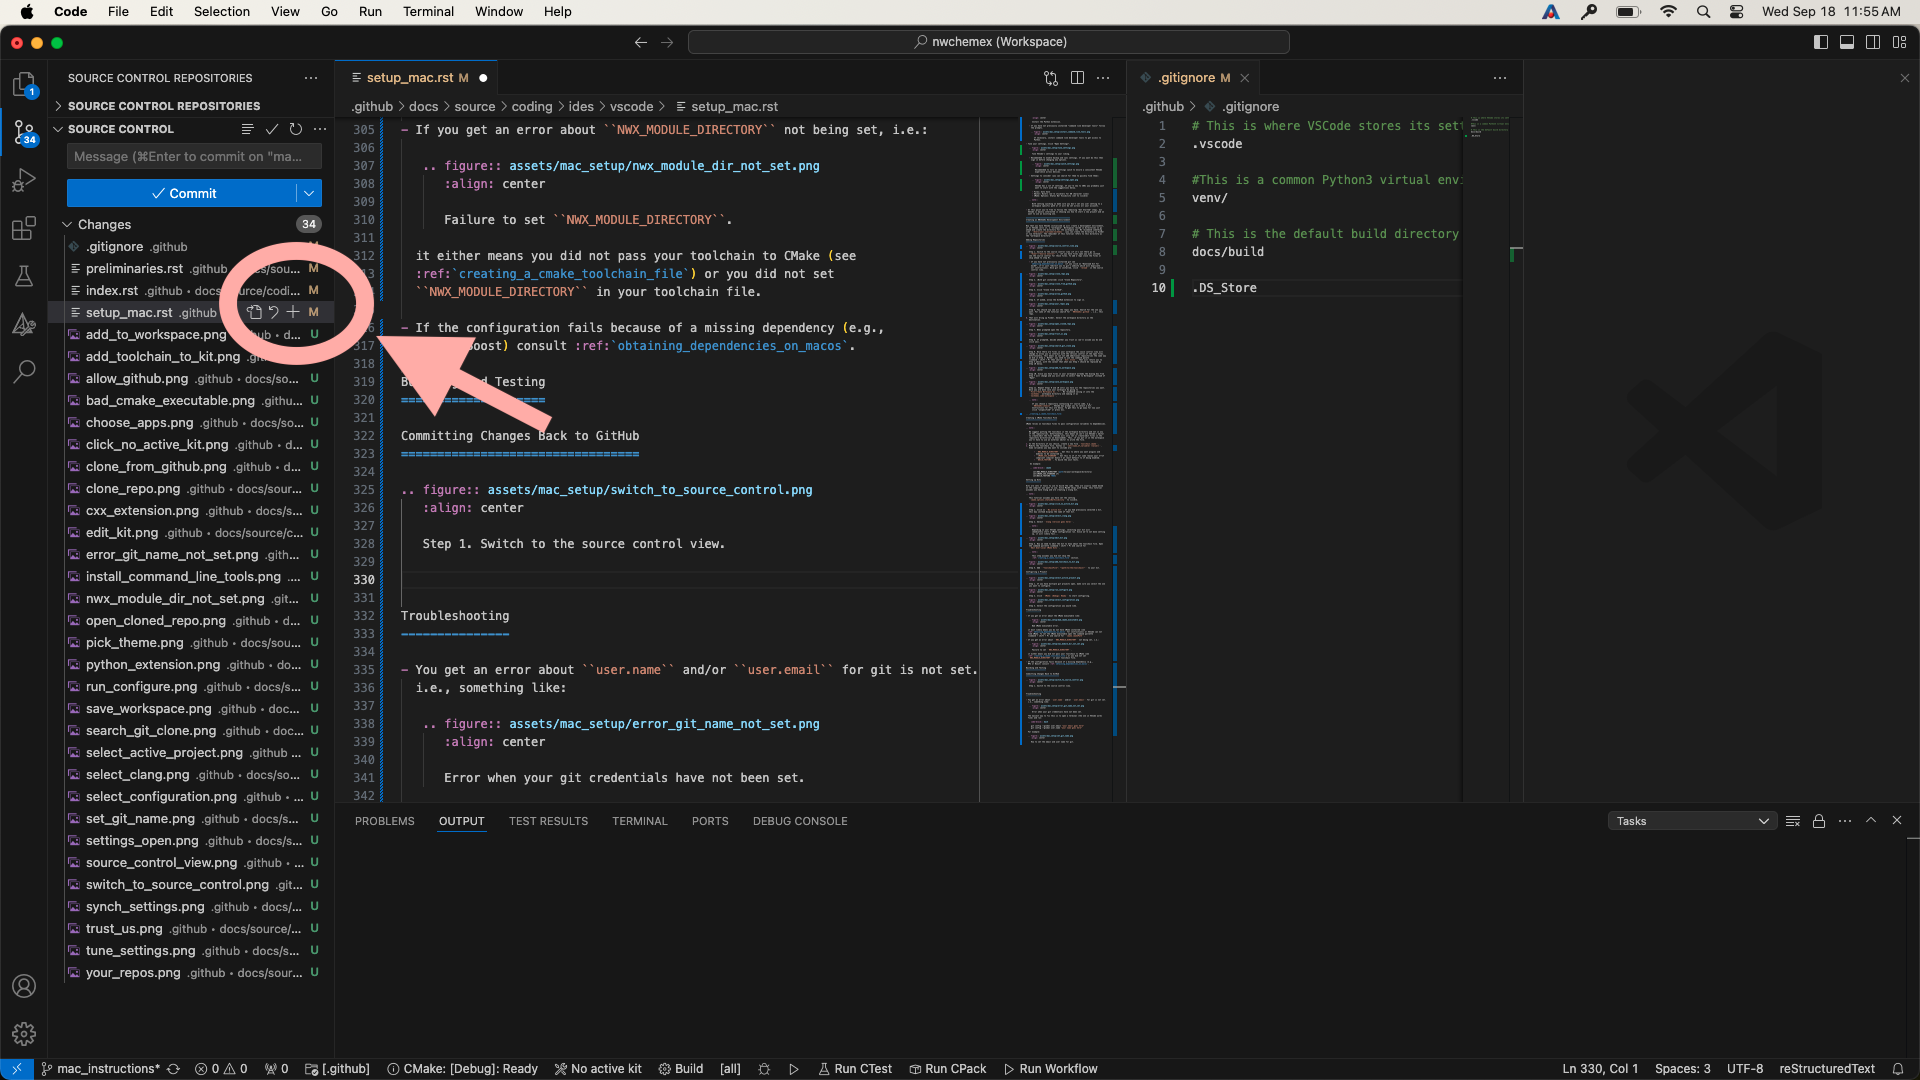
Committing Changes Back to GitHub
Note: This section assumes familiarity with git terminology.
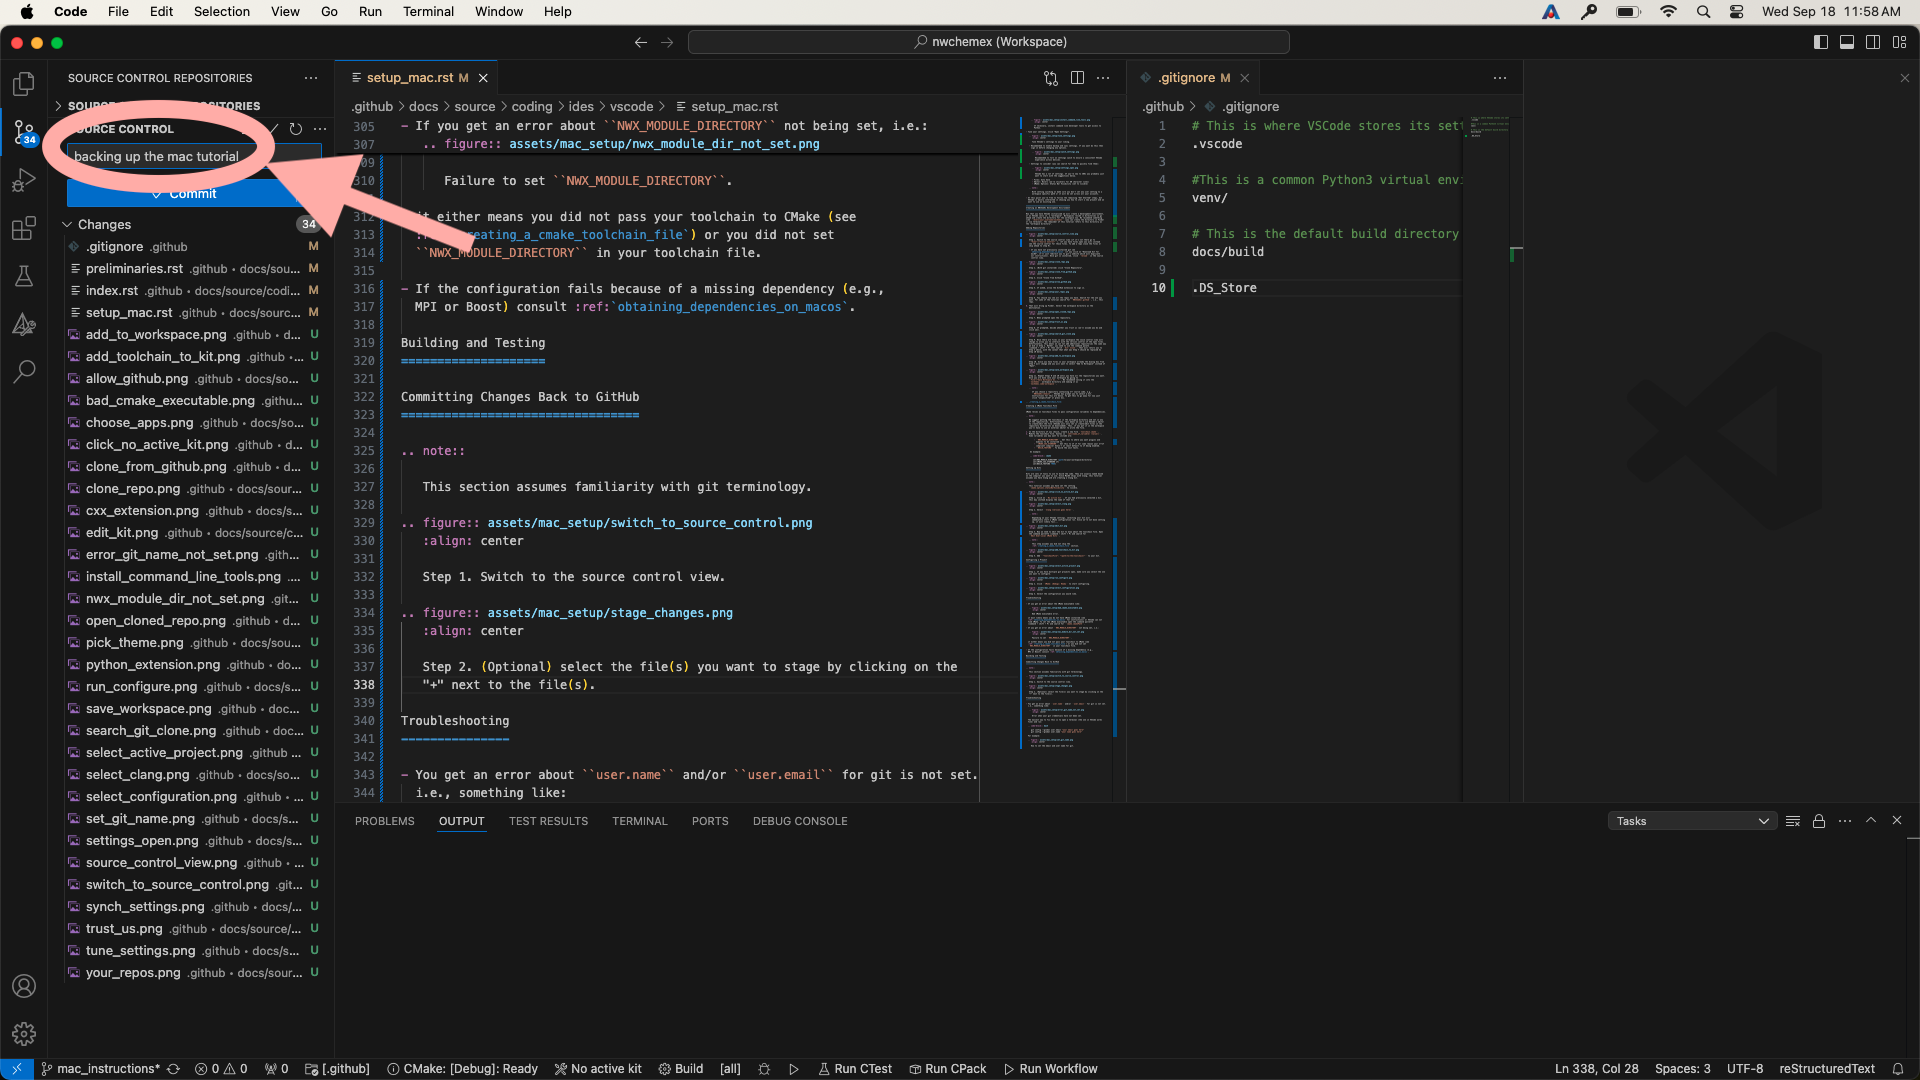
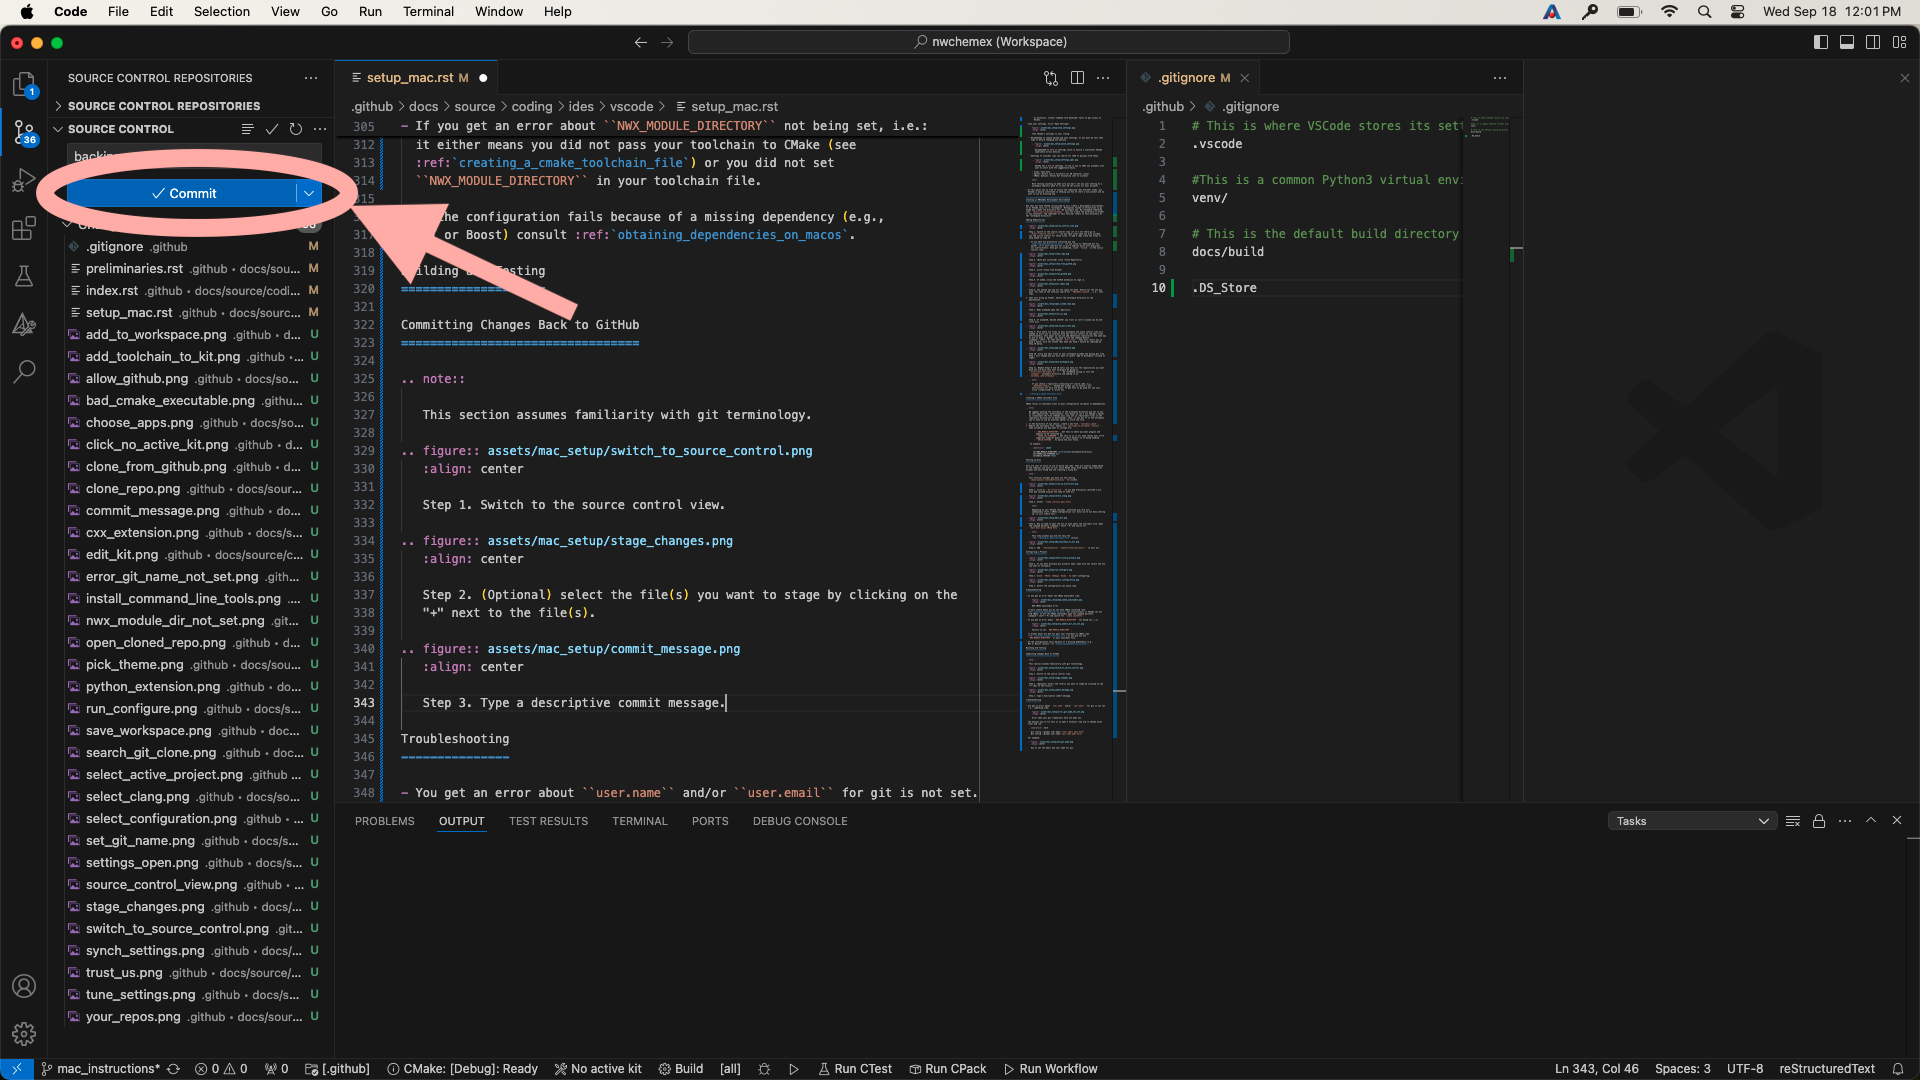
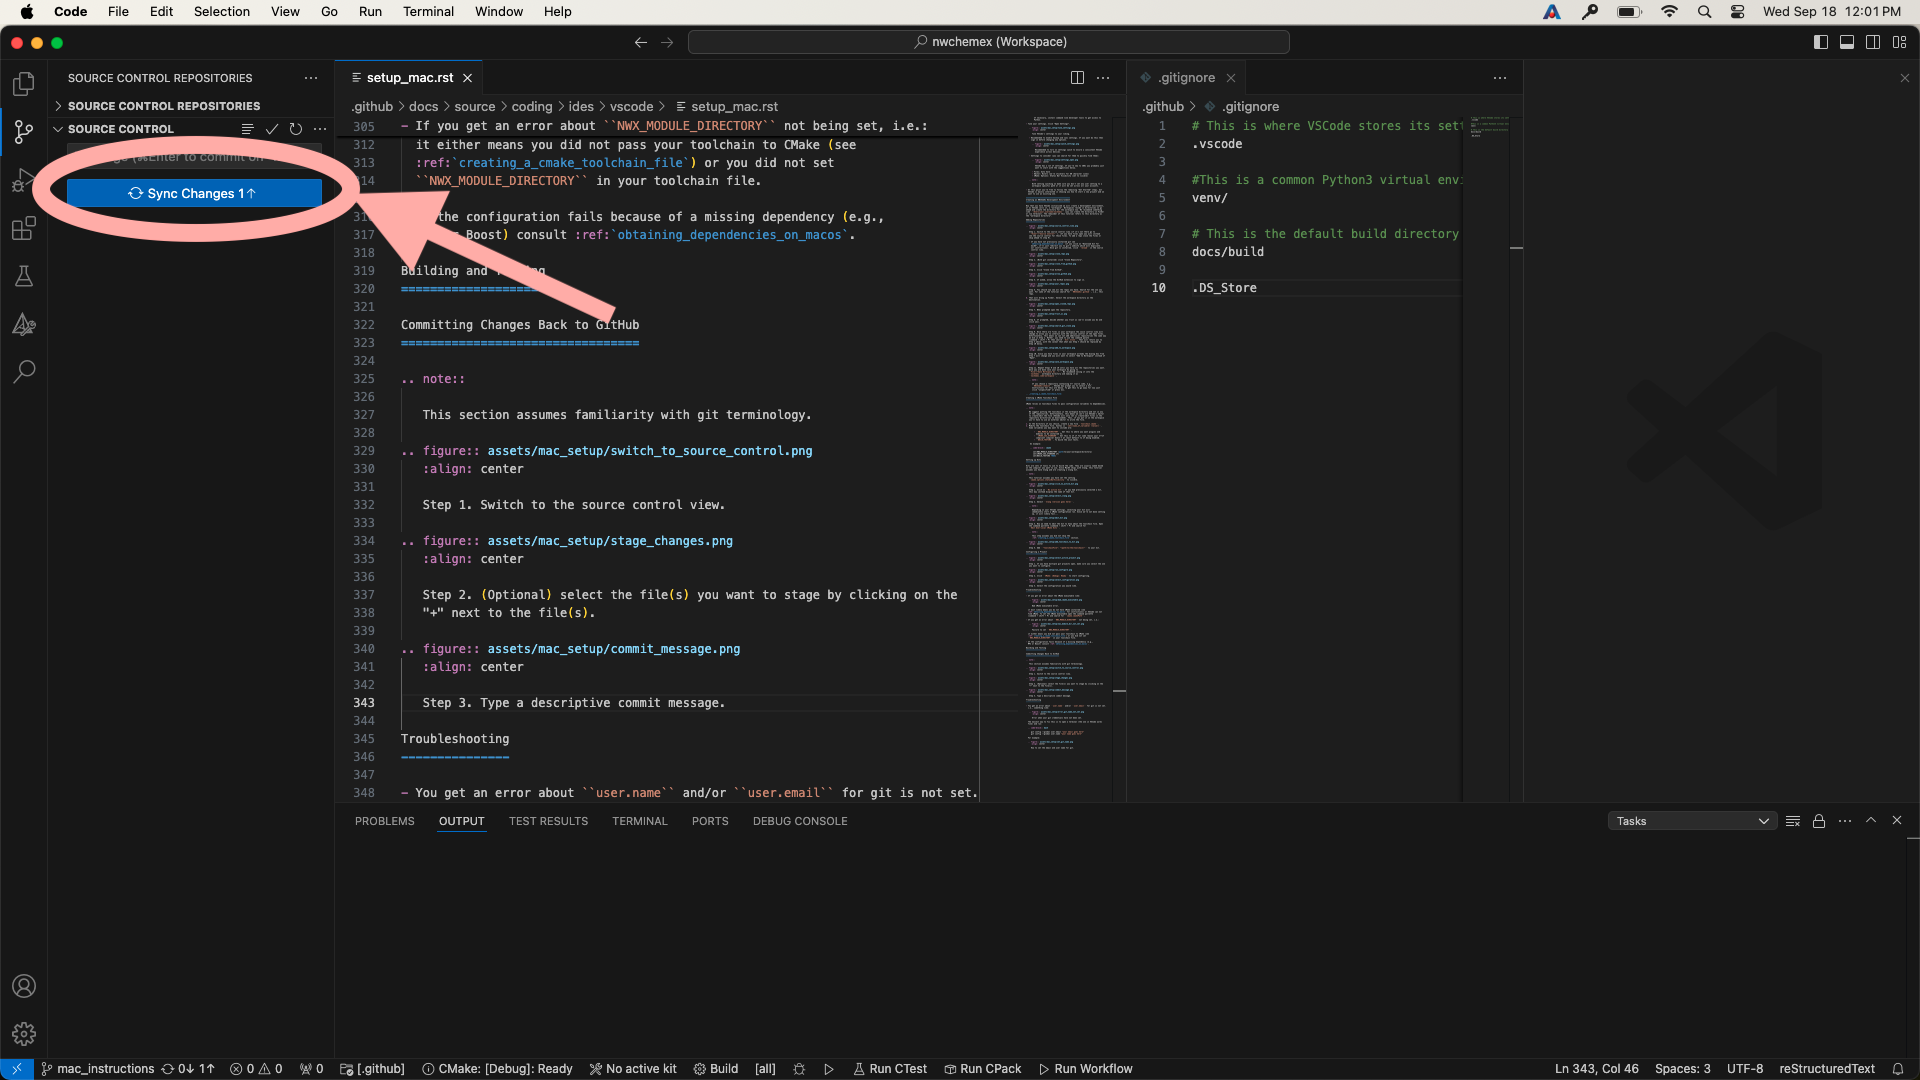
Troubleshooting
- You get an error about
user.nameand/oruser.emailfor git is not set. i.e., something like:
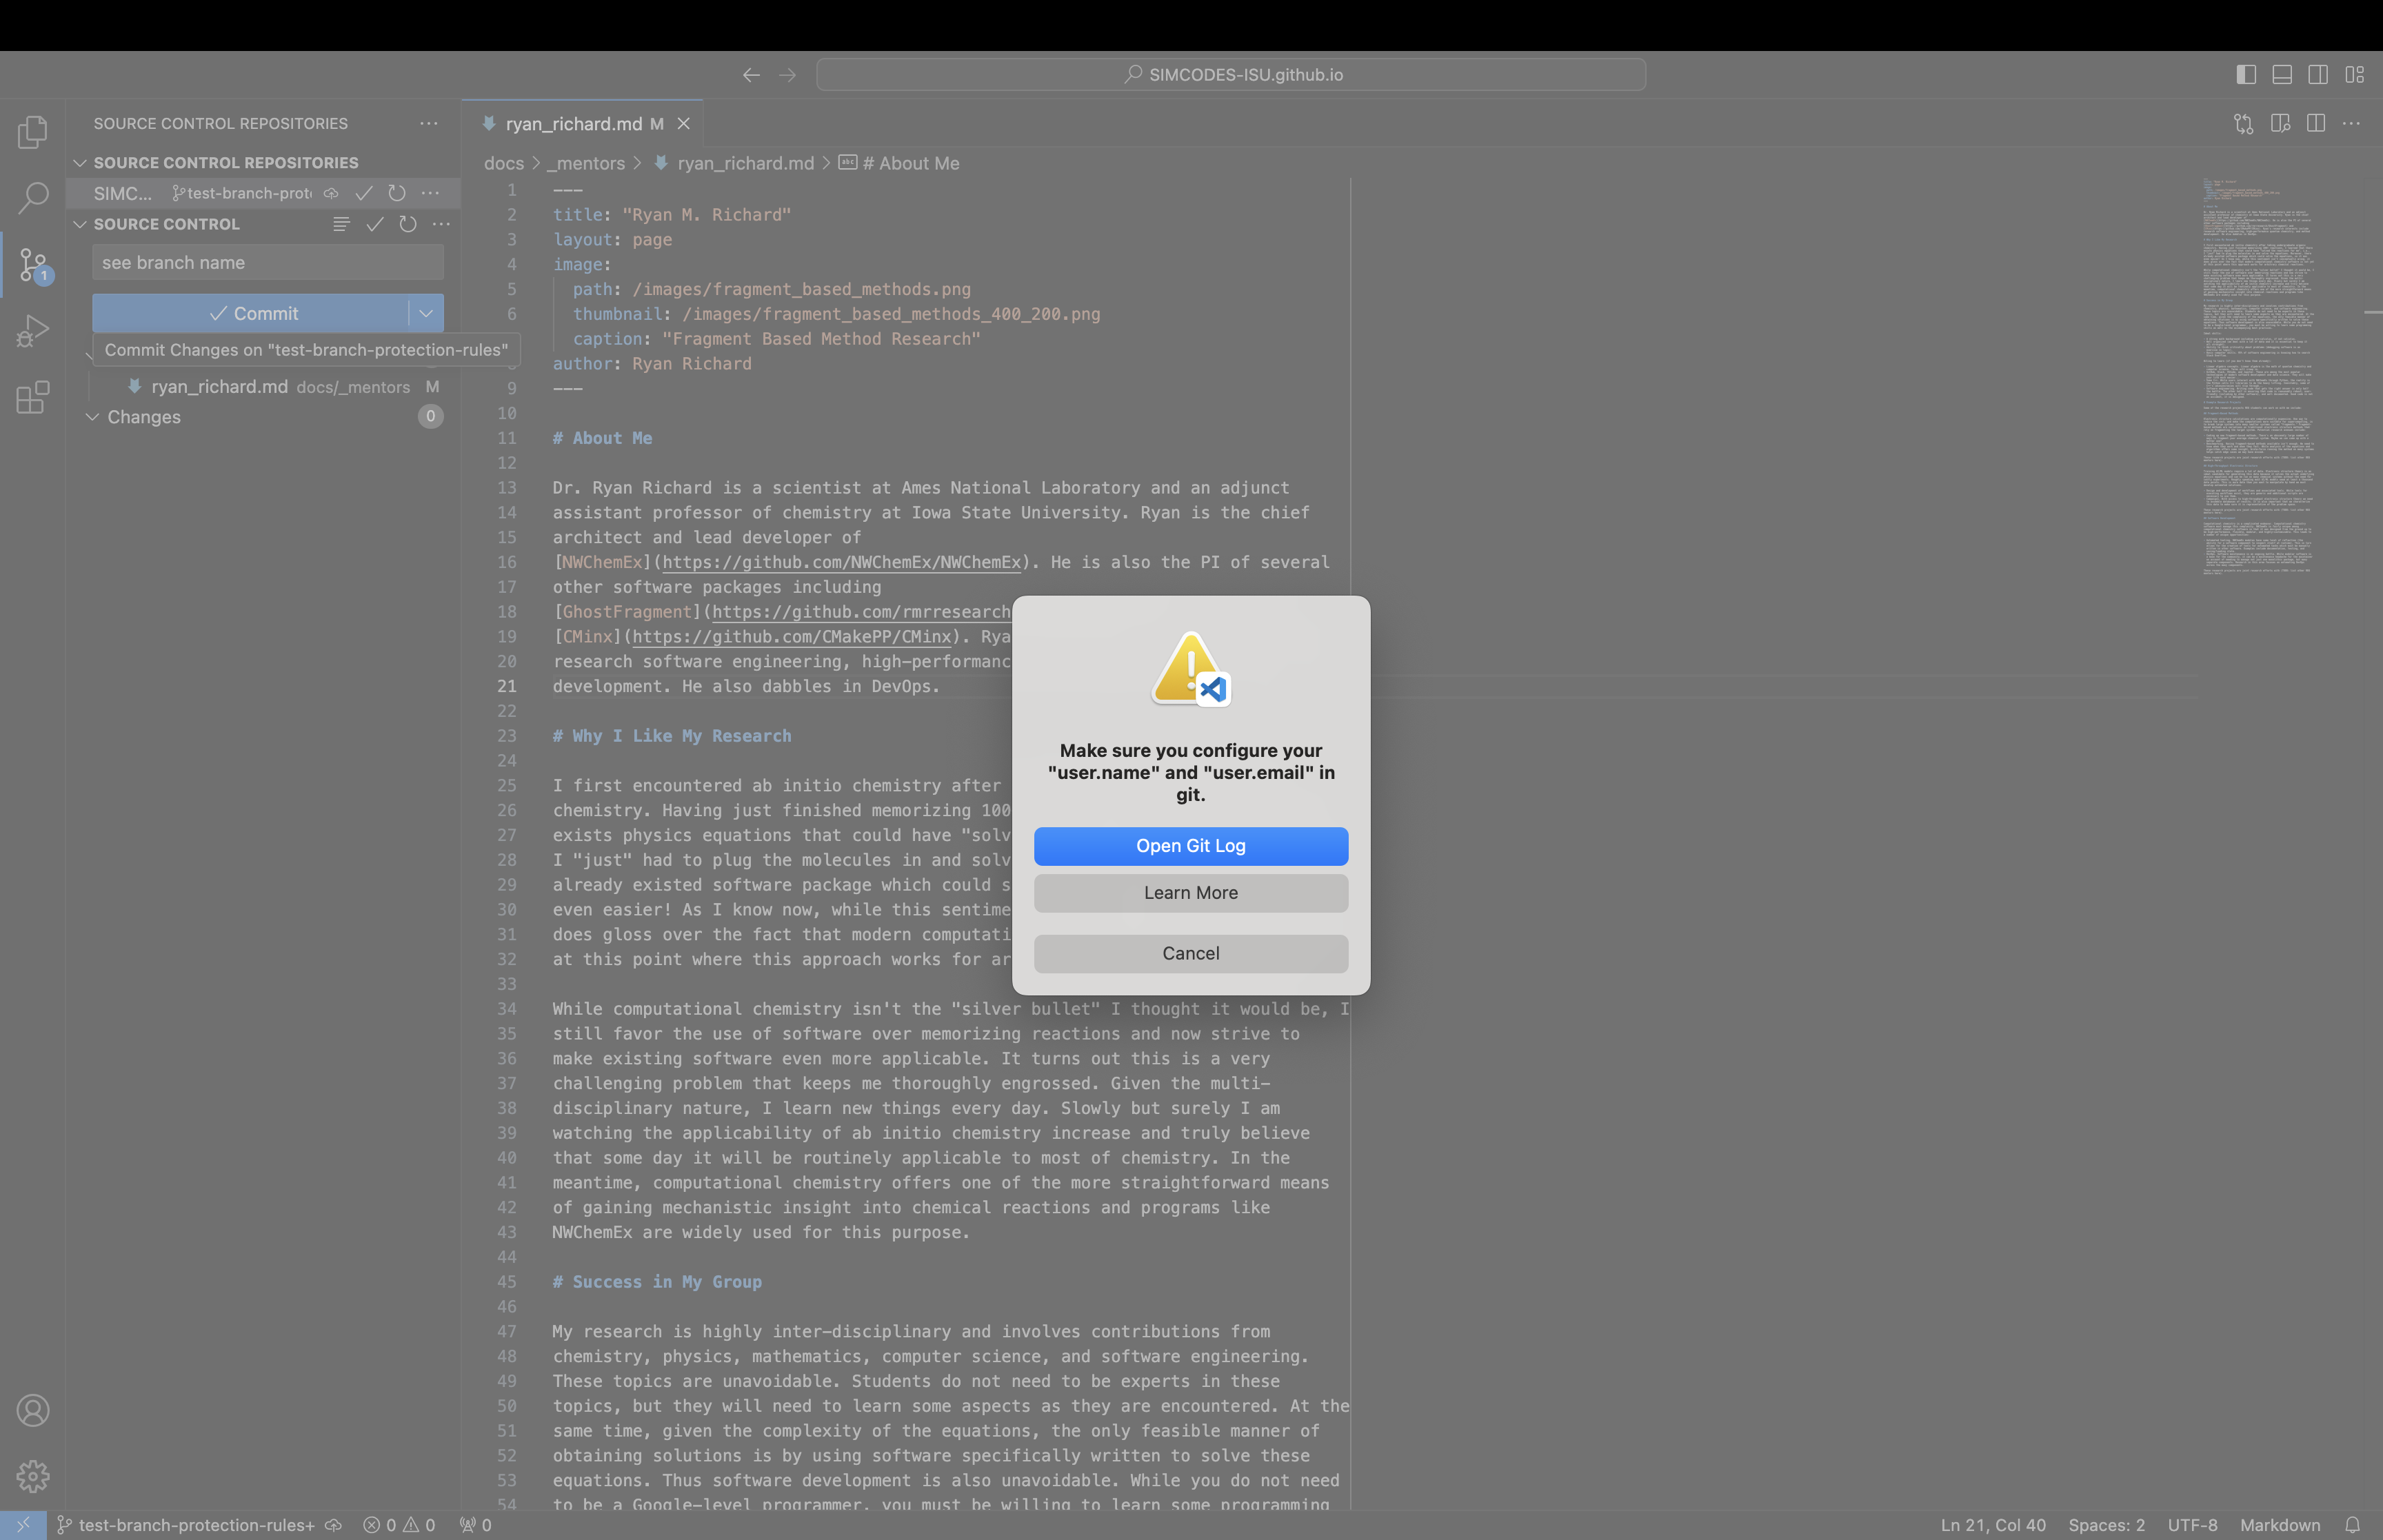
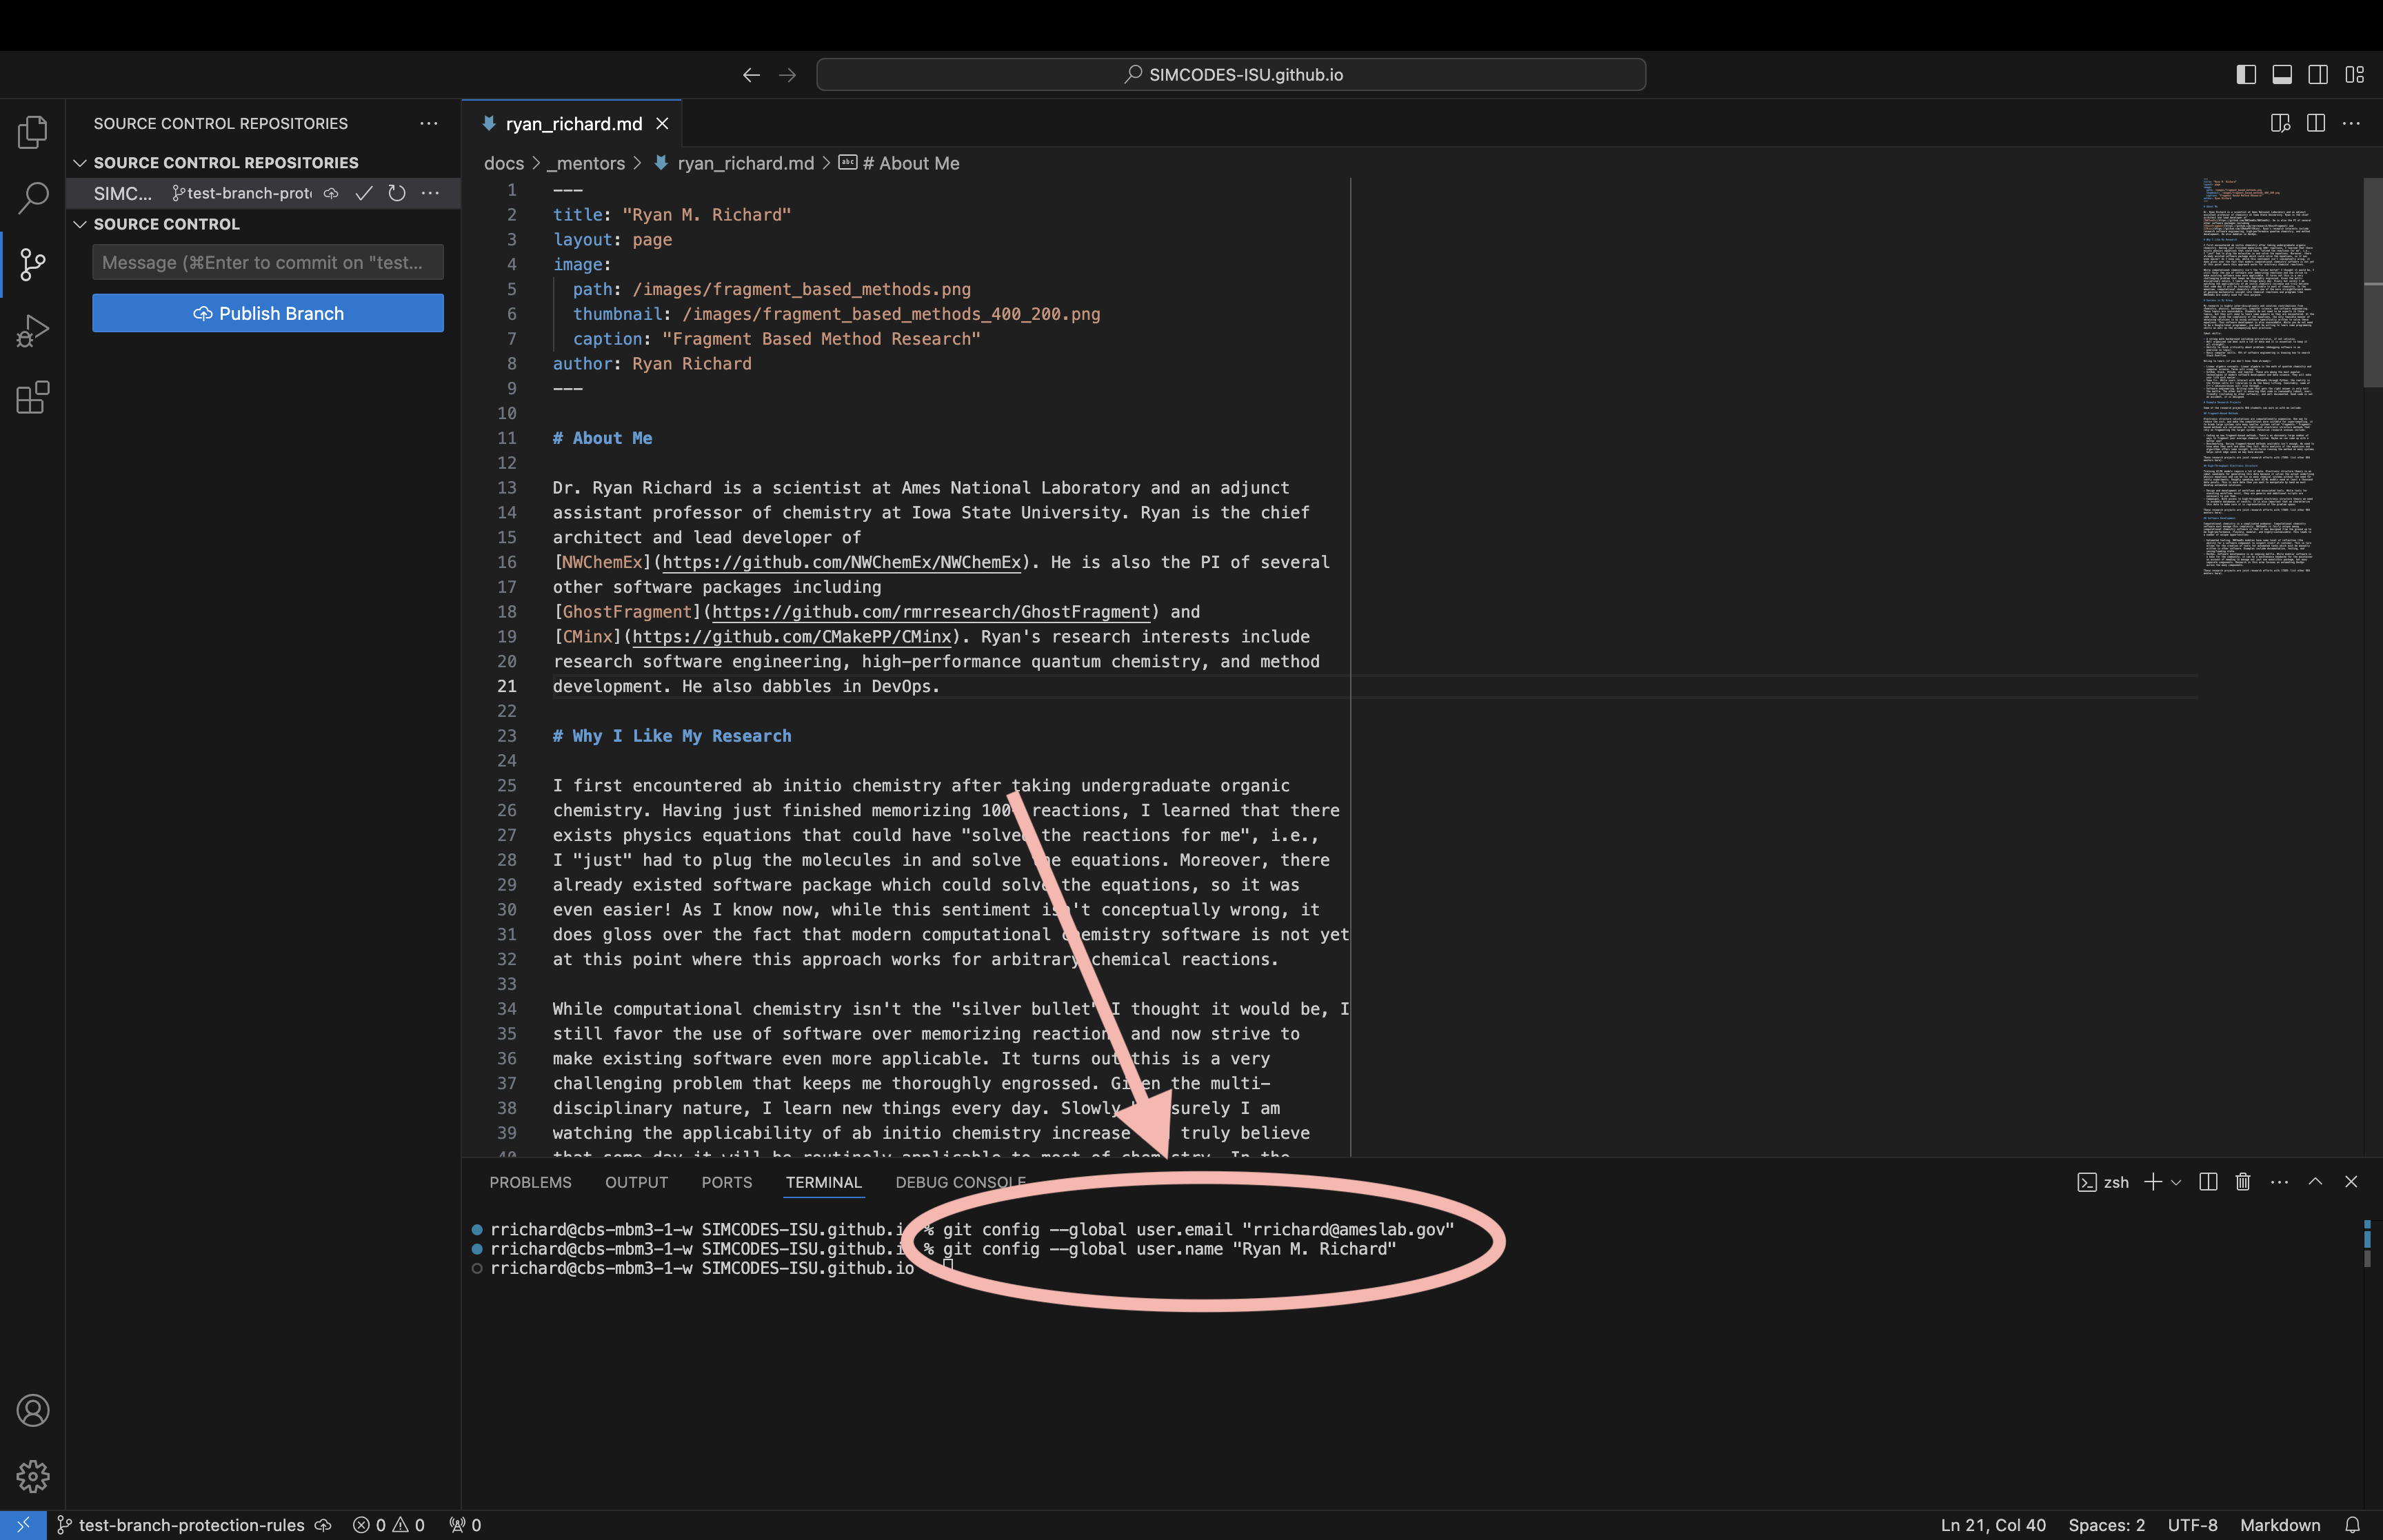
The easiest way to fix this is to open a terminal (the one in VSCode works fine) and run:
git config --global user.email "your email goes here"
git config --global user.name "your name goes here"
For example:
- When attempting to synchronize with GitHub you get a cryptic error like:
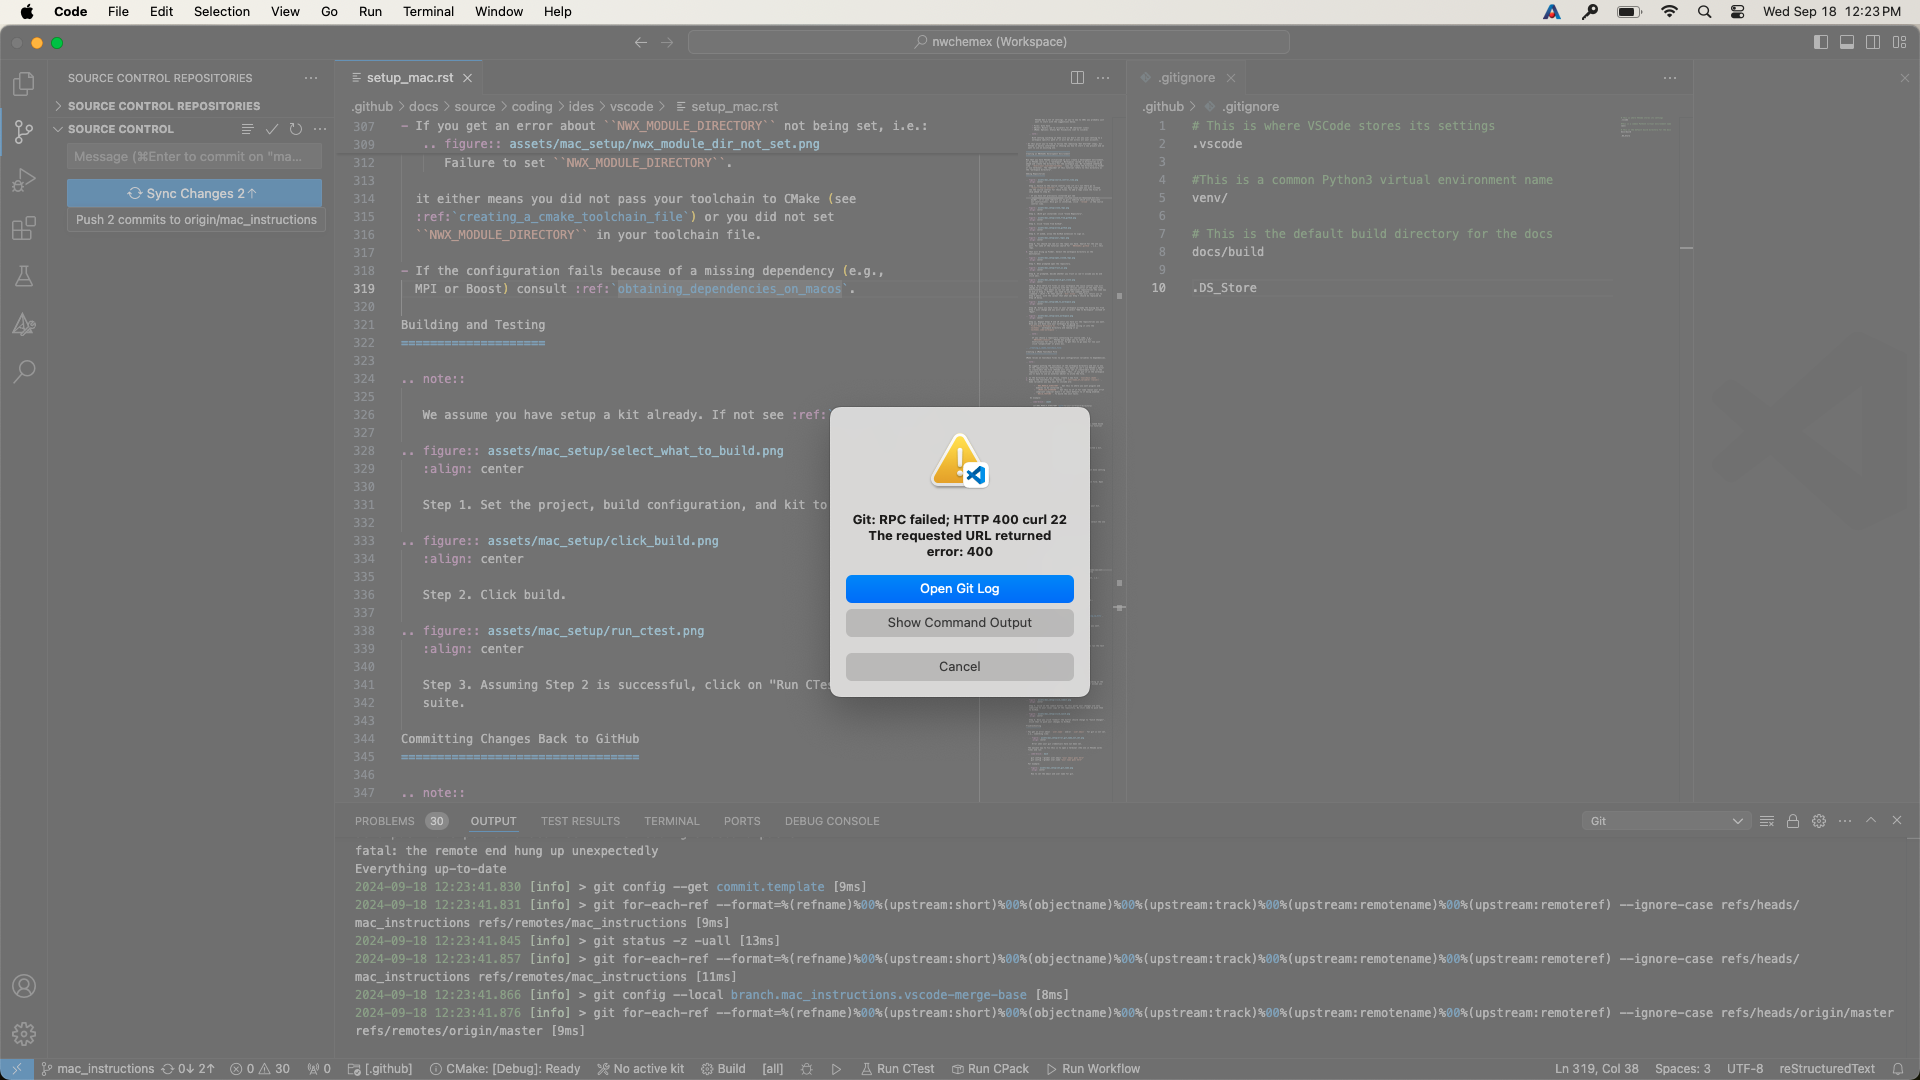
For me this was caused by a credentials issue. I simply ran git push from
the VSCode terminal (in the root directory of the repo) and gave permission
to VSCode to use my passwords. From that point forward commit and
synchronization worked fine from VSCode.